Error Troubleshooting
Xerox Internal Use Only Phaser 6600 and WorkCentre 6605
Service Manual
2-39
Serial Number Setting (Serial No.)
The procedure below explains how to change the parameter using [Serial No.] as an example.
1. Enter Service Mode. See “How To Enter Service Mode” on page 2-8.
2. Confirm that the [Printer Diag] is selected, and then press the OK button.
3. Use the [ ] button to select [Installation], and press the OK button.
4. Use the [ ] button to select [SerialNo.], and press the OK button.
5. Change the serial number.
Use the [ ] and [ ] buttons to move the cursor to right and left.
Use the [ ] and [ ] buttons to increase or decrease the value where the cursor is placed.
The asterisk (*) will disappear when the number is changed from the current number.
Clear
DeviceData
Error Log - Deletes the E2PROM Error Log data.
Jam Log - Deletes the E2PROM Jam Log data.
Job Log - Deletes the E2PROM Job Log data.
FW Parameter - Deletes the E2PROM FW Parameter data.
NET Parameter - Deletes the E2PROM NET Parameter data.
Auditron/PV - Deletes the E2PROM Auditron/each user’s Print
Volume data.
SRAM Adrs - Deletes the SRAM address data.
FAX Log - Deletes the FAT data in the Fax System Data File
System of the SRAM/Fax Memory, and it also
deletes all files via the File System.
Hard Disk
(when the optional HD is
installed)
- Deletes the Hard Disk data.
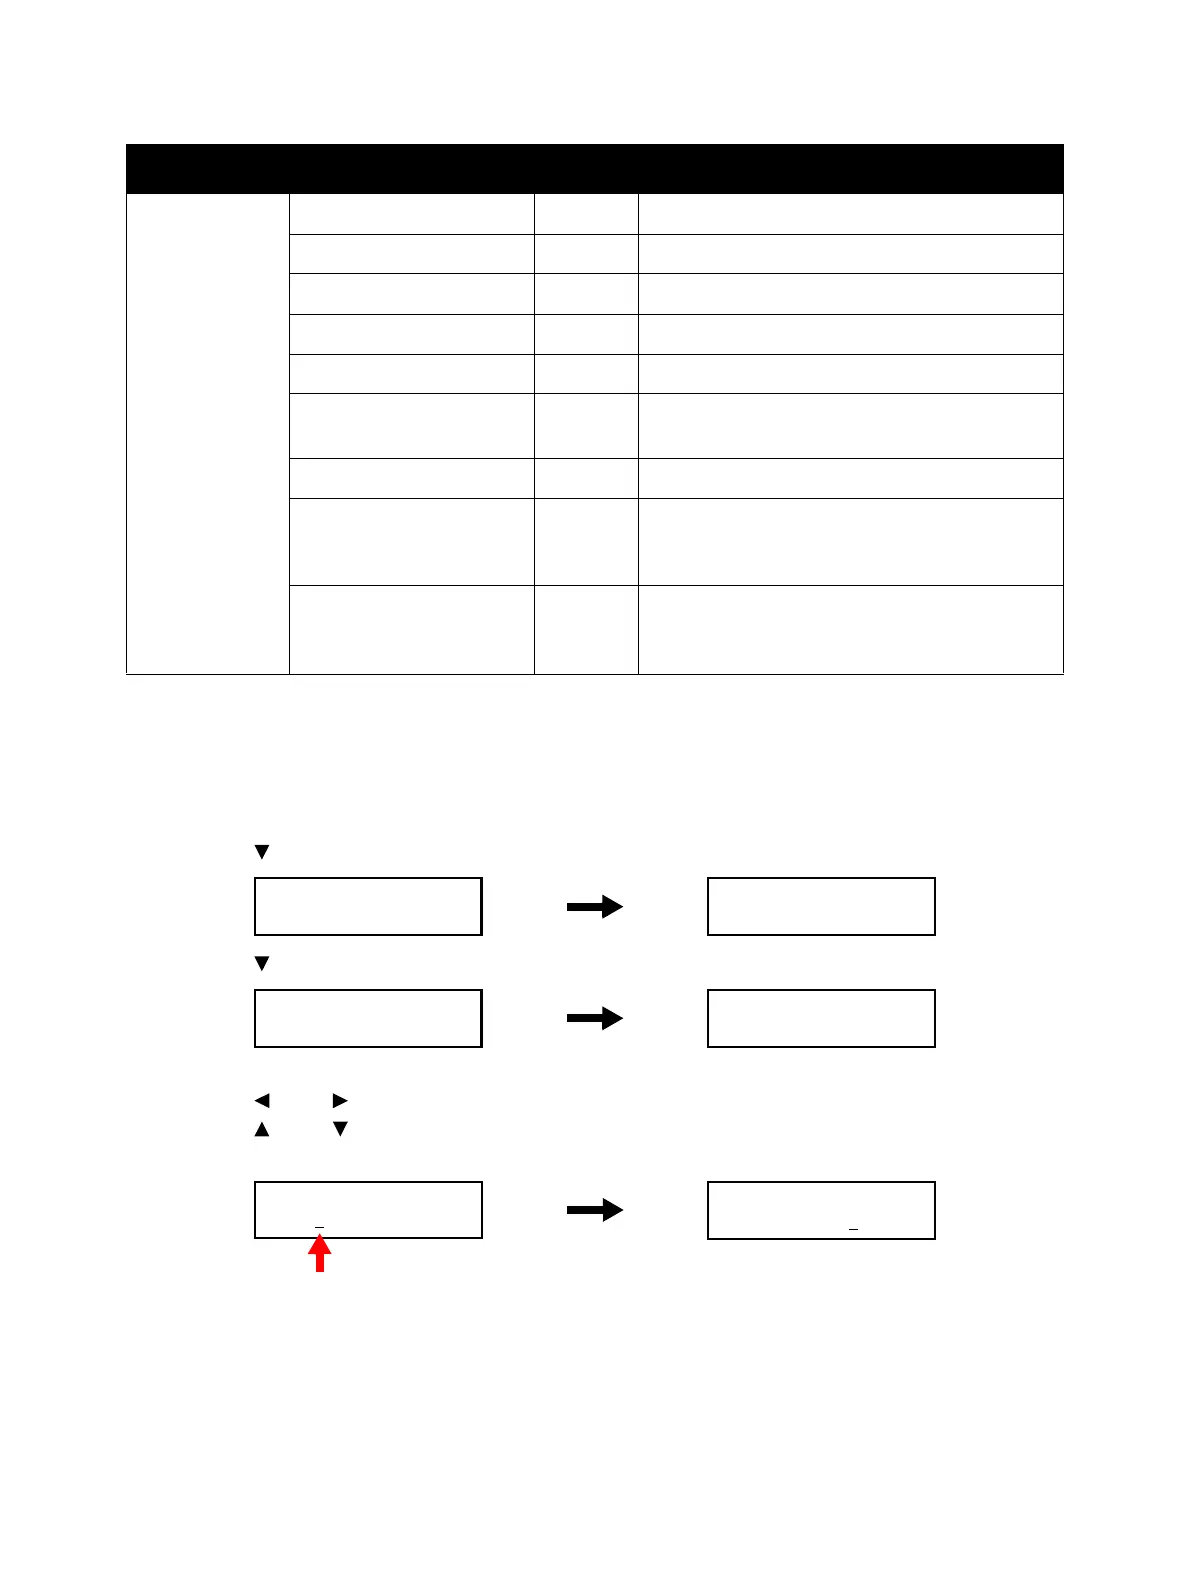
Item Range Description
Printer Diag
Installation
Installation
SerialNo.
Installation
SerialNo.
Serial No.
000000000 *
Serial No.
000000000 *
Cursor
Serial No.
000000001

 Loading...


