Embroidering Preparation
Basic Embroidery
127
4
6 Touch [OK].
The carriage will move to the initialization position.
Removing the Embroidery Unit
1
Remove the embroidery frame.
* For details on removing the embroidery frame,
refer to “Removing the Embroidery Frame” on
page 132.
2 Touch [Embroidery] in the home page
screen, then touch .
The carriage will move to the removal position.
3 Turn the main power to OFF.
4 Press the release lever, and pull the
embroidery unit away from the machine.
a Release lever
Attaching Stabilizer to Fabric
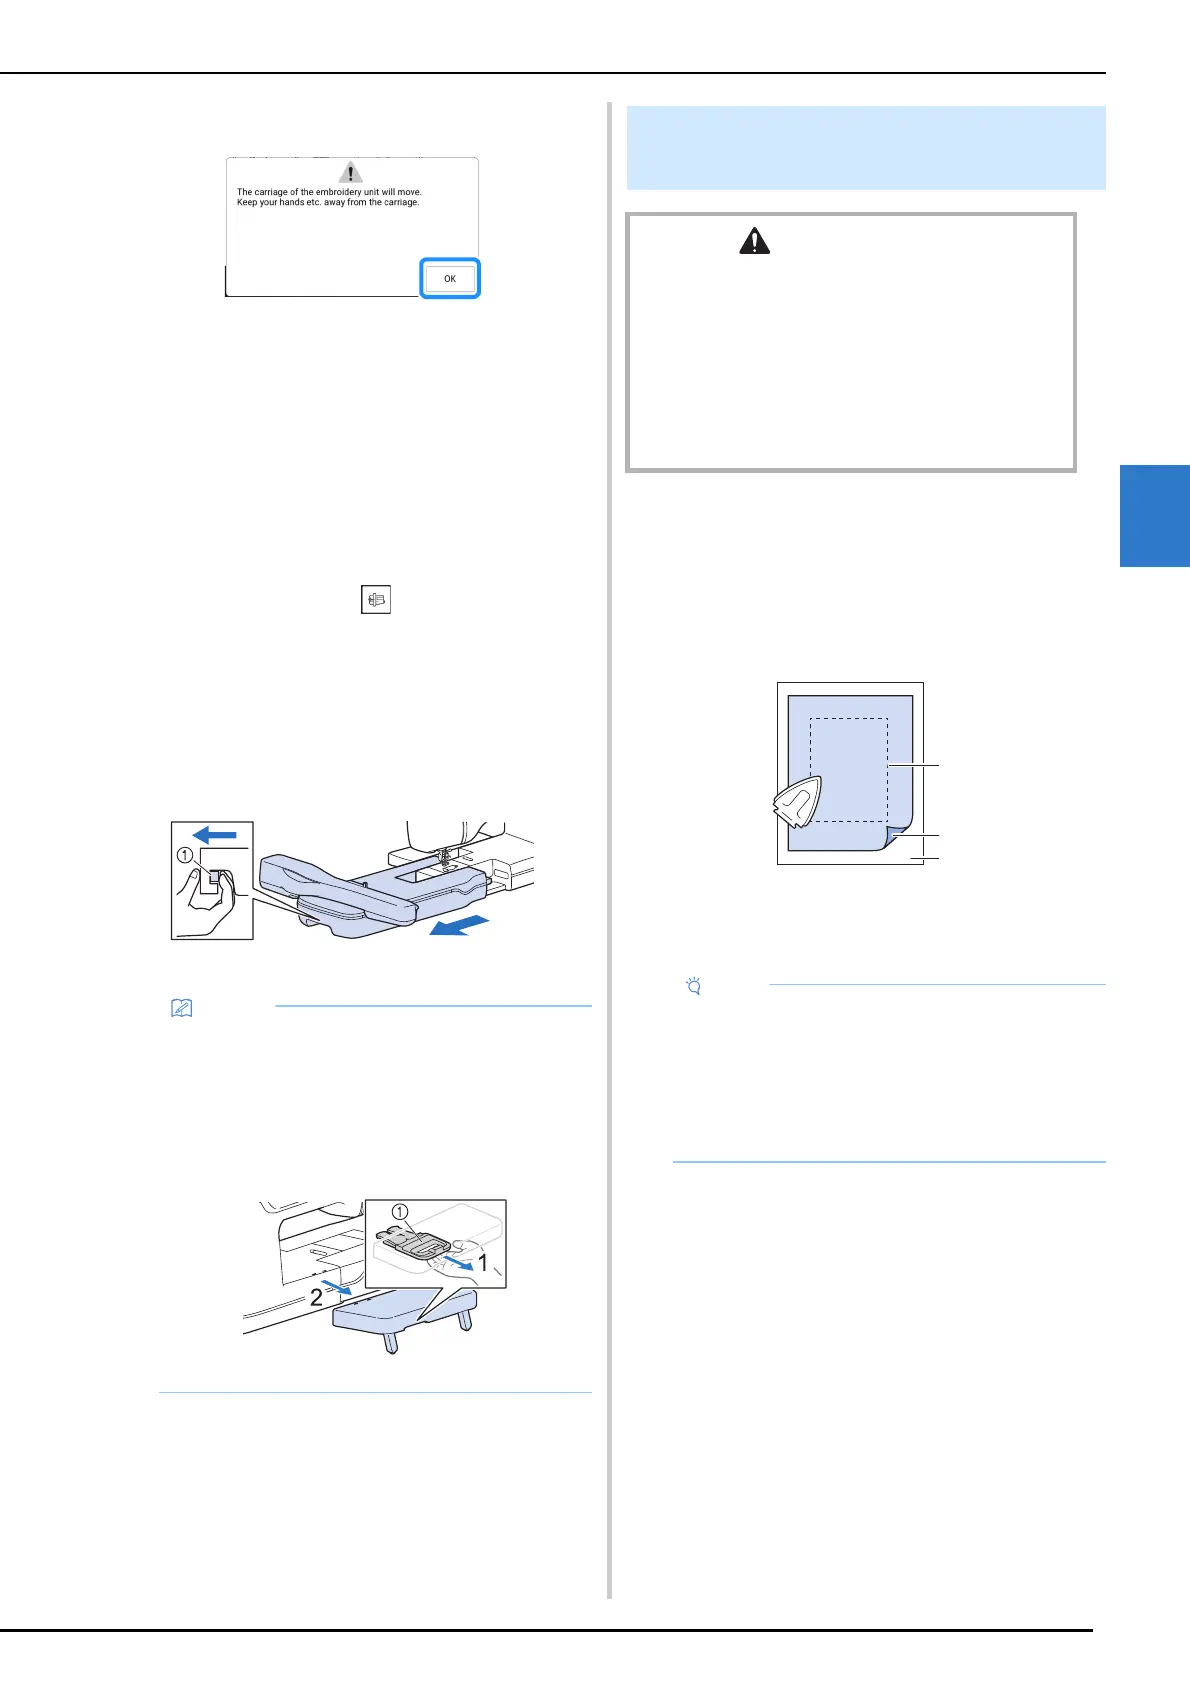
1
Iron the iron-on stabilizer material to the
wrong side of the fabric.
• Use a piece of stabilizer which is larger than
the embroidery frame being used.
a Fusible side of stabilizer
b Fabric (wrong side)
c Size of the embroidery frame
• Utility stitches can also be sewn with the
support table attached. We recommend that
the support table always be attached to the
machine.
Before transporting the machine, pull the
release lever toward you to remove the
support table.
a Release lever
Hooping the Fabric in the
Embroidery Frame
CAUTION
• Use fabrics with a thickness of less than 2 mm
(approx. 1/16 inch). Using fabrics thicker than 2 mm
(approx. 1/16 inch) may cause the needle to break
and cause injury.
• Always use a stabilizer material for embroidery when
embroidering stretch fabrics, lightweight fabrics,
fabrics with a coarse weave, or fabrics which cause
pattern shrinkage. Otherwise, the needle may break
and cause injury.
• When using fabrics that cannot be ironed
(such as terry cloth or fabrics that have loops
which expand when ironed) or in places where
ironing is difficult, position the stabilizer
material under the fabric without fusing it, then
position the fabric and stabilizer in the
embroidery frame.