Appliqué and Couching
186
11 Lightly apply glue and paste the appliqué
piece so that it aligns with the placement
line.
12 With the machine threaded using the
thread for the outline from step
10,
embroider the outline (APPLIQUE).
a Outline of appliqué piece
13 After embroidering is finished, remove
the stabilizer material from the
embroidery frame.
14 Use scissors to cut the excess water
soluble stabilizer from outside the
appliqué outline.
15 Soak the appliqué piece in water to
dissolve the water soluble stabilizer.
* For details, refer to the instruction manual for the
water soluble stabilizer.
16 Dry the appliqué piece, and then iron it if
necessary.
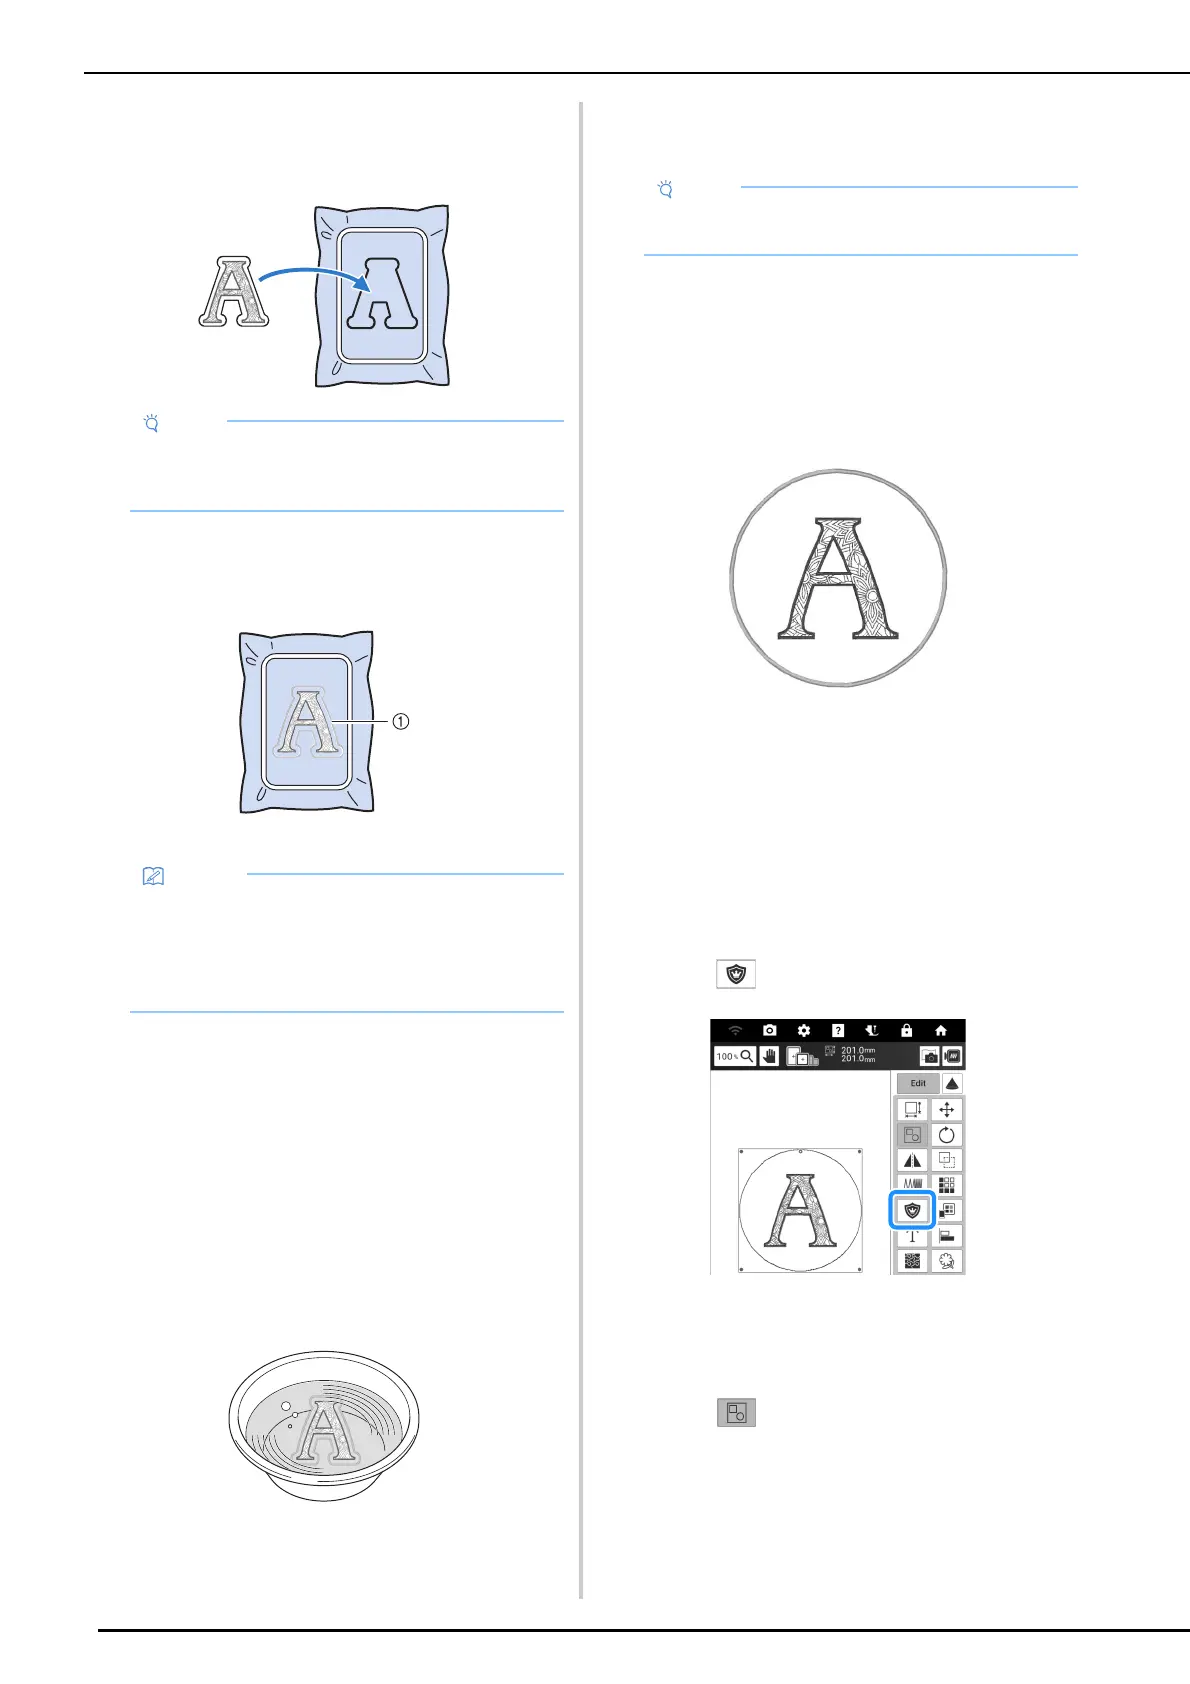
Using a Frame Pattern for the
Outline
Using a frame pattern, the desired shape can be
added as the outline of the appliqué. To select the
desired frame, refer to “Selecting Frame Patterns”
on page 136.
1 Select the pattern and edit, if necessary.
And then touch [Add].
2 Select the desired frame shape and
pattern, and add it to the appliqué
pattern.
3 Touch [Edit] to edit the frame pattern to
fit the size of the appliqué pattern.
4 Touch .
5 Specify the distance between the frame
pattern and the appliqué outline, and
then touch [OK].
6 Touch to ungroup the patterns.
• Before pasting the appliqué piece down, make
sure the appliqué piece is positioned correctly
within the placement line.
• The outline is sewn using satin stitching.
• Some glue may get onto the embroidery foot,
needle, and needle plate at this time. Finish
embroidering the appliqué pattern, and then
clean off the glue.
• Do not apply a strong force when ironing,
otherwise the stitching may be damaged.
 Loading...

