Checking/Editing the Embroidery Pattern Projected Onto Fabric
Basic Embroidery
155
4
3 If necessary, edit the pattern.
4 After confirming the embroidery pattern,
touch to turn off projection.
From the embroidery edit screen or embroidery
screen, you can project the embroidery pattern
onto the fabric, then edit it.
1 Prepare the dual purpose stylus.
* For details on how to use the dual purpose stylus,
refer to “Operating the Projector with the Dual
Purpose Stylus” on page 70.
2 Touch in the embroidery edit screen
or embroidery screen. (page 154)
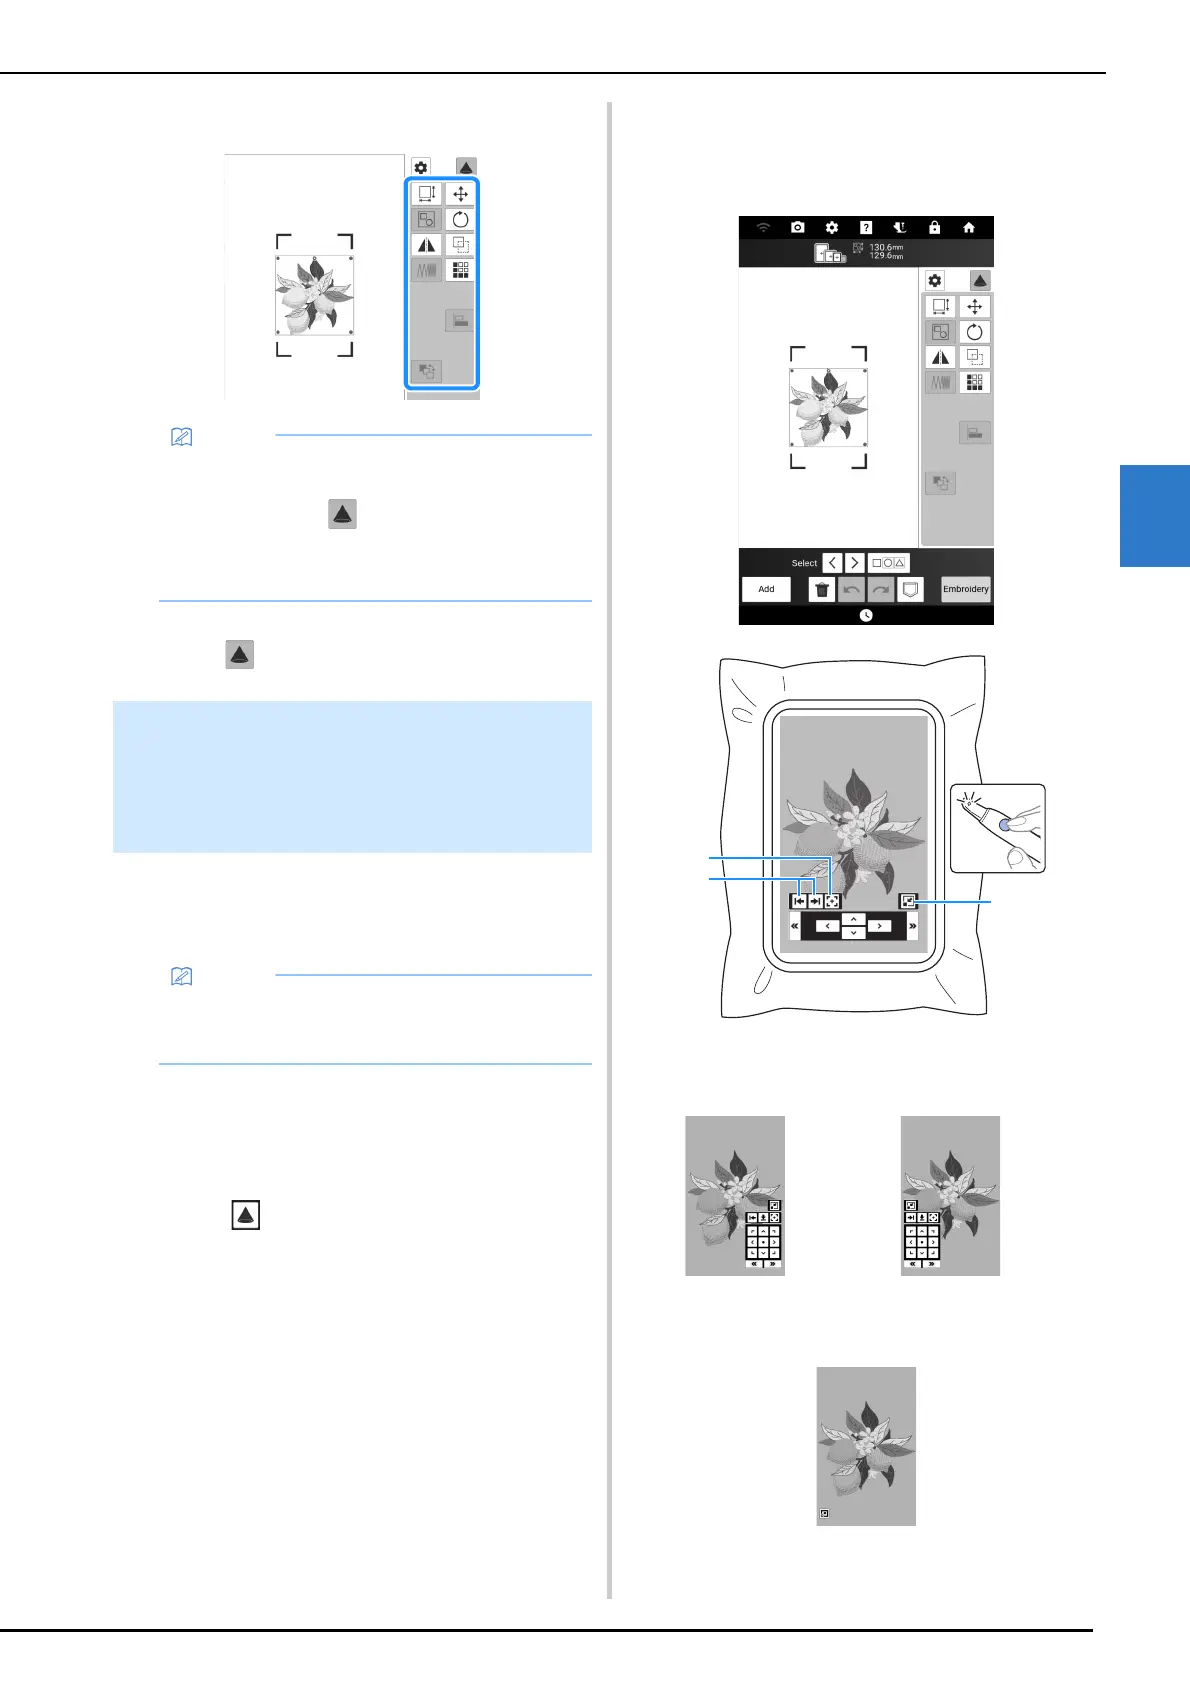
3 If necessary, press the button of the dual
purpose stylus to turn on the light over
the key to change the projection.
a Select whether to position the editing keys
(projected by the projector) at the left, right or
bottom.
b Displays keys for changing the location of the
projection area on the fabric. (page 156)
c Minimizes the keys projected by the projector.
• Editing keys that are not displayed cannot be
used with this function. To use all editing
functions, touch to turn off projection.
For details on each key, refer to “[Edit]
Window” on page 143 or “[Layout] Window” on
page 145.
Using the Dual Purpose Stylus To
Edit the Embroidery Pattern
Projected Onto Fabric (Projector
Edit with Stylus)
• If an embroidery frame that does not support
this function has been attached, a message
appears In that case, edit using the screen.