Editing Patterns
146
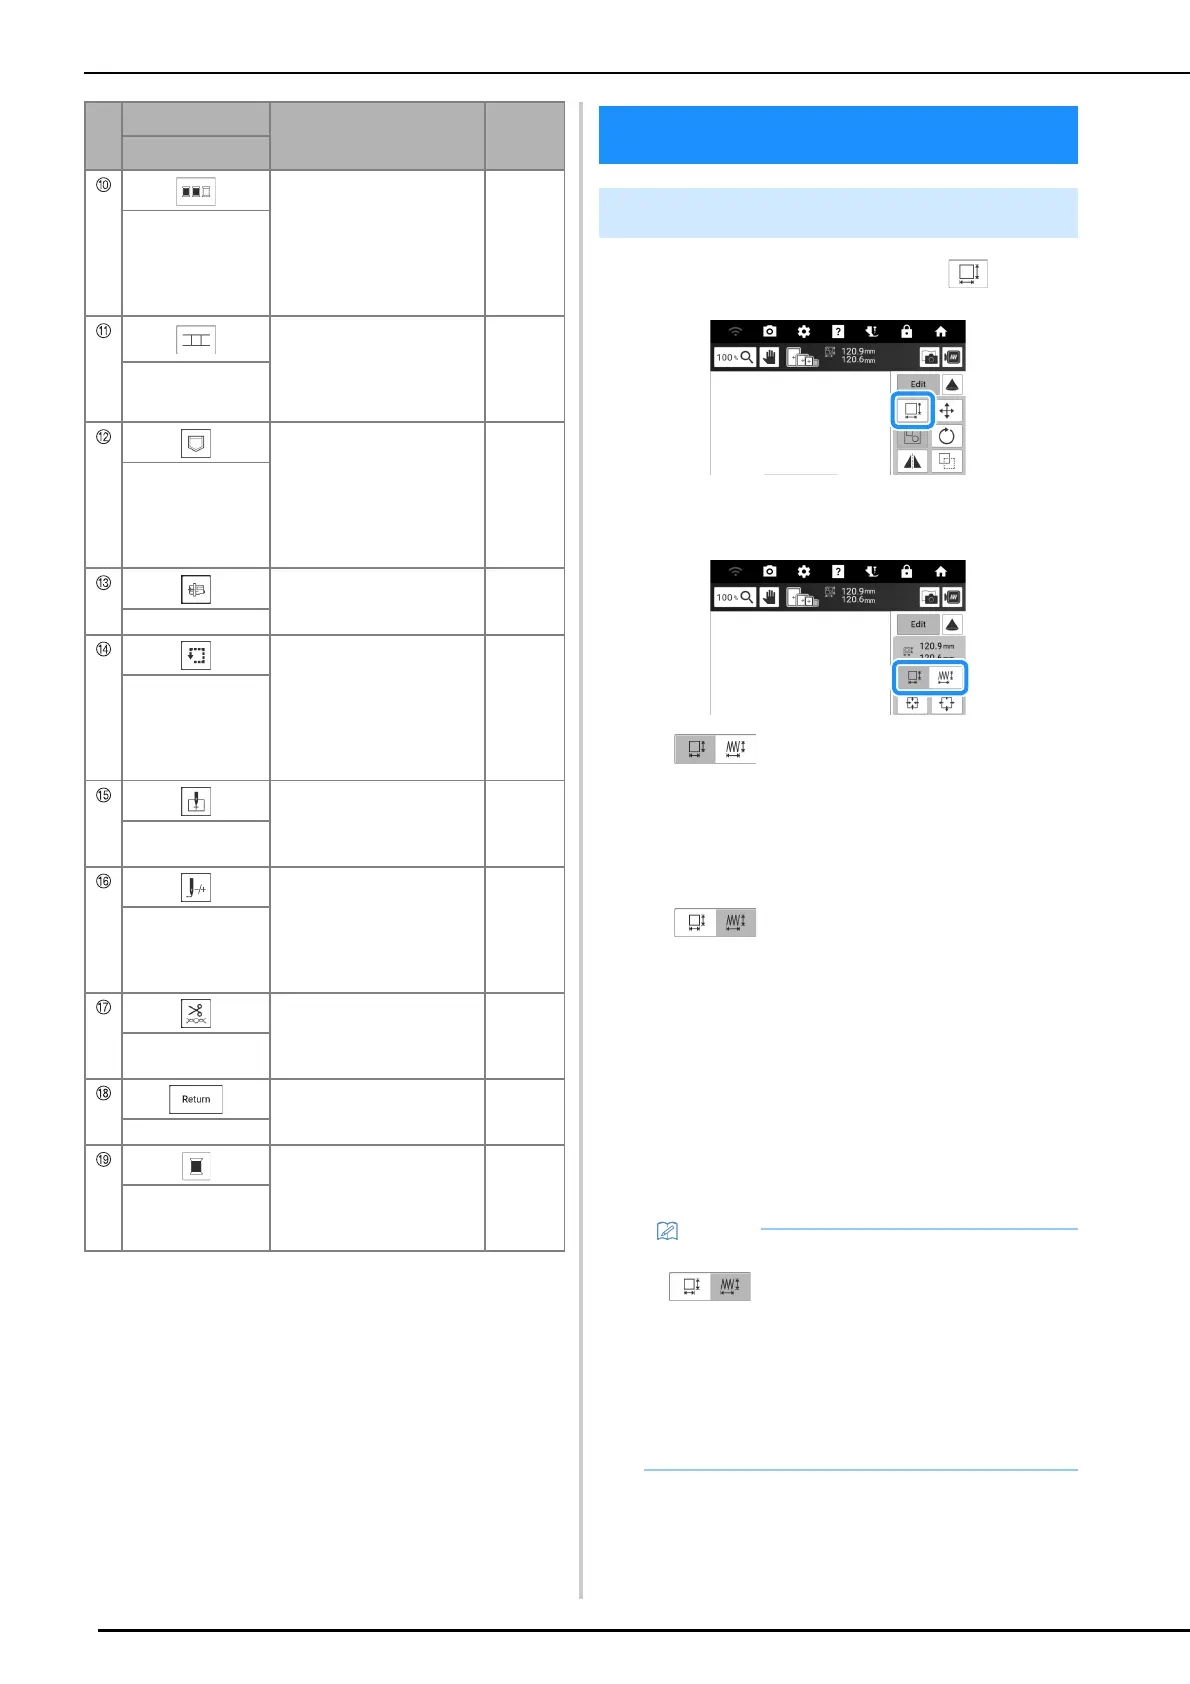
1 Touch [Edit], and then touch .
2 Select the size changing method.
*:
Change the pattern size while maintaining the
number of stitches. Enlarged patterns will be less
dense, and reduced patterns will be more dense.
In order to maintain embroidering quality, there is a
limit to how much the embroidery pattern can be
enlarged or reduced.
*:
With this function, the pattern will be enlarged or
reduced at a larger ratio than with normal pattern
resizing.
Change the pattern size while maintaining the
thread density. The number of stitches is
recalculated depending on the pattern size.
If this key appears in light gray and is not available,
this function cannot be used with the selected
pattern.
When making a border pattern, change the size
using this function and then apply the border
setting.
Touch this key to reduce the
number of thread color
changes by rearranging the
embroidering order for the
selected pattern to combine
parts of the same thread
color.
170
Color sorting key
Touch this key to start pattern
connecting embroidering.
You can connect the patterns
accurately using the built-in
camera.
217
Pattern connect
key
Touch this key to save a
pattern in the machine’s
memory or USB media. The
pattern can also be
transferred to a computer via
a wireless network
connection.
167
Memory key
Position the carriage so the
embroidery frame can easily
be removed or attached.
164
Frame move key
Touch this key to check the
position of the pattern.The
carriage moves to the
desired position so you can
check that there is enough
space to embroider the
pattern.
139
Trace area key
Touch this key to move the
needle start position to align
the needle with the pattern
position.
160, 174
Starting point key
Touch this key to move the
needle forward or back in the
pattern; useful if the thread
breaks while embroidering or
if you want to start again from
the beginning.
163
Forward/Back key
Touch this key to specify
automatic thread cutting,
thread trimming or the thread
tension.
141, 165
Cut/Tension key
Touch this key to return to the
previous screen.
—
Return key
Touch this key to switch the
progress bar (which shows
the embroidering progress)
between showing only one
color or all colors.
—
Progress bar
switching key
No.
Display
Explanation
Reference
Name
Editing Patterns
Changing the Size of the Pattern
• After the pattern size is changed using
, the thread density can be changed
in the embroidery edit screen. (page 143)
• If the pattern is enlarged and there is space
between stitches, a better effect can be
achieved by increasing the thread density.
• If the pattern is reduced and the stitching is too
thick, a better effect can be achieved by
reducing the thread density.