LCD Screen
Getting Ready
17
1
4 The message screen confirming if you
want to set time/date appears. Touch
[OK].
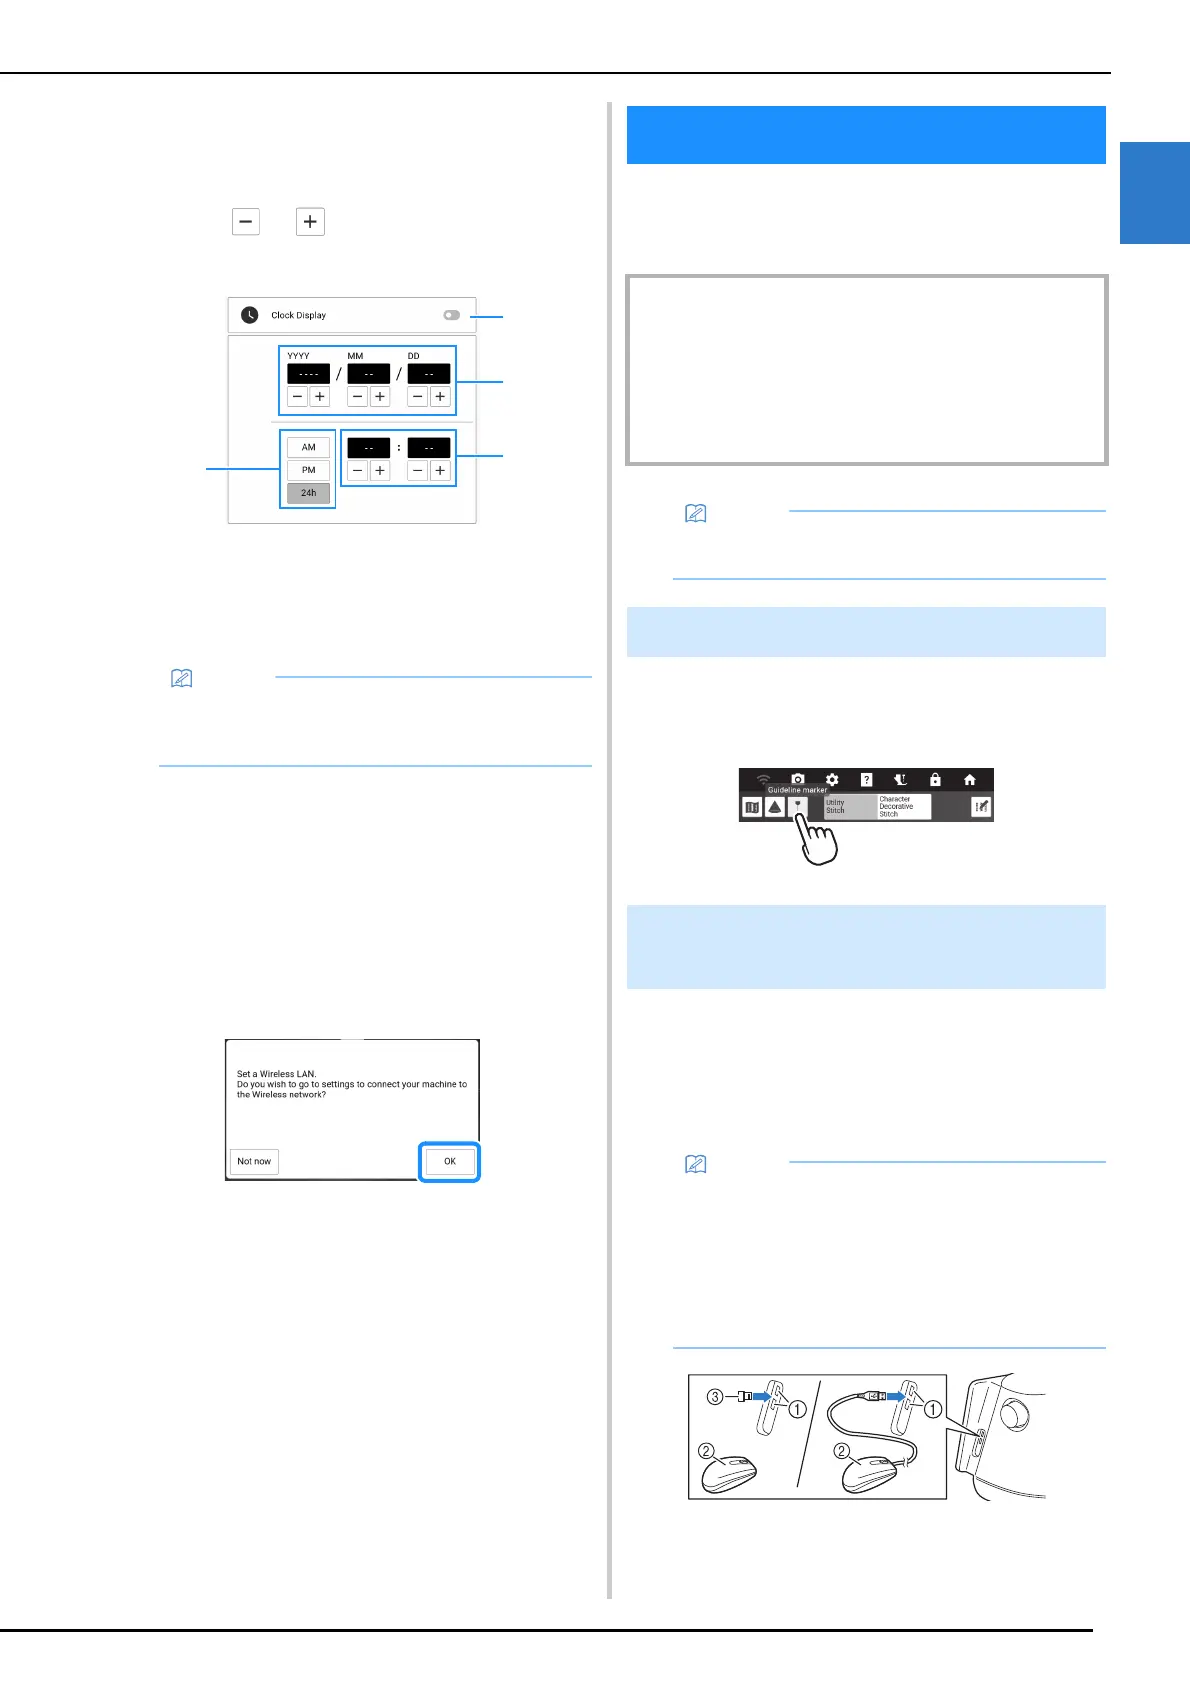
5 Touch or to set time/date. And
then touch [OK].
a Turn clock display on or off.
b Set the year (YYYY), month (MM) and date (DD).
c Select whether 24h or 12h setting to display.
d Set the current time.
6 The following message about a wireless
LAN connection appears. To set up a
connection, touch [OK], and then refer to
steps
5 through 8 of “Set Up the
Wireless Network Connection” on
page 32 to finish setting up a wireless
LAN connection.
7 The message screen confirming if you
want to set the voice guidance appears.
To turn on the voice guidance function,
touch [OK], and then refer to “Voice
Guidance” on page 28.
Touch the LCD screen or a key with your finger
or the included dual purpose stylus to select a
machine function. (page 15)
Some keys have a tooltip, which is a small
descriptive message that appears with a long
press of the key.
The USB mouse (commercially available) can be
connected to the USB port of the machine. The
left mouse button can be used to perform
operations such as choosing a design and
choosing menu keys.
a USB ports
b USB mouse
c Receiver for USB mouse
• The time/date you set may be cleared if you do
not turn on the machine for an extended
period of time.
LCD Screen
IMPORTANT
• Only touch the screen with your finger or the dual
purpose stylus included with the machine.
Do not use a mechanical pencil, screwdriver or any
other hard or sharp object. In addition, do not press the
screen with extreme pressure. Otherwise the screen
may be damaged.
• The screens and icons shown in the document
may differ from the actual ones.
Tooltips
Using a USB Mouse
(Commercially Available)
• Use a basic computer mouse to operate the
machine functions. Some USB mouse devices
may not be compatible with this machine.
• When the mouse is connected, the pointer
appears on the screen.
• Tooltips can be shown by moving the mouse
over the keys.