Align the Embroidering Position
160
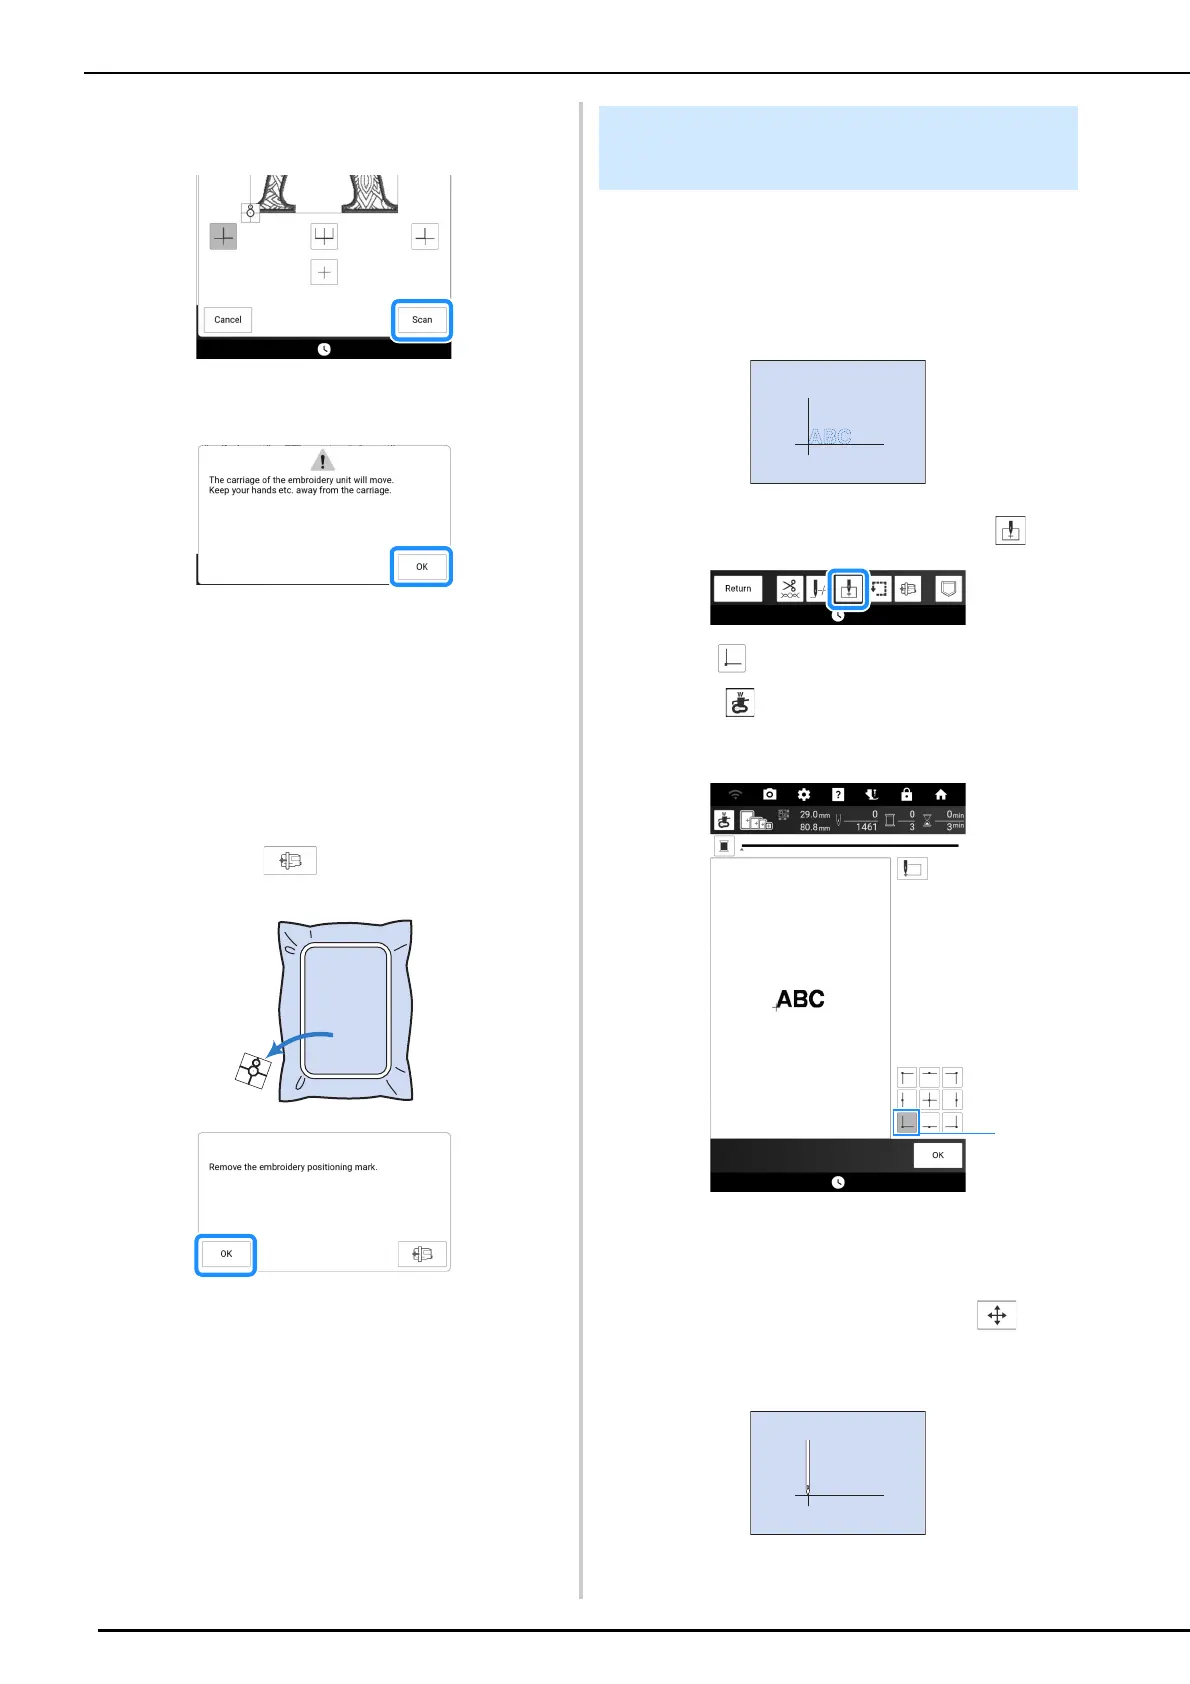
5 Touch [Scan].
* Attach embroidery foot “W” before touching [Scan].
6 Following message appears. Touch [OK].
The built-in camera automatically searches for the
embroidery positioning sticker, and then the
carriage is moved so that the selected reference
point of the embroidery pattern is aligned with the
embroidery positioning sticker.
7 A reminder message appears. Remove
the embroidery positioning sticker from
the fabric, and touch [OK].
* To remove the embroidery positioning sticker more
easily, touch so that the carriage moves
slightly forward and away from under the needle.
8 Press the “Start/Stop” button to begin
embroidering.
Example: Aligning the lower left side of a pattern
and the needle.
1 Mark the embroidery start position on the
fabric, as shown.
2 On the embroidery screen, touch .
3 Touch then touch [OK].
* When is touched, the pointer of the projector
indicates the needle drop point onto the fabric.
(page 139)
a Start position
The carriage will move to the specified needle
position.
4 Touch [Layout], and then touch . And
then align the needle and the mark on the
fabric.
Aligning the Pattern and the
Needle