Embroidering Quilting
203
Advanced Embroidery
5
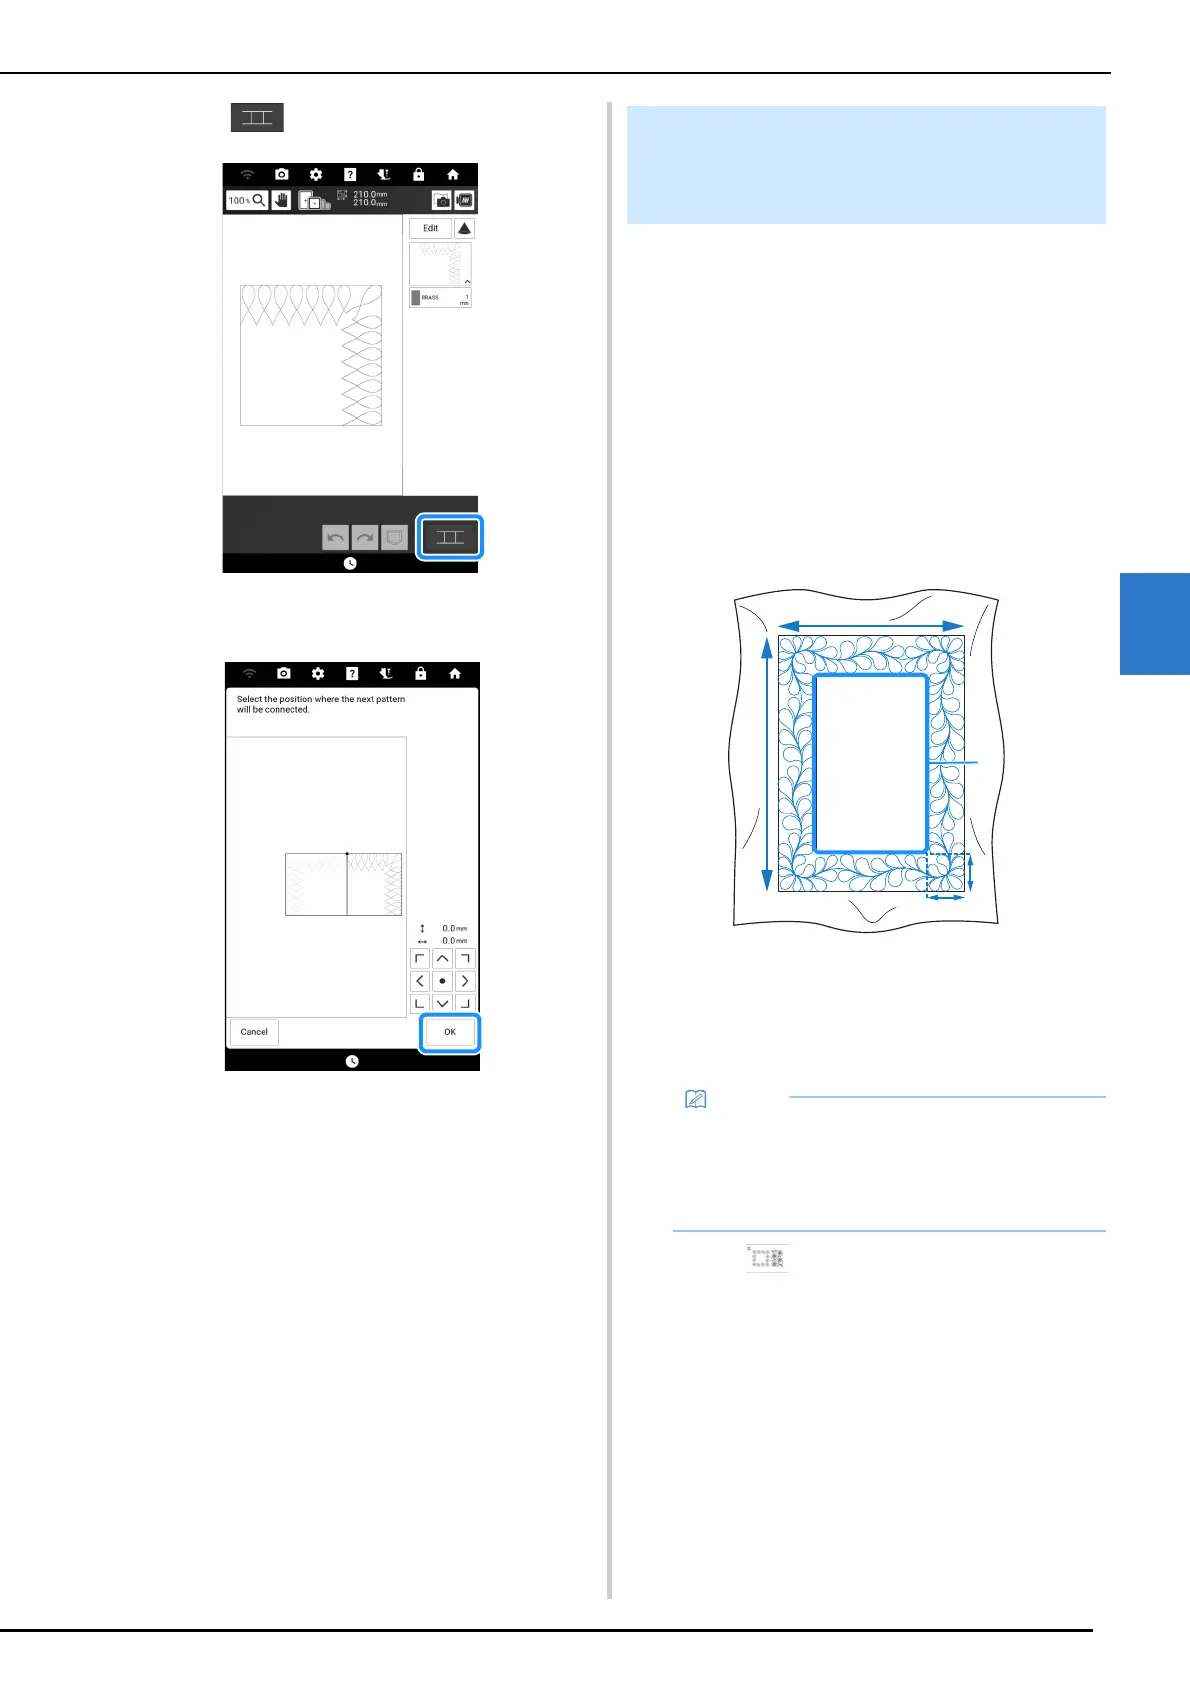
14 Touch .
15 Touch [OK].
16 Embroider the remaining sections
following step
13 through 19 of
“Aligning Pattern Edges” on page 217.
By rehooping the fabric to embroider connecting
patterns, a quilting border of up to 3 m × 3 m
(approx. 118 inches × 118 inches) can be
created. The pattern is positioned manually.
Creating Quilting Border Data
1
With a chalk pencil, mark the quilt top
with the inner outline of the quilting
border to be embroidered.
Measure the size of the quilting border.
a Inner outline (used for positioning)
b Width (includes the width of borders)
c Height (includes the height of borders)
d Width of quilting border
2 Touch .
Embroidering Quilting Border
Patterns (Semi-Auto Split Quilt
Sash)
• Be sure to cut the quilt layers (quilt top,
batting, and quilt backing) with an excess of
about 10 cm (approx. 4 inches) so that the
quilt will extend to the edges of the embroidery
frame.