Using the Projector with the Dual Purpose Stylus
70
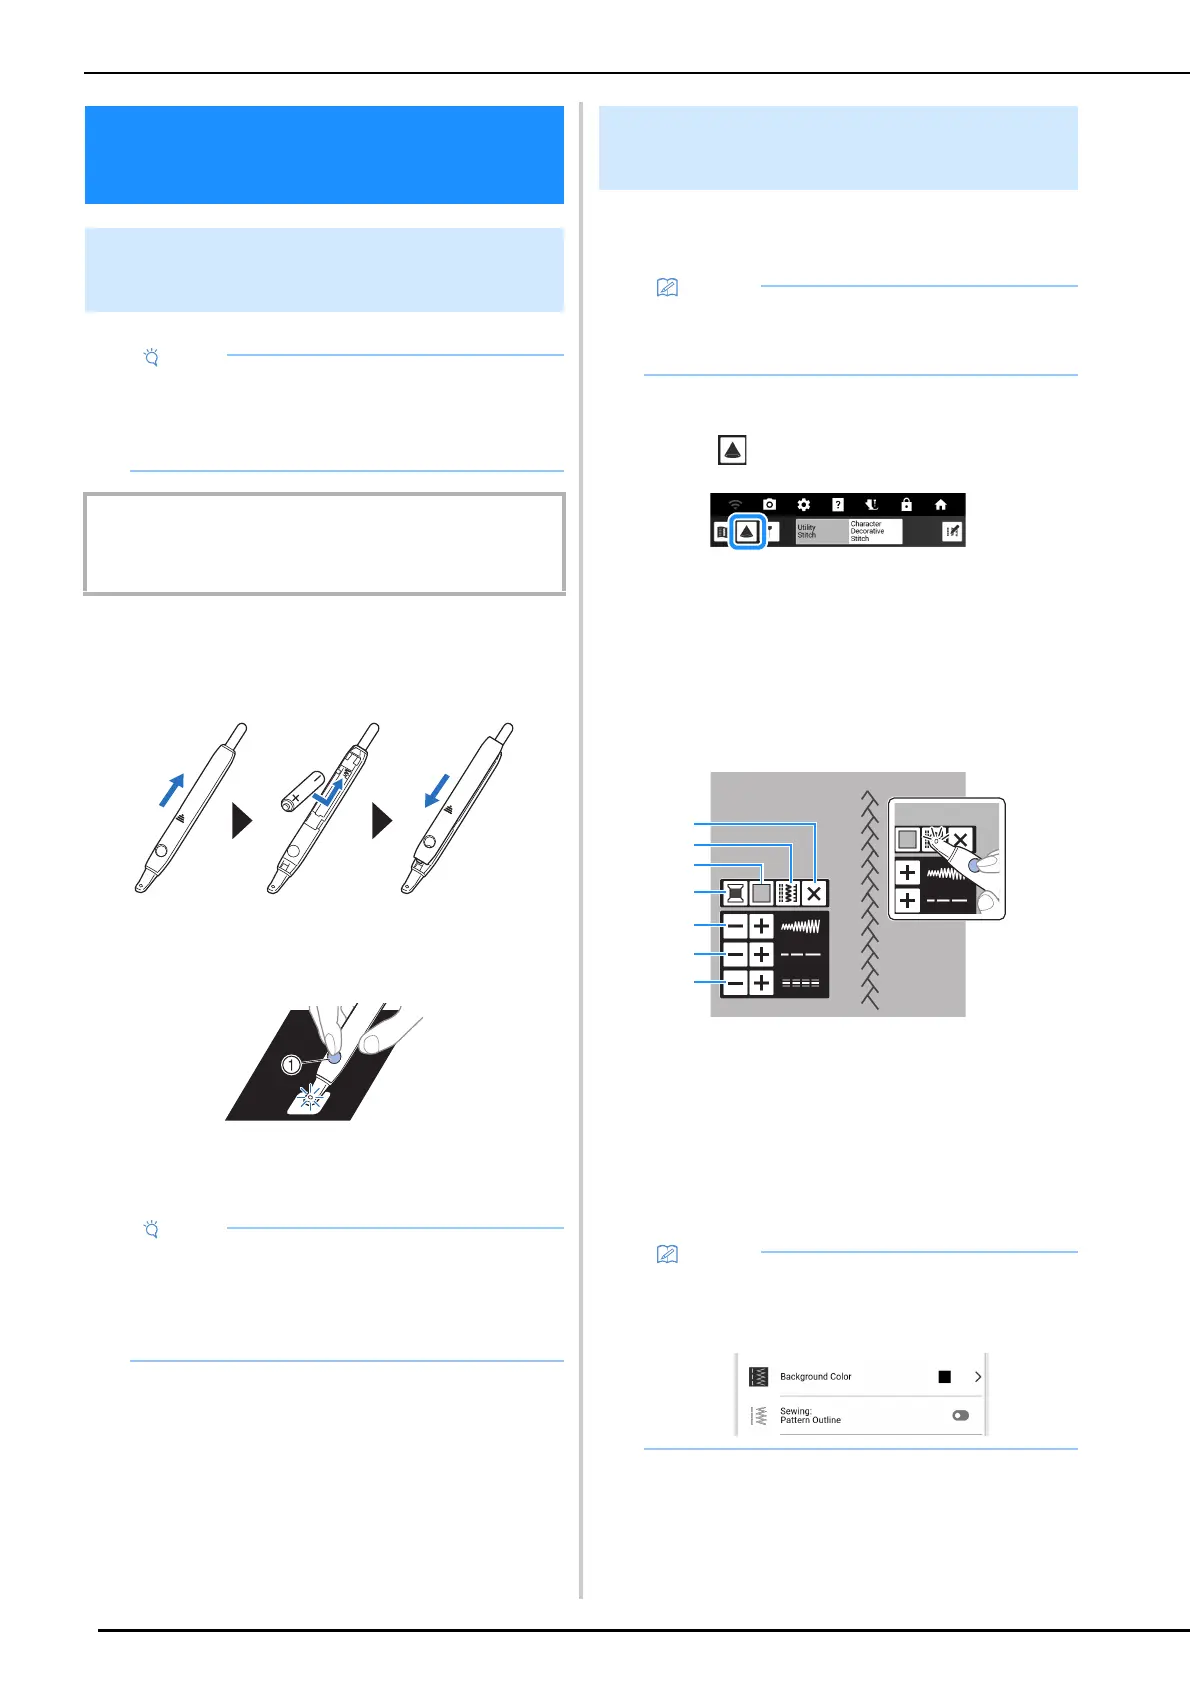
1 Install a new AAA alkaline battery (LR03)
in the dual purpose stylus with the
negative end (-) pointing up.
2 Press the button to light the dual purpose
stylus.
a Button
After the built-in camera detects the light, you can
operate the projector with the dual purpose stylus.
Using the projector, the selected stitch pattern
can be projected onto the fabric.
1 Select a stitch pattern.
2 Touch .
The selected stitch pattern and the adjustment
keys are projected onto the fabric.
3 Place the dual purpose stylus over the
key that you wish to operate, and then
press the button to turn on the light.
* After the built-in camera detects the light, you can
operate the projector with the dual purpose stylus.
a Turn off the projector.
b Select a different stitch pattern. (page 71)
c Change the [Background Color] setting.
d Change the thread color displayed on the
projection.
e Set the stitch width.
f Set the stitch length.
g Set the [L/R Shift].
Using the Projector with
the Dual Purpose Stylus
Operating the Projector with the
Dual Purpose Stylus
• Do not disassemble or modify the dual
purpose stylus.
• Do not use metallic objects, such as tweezers
or a metallic pen, when changing the battery.
IMPORTANT
• Remove the battery if you do not intend to use the dual
purpose stylus for an extended period of time.
• Do not put your hand, fabric or any object
between the built-in camera and the light-
emitting part of the dual purpose stylus,
otherwise the built-in camera cannot detect
the light from the dual purpose stylus.
Projecting/Editing the Stitch
Pattern with the Projector
• The illustrations of the projections shown in
this manual are for illustrative purposes only
and may differ from the actual projections.
• In the settings screen, settings for the
background color of the projector and outline
of stitch patterns can be specified. (page 24)