Various Embroidering with My Design Center
251
My Design Center
6
After embroidering the quilt top, use the scanning
feature to align the patterns.
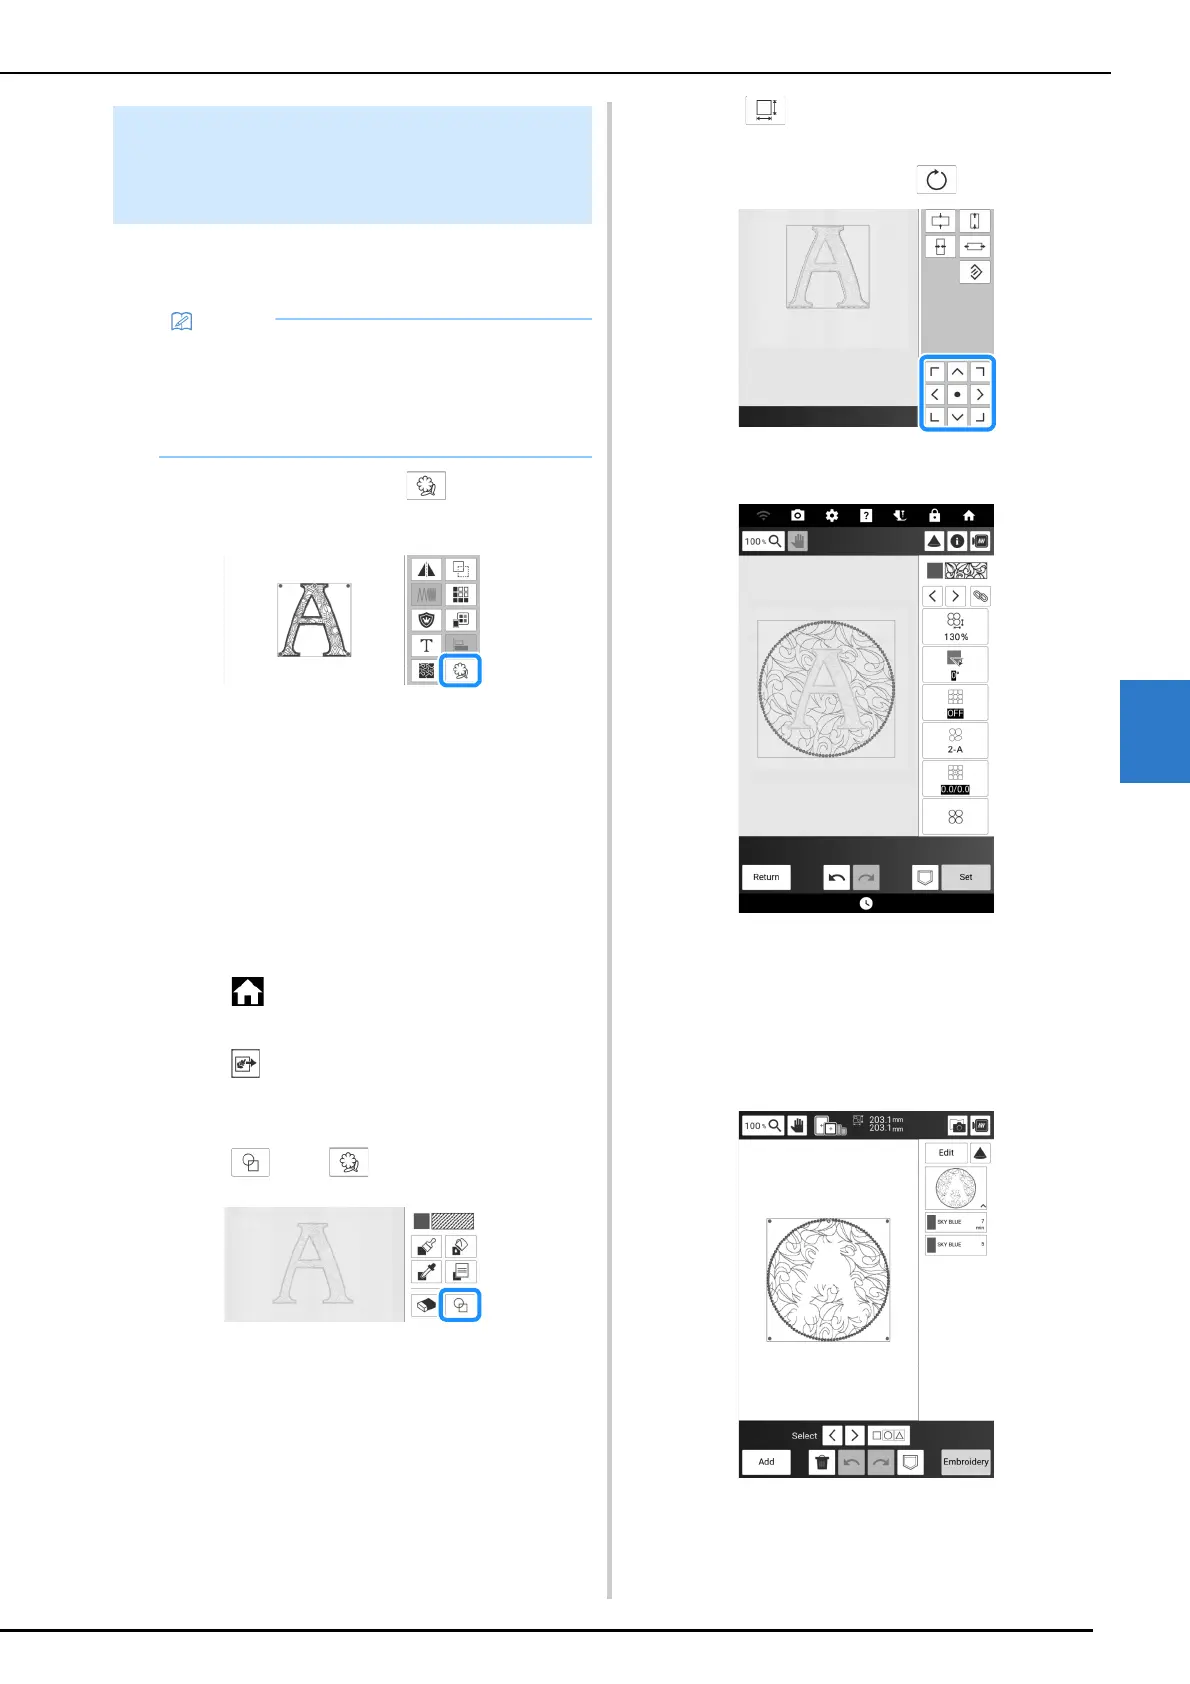
1 Select a pattern. Touch and register
the pattern outline as a stamp. (page 249)
2 Touch [Embroidery] and then embroider
the pattern.
3 Remove the embroidered quilt top from
the embroidery frame. Tear off the
stabilizer. Layer with batting and
backing, then secure the three layers
together in the embroidery frame.
4 Attach the embroidery frame.
5 Touch then [OK]. Touch [My Design
Center] in the home page screen.
6 Touch then [Image scan]. Touch
[Scan] to scan the embroidered fabric.
(page 244)
7 Touch then .
8 Select the saved outline in step 1.
9 Touch and then arrange the stamp
over the scanned pattern.
* To rotate the stamp, touch .
10 Edit the pattern and then touch [Next].
11 Specify the stitch settings, and then
touch [Set].
* For details, refer to “Specifying Individual Stitch
Settings” on page 238.
The embroidery edit screen appears after touching
[OK].
When Embroidering with Batting
Sandwiched Between Two Layers
of Fabric
• For best results, reduce the embroidery
speed.
• For best results, hoop the stabilizer and quilt
top and embroider the design prior to adding
the batting and backing.