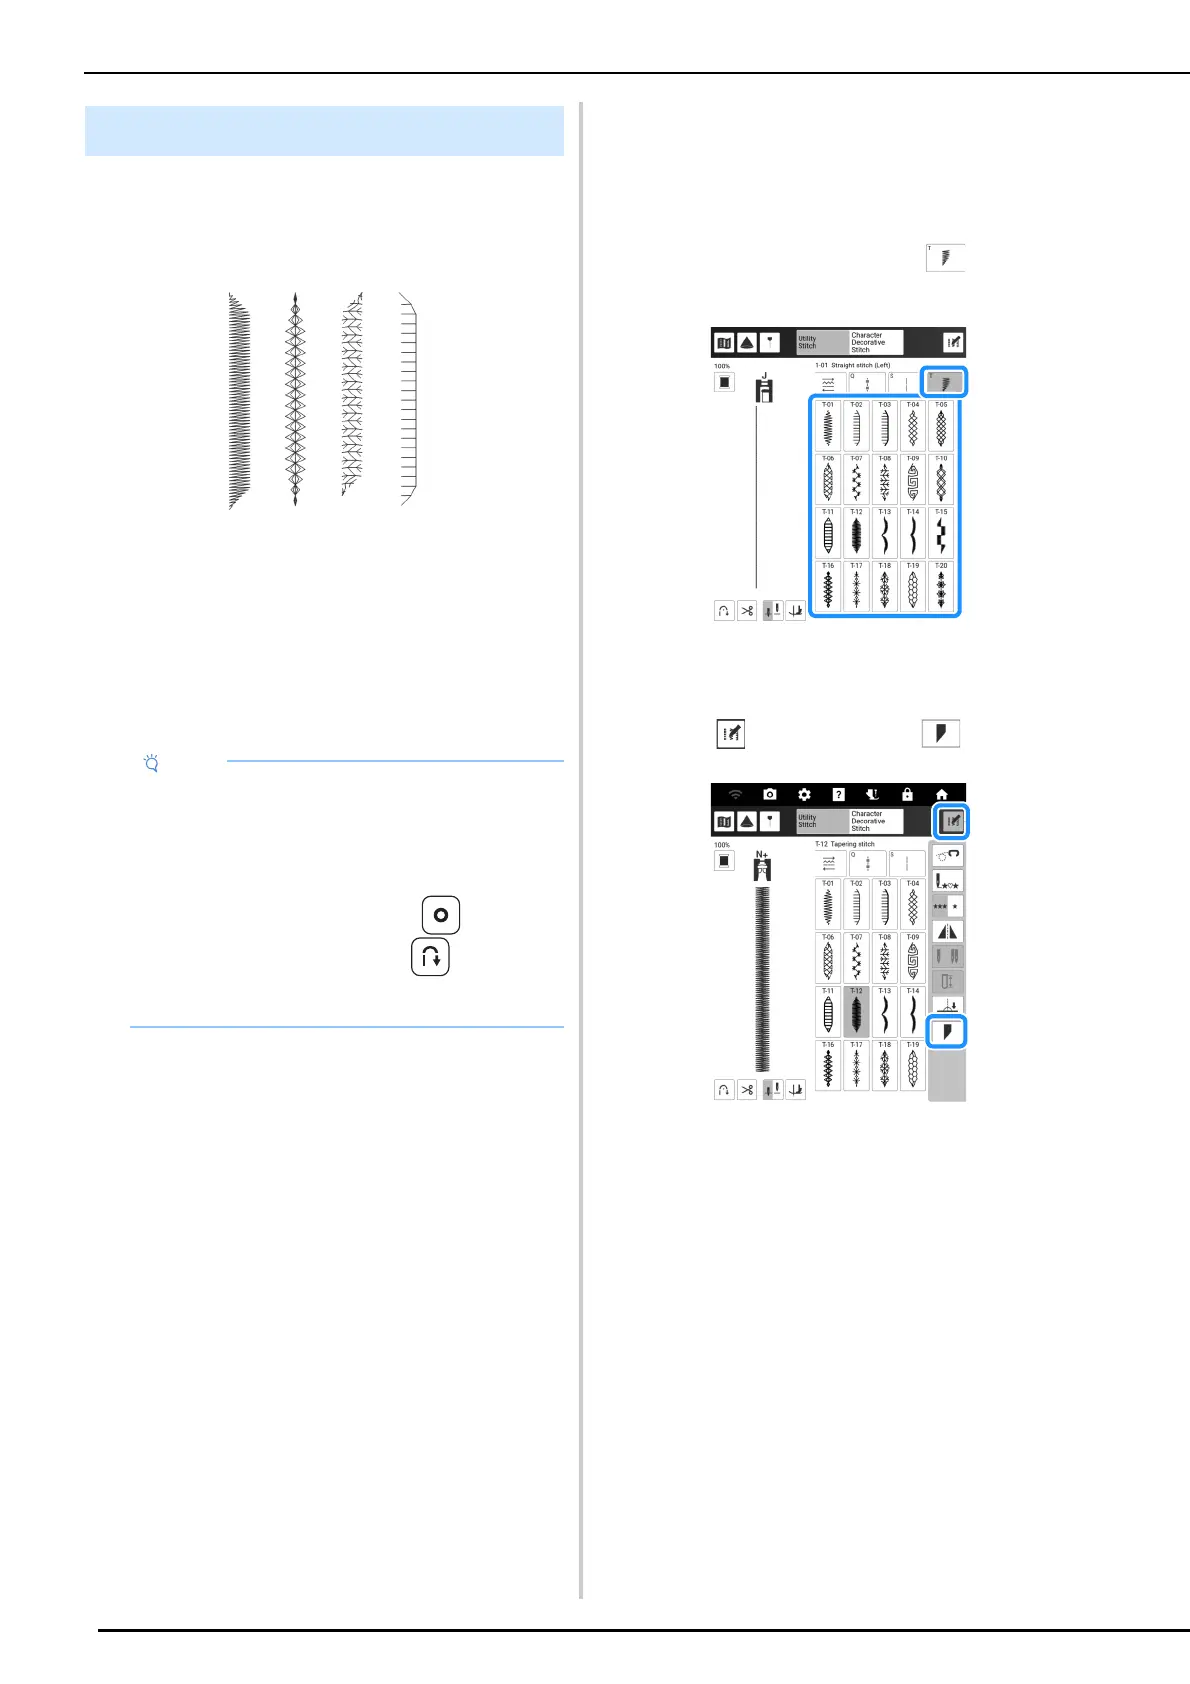
Utility Stitches
98
The angles of the start and end of stitch patterns
can be changed. This is useful when sewing
projects with sharply defined angles or decorative
stitching, attaching appliqués, etc.
Use the method for finishing the stitch pattern,
according to your needs.
• “Method 1: Begin Changing the Angle at the
End of Sewing by Pressing the “Reverse
Stitch” Button” on page 98
• “Method 2: Sewing a Specified Number of
Stitch Patterns” on page 100
• “Method 3: Specifying the Sewing End Point
with an End Point Sticker” on page 100
Method 1: Begin Changing the
Angle at the End of Sewing by
Pressing the “Reverse Stitch”
Button
1
Touch [Utility Stitch], then , and then
select a stitch pattern for stitch tapering.
2 If necessary, change the stitch width and
stitch length.
3 Touch , and then touch .
Stitch Tapering Function
• Using the same material and stitch pattern as
your project, sew trial stitches to check the
result. If necessary, attach a stabilizer
material.
•
If reinforcement stitches at the beginning and
end of sewing are needed, use
(Reinforcement stitch button). (Reverse
stitch button) cannot be used for reinforcement
stitching when stitch tapering function is on.