SV-KNOB-PANEL Installation
SkyView System Installation Guide - Revision AA 19-3
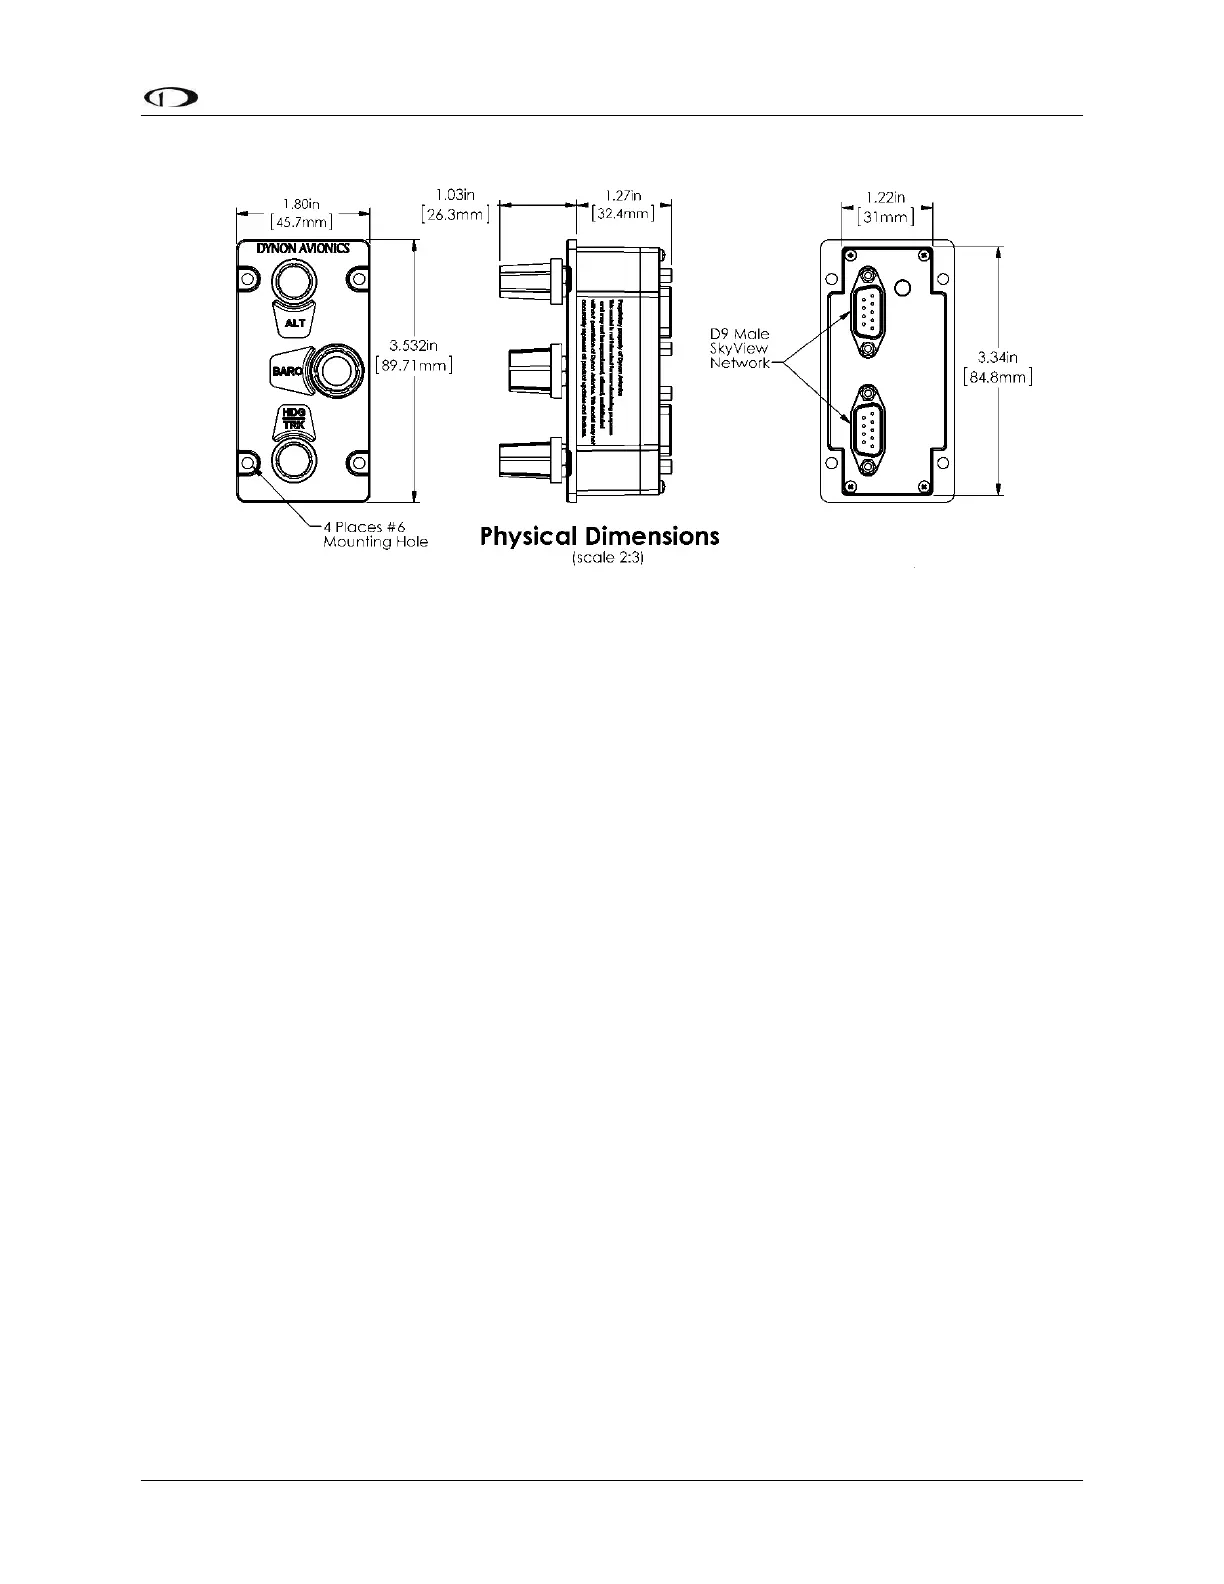
Figure 199 – SV-KNOB-PANEL Dimensions
Electrical Installation
SkyView Network
The SV-KNOB-PANEL has two SkyView Network connections (D9 connectors). Both connectors
are electrically identical and are internally connected. Thus, the SV-KNOB-PANEL can be
installed in the SkyView Network as a “pass-through” device, or “daisy chained” from one
SkyView Network device, through the SV-KNOB-PANEL, to the next SkyView Network device.
The SV-NET-1.5CC is an 18-inch SkyView Network cable that is ideal for such situations. The SV-
AP-PANEL receives power (for operation of the buttons) from SkyView Network. Backlighting of
the SV-KNOB-PANEL is controlled by the SkyView display(s).
Network Setup
As with all other SkyView Network devices, the SV-KNOB-PANEL must be configured into the
SkyView Network:
Go to SETUP MENU > SYSTEM SETUP > SKYVIEW NETWORK SETUP > CONFIGURE > (right
click) > DETECT (button).
The SV-KNOB-PANEL(s) will be listed.
FINISH (button) > EXIT (button)
Post Installation Checks
Verify the knobs work as expected.
Verify dim commands from SkyView display dim the backlighting of the SV-KNOB-
PANEL.