SV-ARINC-429 Installation and Configuration
12-2 SkyView System Installation Guide - Revision AA
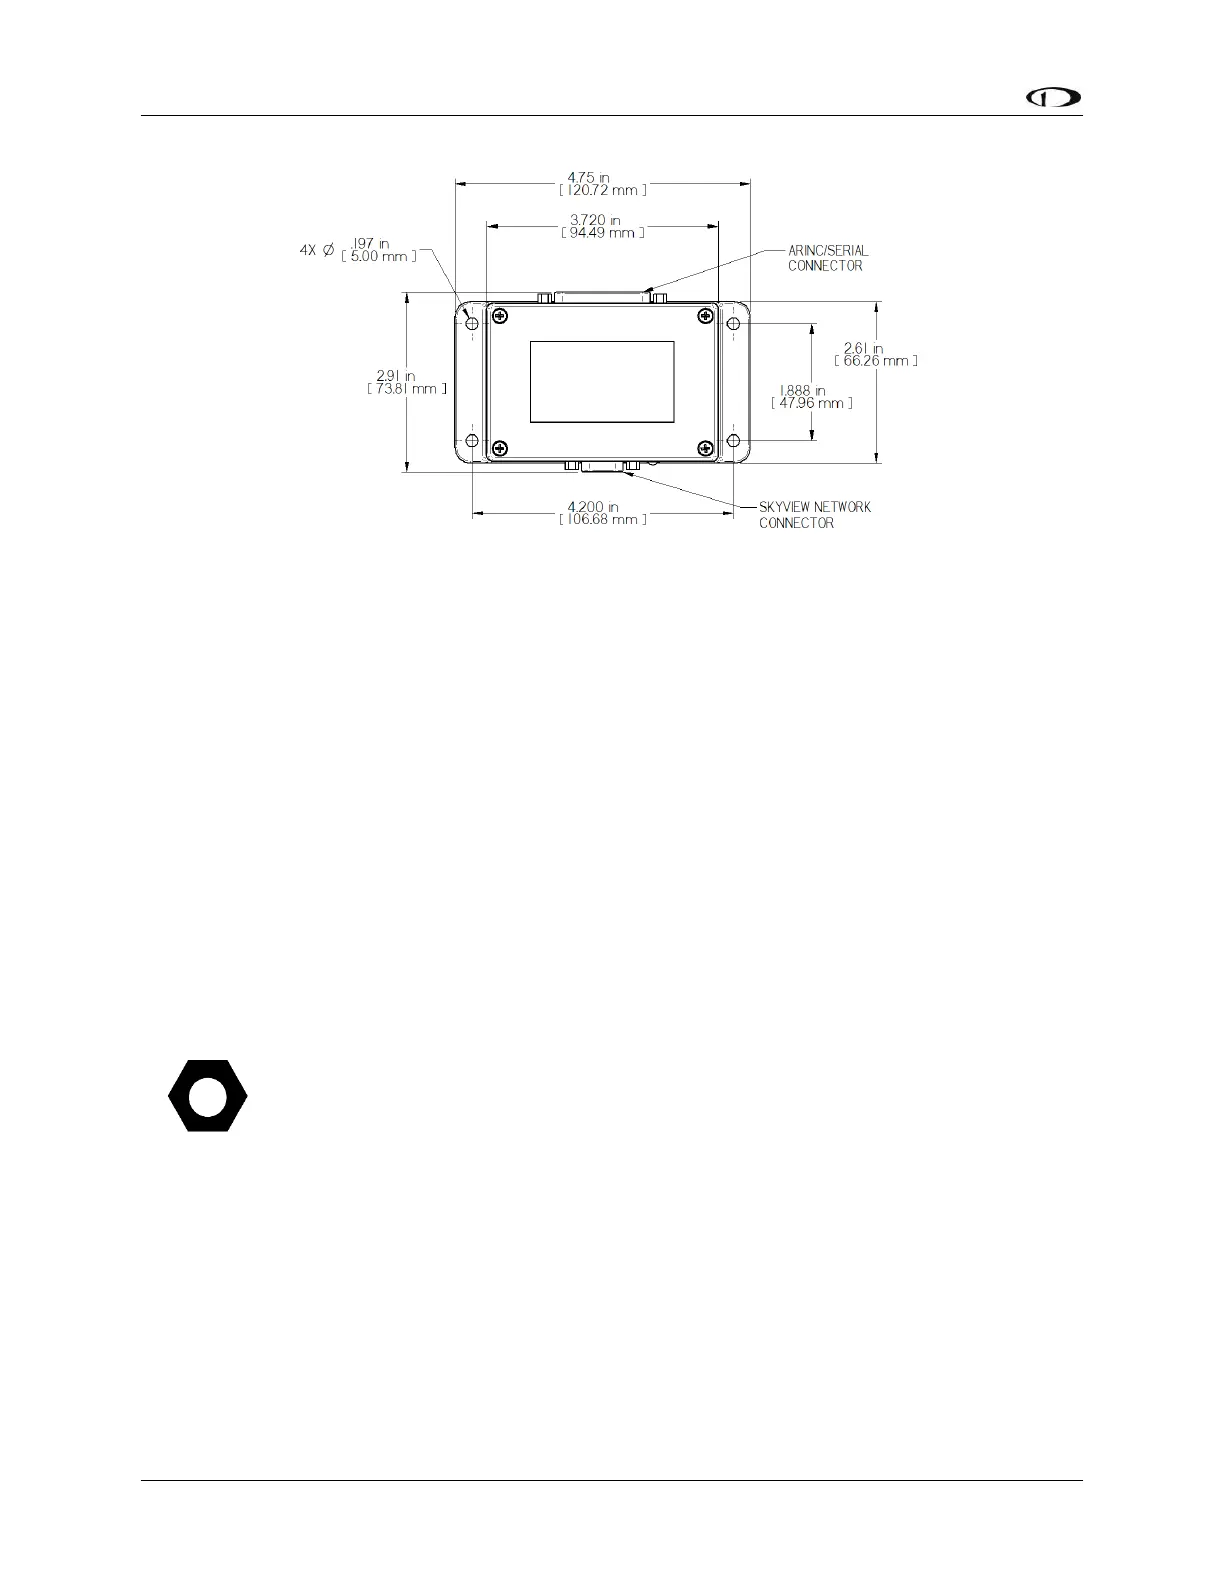
Figure 148 – SV-ARINC-429 Mounting Dimensions with Electrical Connections
The SV-ARINC-429 does not provide mounting hardware. The mounting tabs on each side of the
module have holes sized for #10 fasteners, but it is up to the installer to decide how the SV-
ARINC-429 will be secured to the aircraft.
Follow recommended torque practices when tightening the mounting hardware. Do not rivet
the SV-ARINC-429 to the aircraft as this will hinder future removal if necessary.
SkyView Network Connection
Connect the SV-ARINC-429 module to the SkyView network using the hardware mentioned in
the SkyView System Construction Section or using equivalent hardware.
If you have to install a connector on the end of a network cable, insert all pins into the D9
connector. Refer to Appendix C: Wiring and Electrical Connections for details on connector
pinouts and wire colors.
Remember to configure the network as described in the Network Setup and Status
section after connecting all modules to a display.
ARINC-429 Device Connection
Harness Construction
Because the SV-ARINC-429 can be connected to a variety of devices, the harness requirements
will vary from airplane to airplane. Therefore, Dynon Avionics does not supply pre-
manufactured harnesses for the SV-ARINC-429 module. Instead, your SV-ARINC-429 shipped
with enough connectors and pins to generate a wide variety of harness configurations. Refer to
the sections below for detailed wiring information.