Note: If the grease is properly applied, approximately half of the grease will
remain in the syringe.
7. Install the heat sink onto the microprocessor as described in Install the heat
sink.
Removing a heat-sink retention module
IBM authorized service providers can remove and replace a heat-sink retention
module in the file module. The following procedure is for a field replaceable unit
(FRU). FRUs must be installed only by trained service technicians.
About this task
To remove a heat-sink retention module, complete the following steps:
Procedure
1. Read the Safety information and “Installation guidelines” on page 94.
2. Follow the procedure in “Removing a file module and disconnecting power” on
page 92 to suspend the file module from the cluster and shut it down, and then
disconnect all power cords and external cables.
3. Remove the cover (see “Removing the cover” on page 123).
4. Remove the applicable air baffle, and then remove the heat sink and
microprocessor. See “Removing a microprocessor and heat sink” on page 166
for instructions, and then continue with step 5.
Attention: When you remove a microprocessor and heat sink, be sure to keep
each heat sink with its microprocessor for reinstallation.
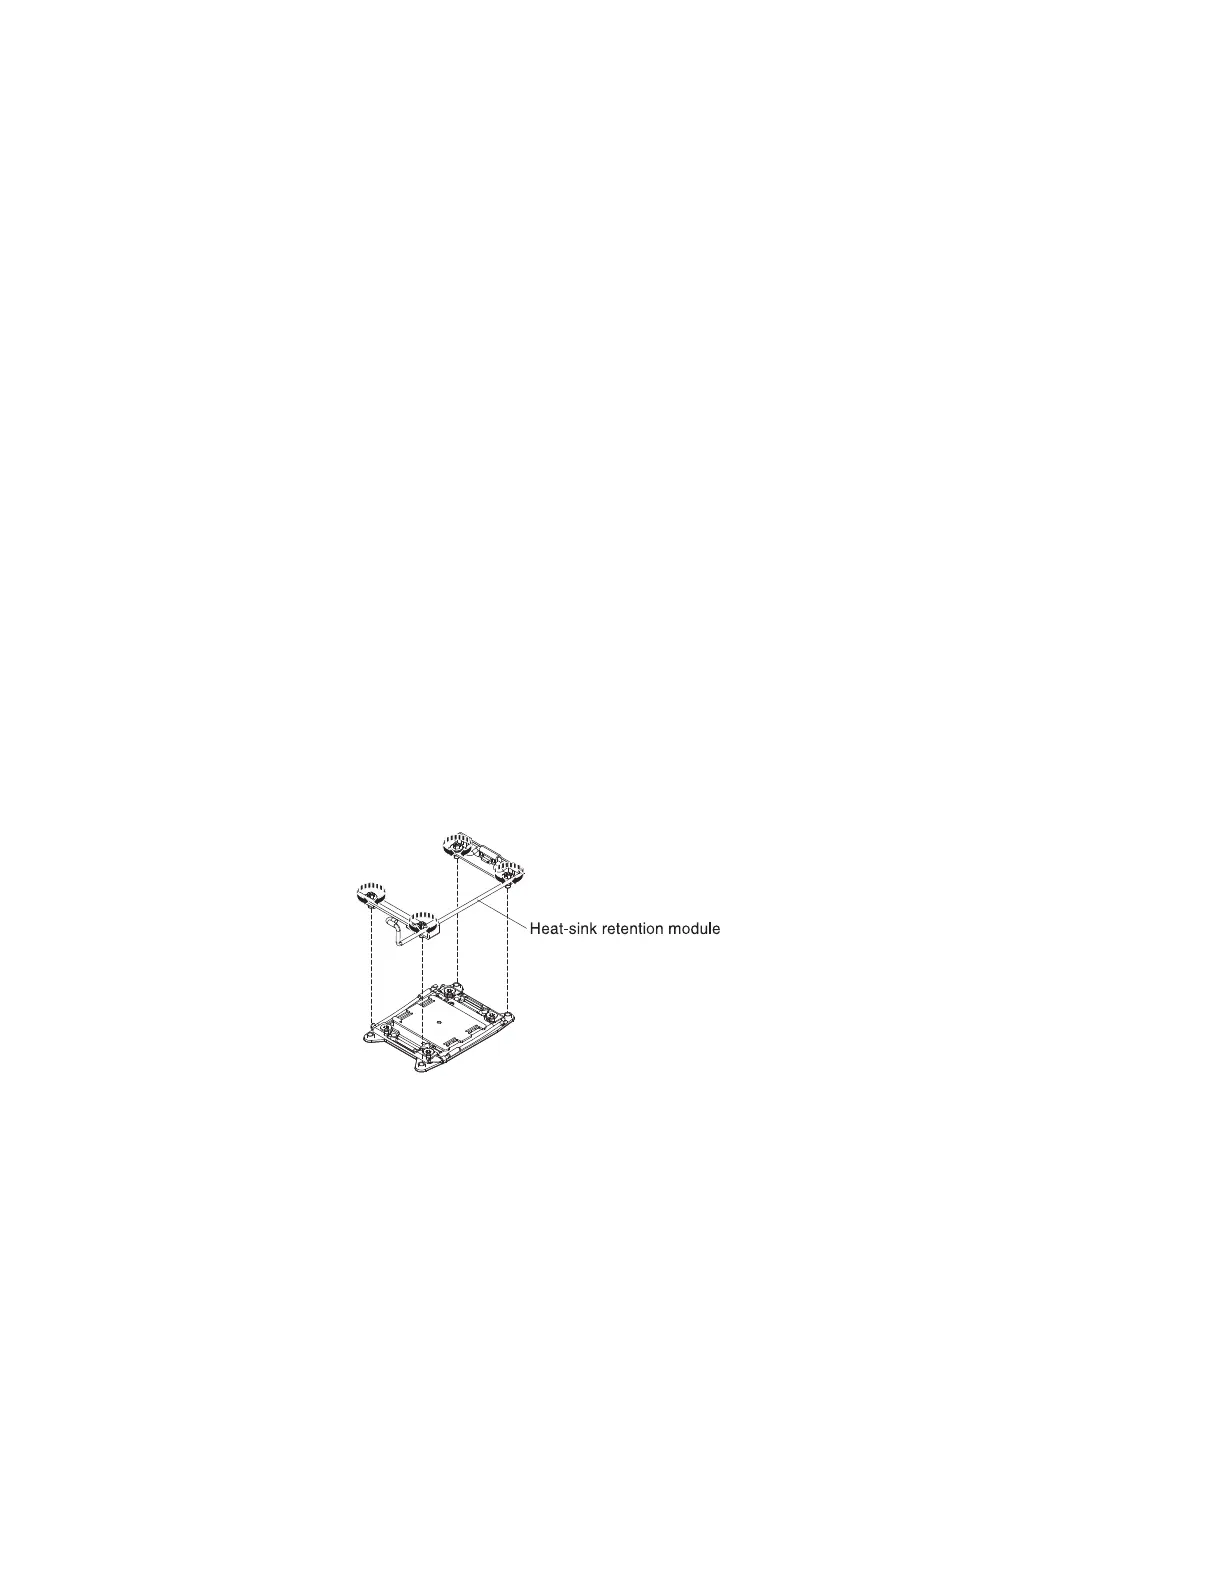
5. Use a screwdriver and remove the four screws that secure the retention module
to the system board; then, lift the retention module from the system board.
6. If you are instructed to return the heat-sink retention module, follow all
packaging instructions, and use any packaging materials for shipping that are
supplied to you.
Installing a heat-sink retention module
IBM authorized service providers can remove and replace a heat-sink retention
module in the file module. The following procedure is for a field replaceable unit
(FRU). FRUs must be installed only by trained service technicians.
About this task
To install a heat-sink retention module, complete the following steps:
176 Storwize V7000 Unified: Problem Determination Guide 2073-720
 Loading...


