3-38 Return to Section Topics 4200-900-01 Rev. K / February 2017
Section 3: Common Device Characterization Tests Model 4200-SCS User’s Manual
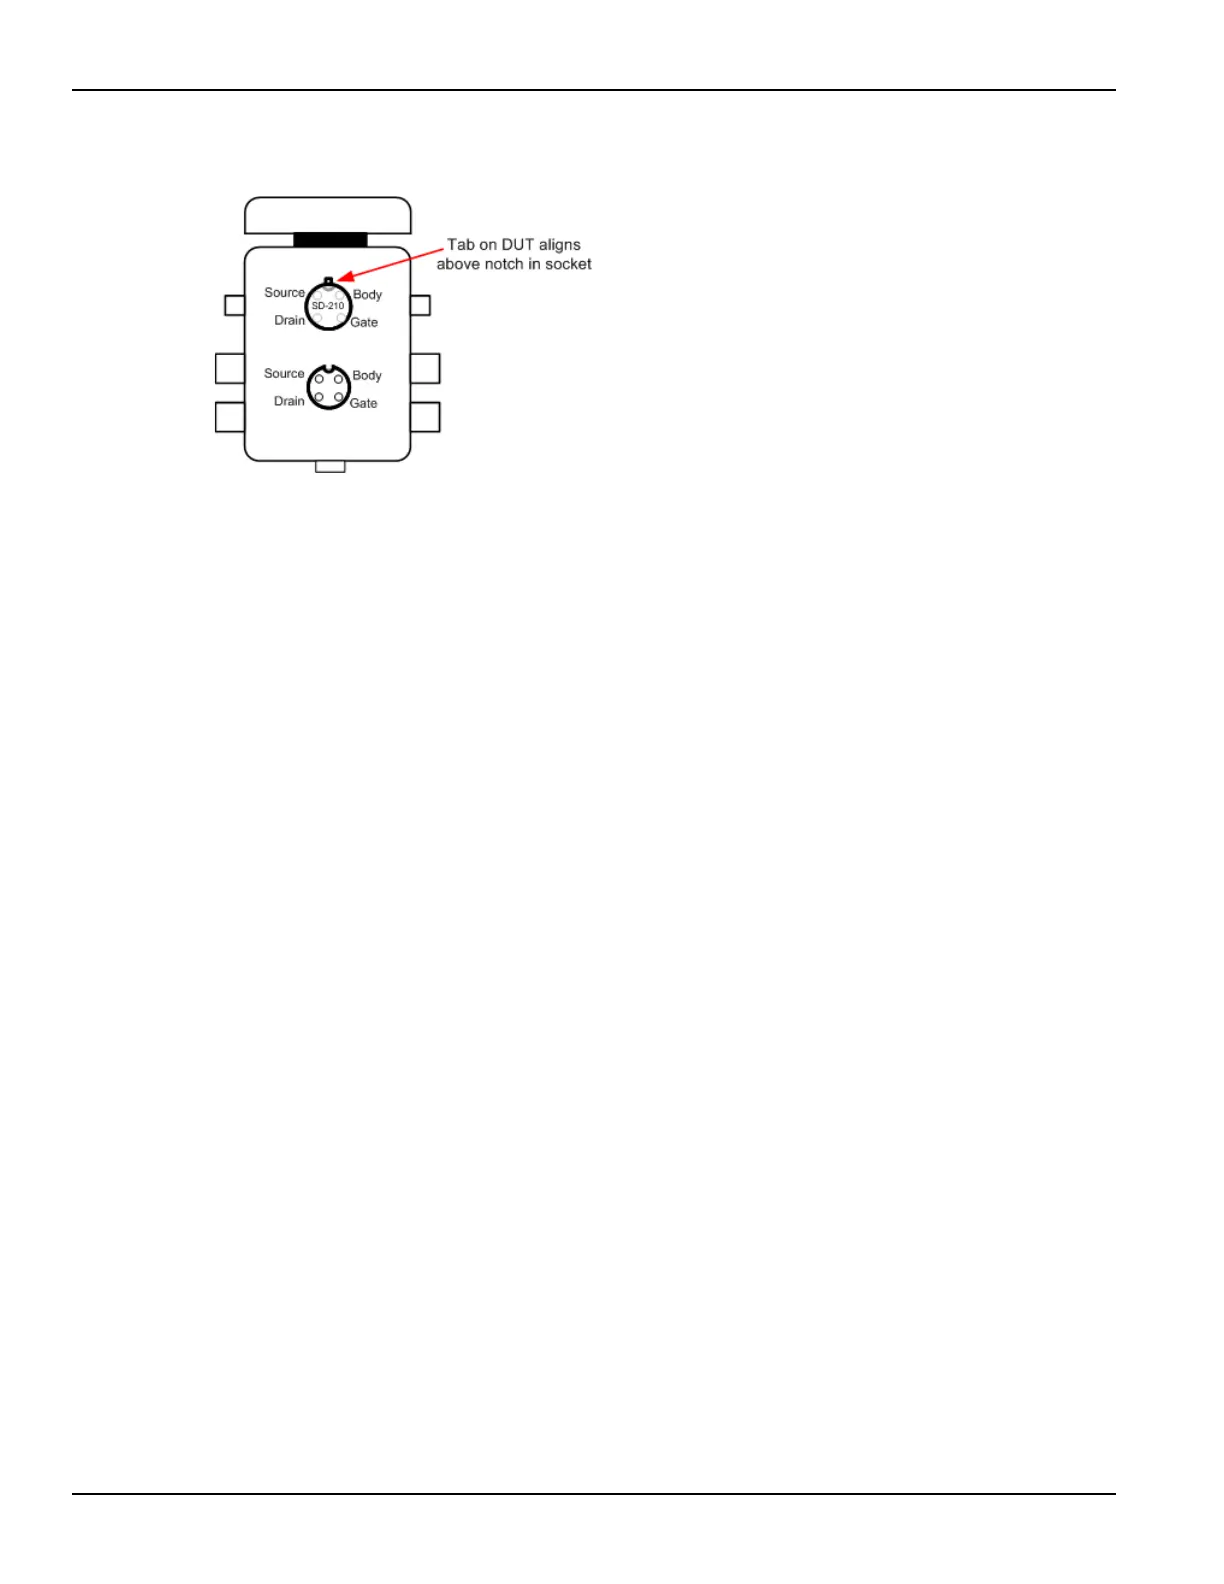
Figure 3-35
DUT inserted in pulse socket of 8101-PIV test fixture
Using the PulseIV-Complete project for the first time
To use the PulseIV-Complete project:
1. Connect PIV-A as explained above in PIV-A interconnect assembly procedure on
page 3-35.
2. If KITE is not running, start KITE by double-clicking the KITE icon on the 4200-SCS
desktop.
3. Open the PulseIV-Complete project as follows:
a. Click File > Select Open Project.
b. If necessary, move up one level to display all the project folders, and double-click the
_Pulse folder.
c. Double-click on the PulseIV-Complete folder.
d. Double-click Pulse-IV-Complete.kpr to open the project. Figure 3-36 shows the
project plan that is displayed on the left side of the KITE window.
4. Connect or touch-down on the chosen DUT.
5. Verify the setup as follows:
i. Follow the instructions for Running scope-shot to validate proper setup and operation of the
PIV-A package. Ensure that both the gate and drain waveforms are visible and do not have
any significant ringing or overshoot (see Figure 3-45).
ii. Try running vds-id-pulse (Running vds-id-pulse UTM) or vgs-id-pulse (Running vgs-id-pulse
UTM)and look for a characteristic response.
If desired, DC IV tests may also be run (Running vds-id DC ITM, Running vgs-id DC
ITM). Once both the scope-shot and a pulse IV test have been verified, pulse system
calibration can be performed.
6. Calibration: Perform the necessary pulse calibrations explained in Running AutocalScope
and Running PulseIVCal.
7. After successful pulse calibrations, the system is now ready to be used for pulse and DC
characterization of transistor devices.
 Loading...