215184 189 Revision A
Figure 6.31: Right Side of Wide Configuration
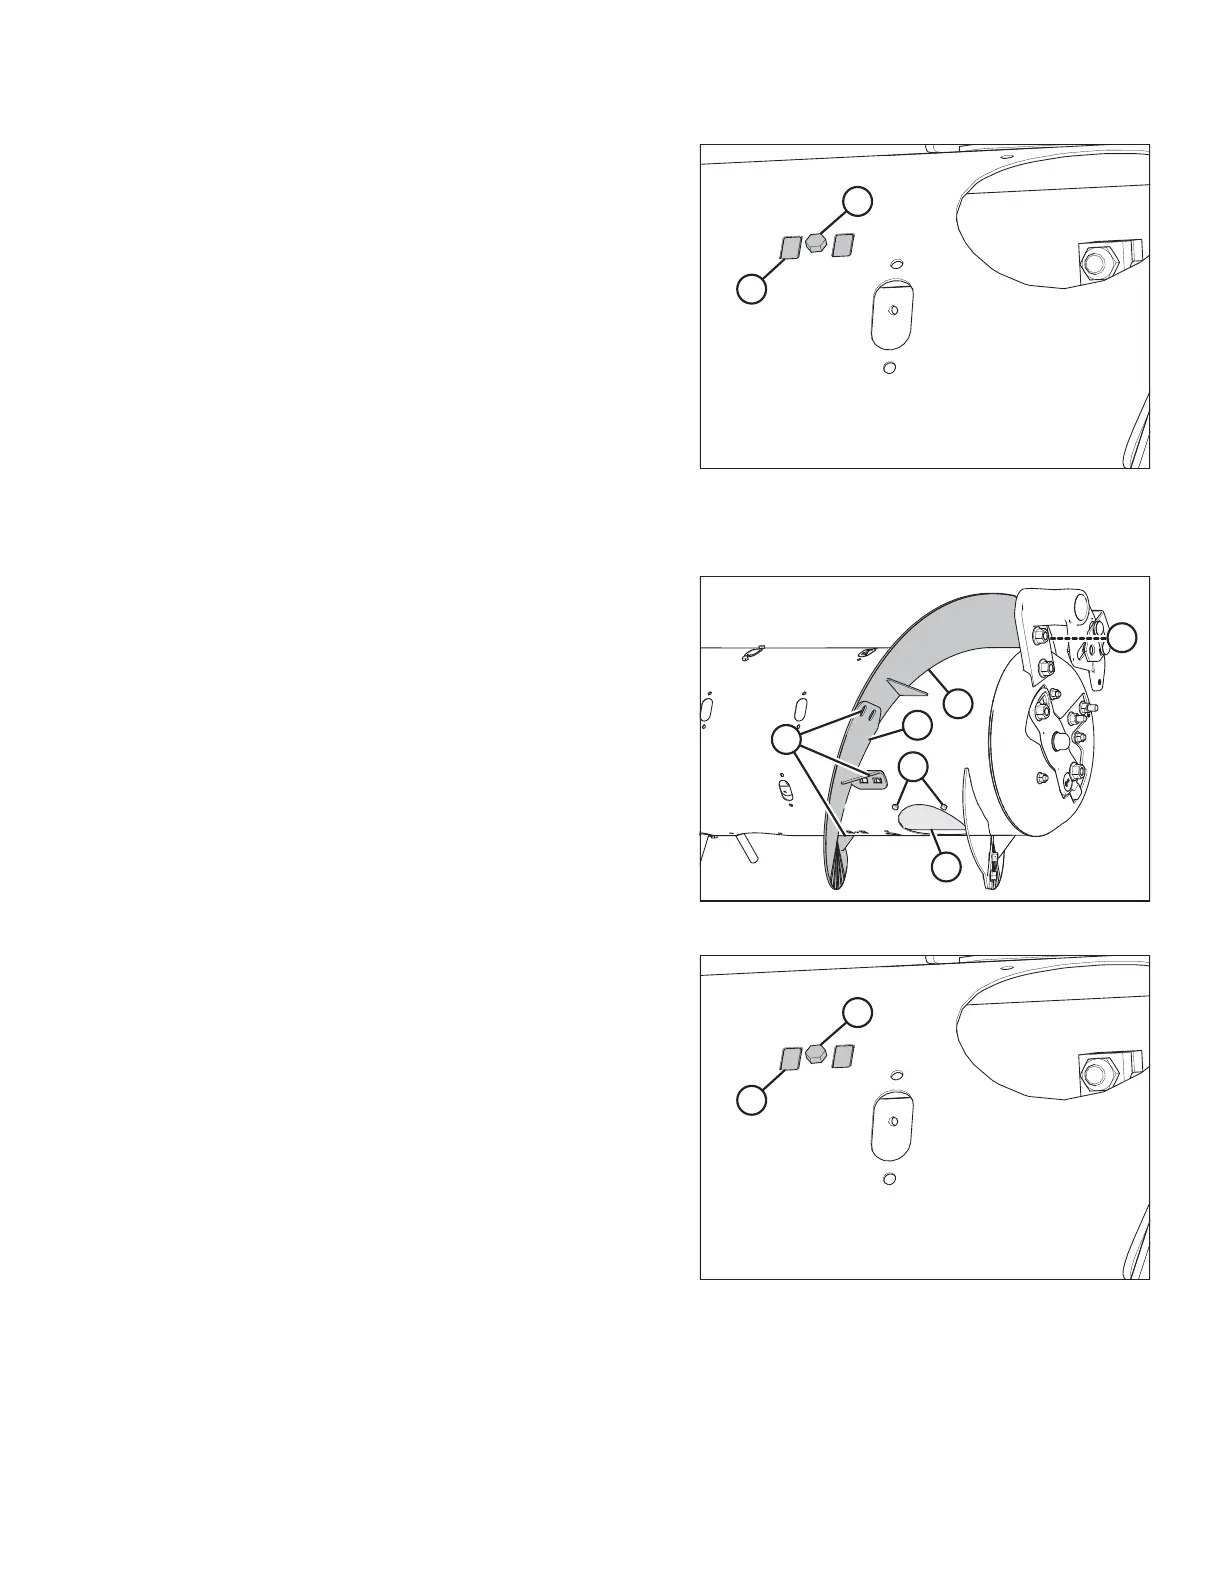
4. Install flighting slot plug (A) (MD #213084) in the flighting
slot from inside the auger. Secure with M6 hex head
bolts (B) (MD #252703) and tee nuts (MD #197263).
5. Repeat above steps at the left side of the auger.
6. Install additional fingers. A total of 30 fingers are
recommended for the Wide configuration. For instructions,
refer to 6.2.10 Installing Feed Auger Fingers, page 198.
To convert from Medium configuration to Ultra Wide configuration, follow these steps:
Figure 6.32: Right Side of Medium Configuration
7. Remove bolts (A) and access cover (B). Retain for
reassembly.
8. Remove hardware from locations (C), and remove all
bolt-on flightings (D) from the feed auger.
NOTE:
Hardware on opposite side of auger indicated, but not
shown in illustration.
Figure 6.33: Right Side of Ultra Wide Configuration
9. Install flighting slot plug (A) (MD #213084) in the flighting
slot from inside the auger. Secure with M6 hex head
bolts (B) (MD #252703) and tee nuts (MD #197263).
10. Repeat above steps at the left side of the auger.
11. Install additional fingers. A total of 30 fingers are
recommended for the Ultra Wide configuration. For
instructions, refer to 6.2.10 Installing Feed Auger Fingers,
page 198.
FLOAT MODULE SETUP AT DEALER