215184 374 Revision A
Figure 9.154: CLAAS Combine Controls
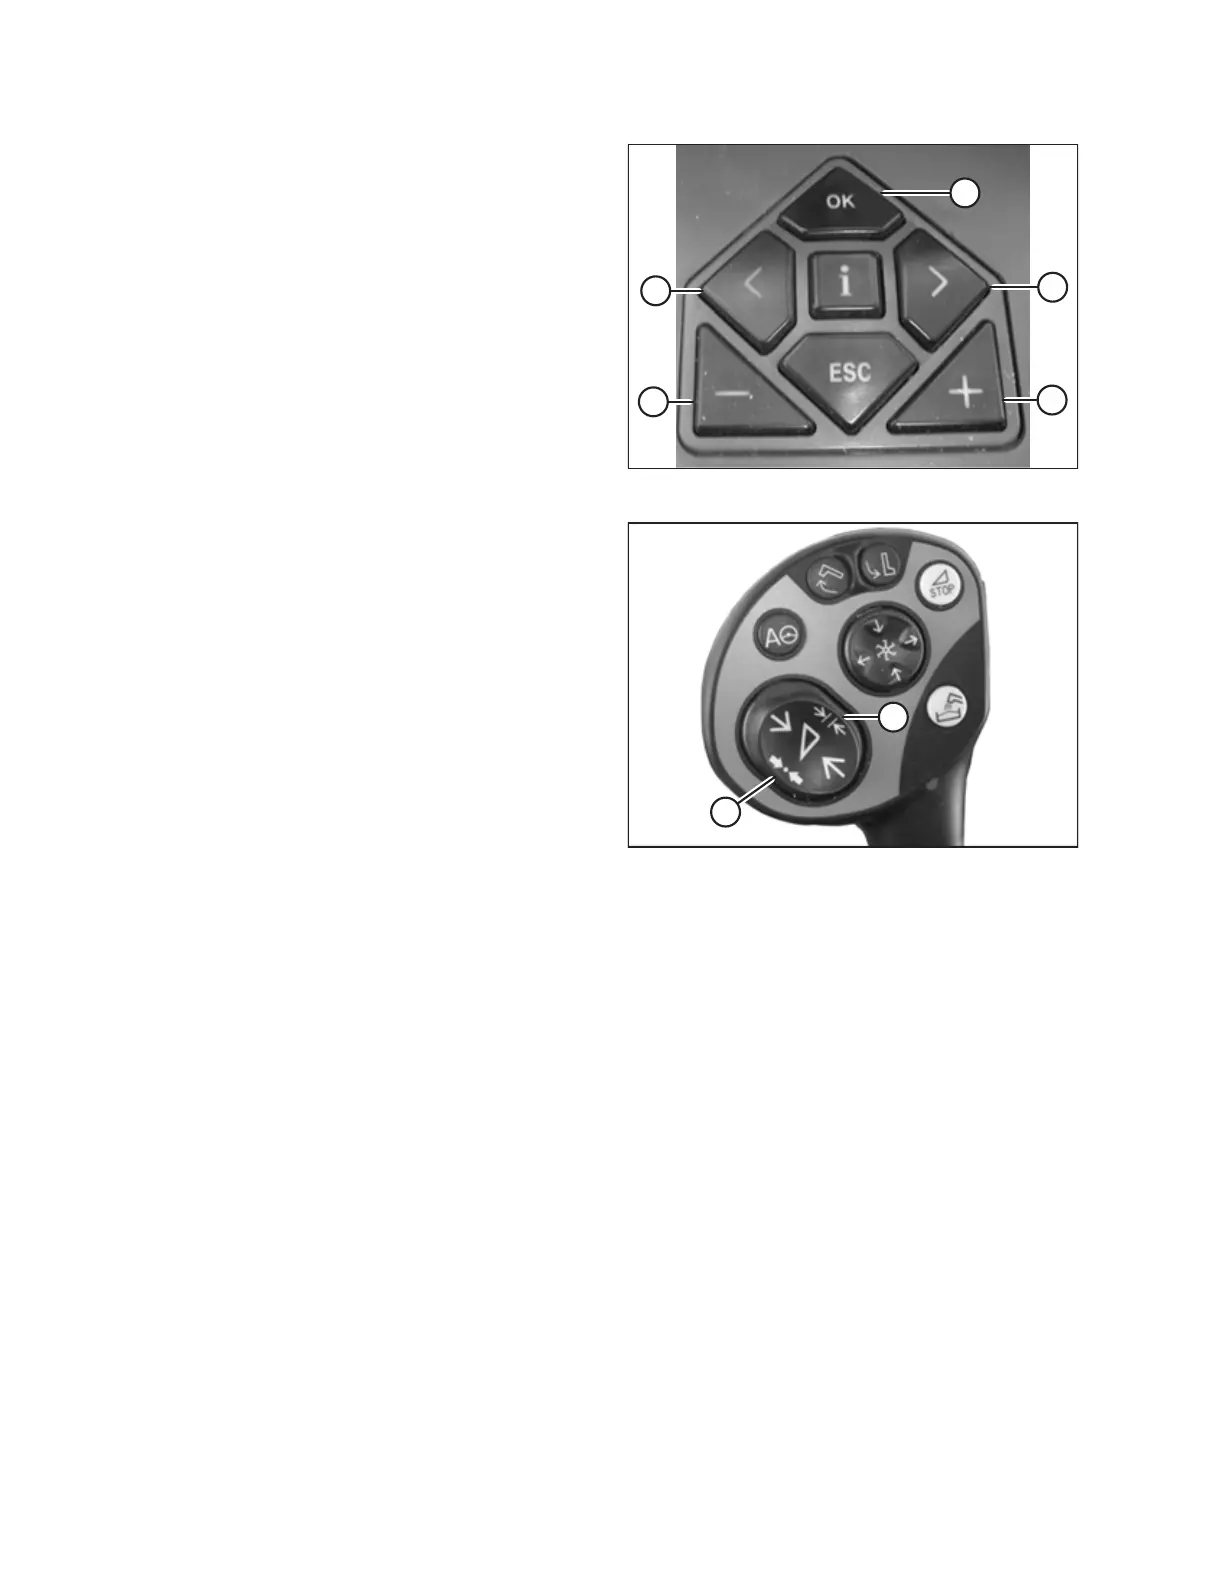
7. Press OK key (E), and use < key (C) or > key (D) to select the
REEL FORE AND AFT window.
8. Use – key (A) or + key (B) to set the reel fore-aft position.
NOTE:
Control handle button (A) or button (B) (as shown in
Figure 9.155, page 374) can also be used to set the reel
fore-aft position.
Figure 9.155: CLAAS Control Handle Buttons
9. Press and hold button (A) or button (B) for 3 seconds to
store the setting into the CEBIS (an alarm will sound when
the new setting has been stored).
NOTE:
Whenever button (A) or button (B) is pressed for 3 seconds,
the current positions for reel speed and cutting height are
stored.
9.1.10 CLAAS 600 and 700 Series Combines
Calibrating the Auto Header Height Control – CLAAS 600 and 700 Series
For best performance of the auto header height control (AHHC), perform these procedures with the center-link set to D.
When setup and calibration are complete, adjust the center-link back to desired header angle. For instructions, refer to
Header Angle in the header operator’s manual for instructions.
NOTE:
Changes may have been made to the combine controls or display since this document was published. Refer to the combine
operator’s manual for updates.
NOTE:
If header float is set too light, it can prevent AHHC calibration. You may need to set the float heavier for calibration
procedure so header doesn’t separate from the float module.
1. Ensure center-link is set to D.
2. Ensure that the header float is unlocked.
SETTING UP AUTO HEADER HEIGHT CONTROL