215184 339 Revision A
Figure 9.71: Right Console
4. Locate HEADER CONTROL switch (A) on the right console,
and set to HT (this is AHHC mode).
5. Hold the DOWN button for 10 seconds, or until the
combine feeder house has been lowered all the way down
(the feeder house will stop moving).
6. Push the RAISE button and hold it until the feeder house
travels all the way up. It will stop 61 cm (2 ft.) above
ground for 5 seconds, then it will resume lift. This is an
indication that calibration is successful.
NOTE:
If float was set heavier to complete the AHHC calibration
procedure, adjust to recommended operating float after
the calibration is complete.
Setting Preset Cutting Height – Case 5130/6130/7130, 5140/6140/7140
To set preset cutting height, follow these steps:
NOTE:
Changes may have been made to the combine controls or display since this document was published. Refer to the combine
operator’s manual for updates.
WARNING
Check to be sure all bystanders have cleared the area.
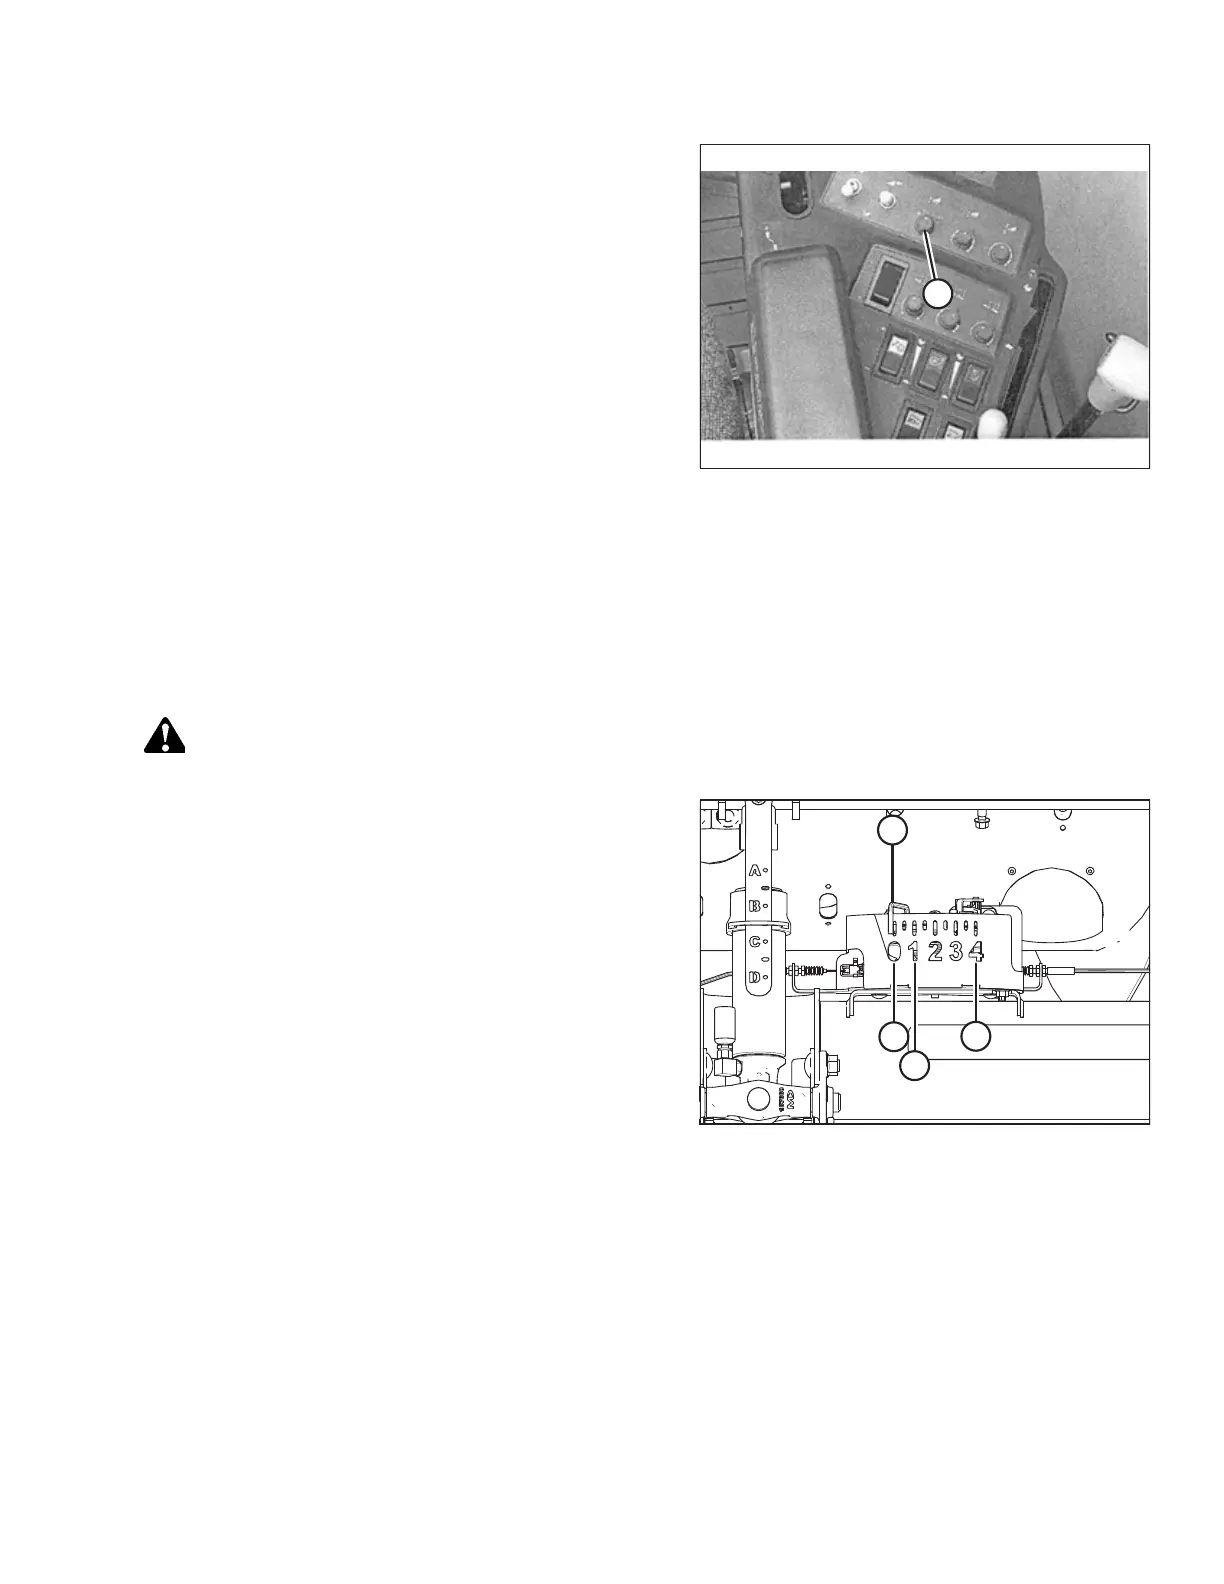
Figure 9.72: Float Indicator Box
NOTE:
Indicator (A) should be at position 0 (B) with the header 152 mm
(6 in.) off the ground. If not, the float sensor output voltage
should be checked. For instructions, refer to Step 5, page 310.
When the header is on the ground, the indicator should be at
position 1 (C) for low ground pressure, and at position 4 (D) for
high ground pressure. Crop and soil conditions determine the
amount of float to use. The ideal setting is as light as possible
without header bouncing or missing crop. Operating with heavy
settings prematurely wears the cutterbar wearplates.
SETTING UP AUTO HEADER HEIGHT CONTROL