215184 36 Revision A
3.1.5 Installing Tine Tubes: Six-Bat Reels
NOTE:
This procedure applies ONLY to six-bat reels. If you are assembling a header with a five-bat reel, proceed to 3.1.6 Attaching
Cam Arms, page 37.
1. Rotate the reel manually until the tine tubes that are wired to the reel are accessible.
2. Remove shipping wire securing tine tubes to reel, and remove tine tubes.
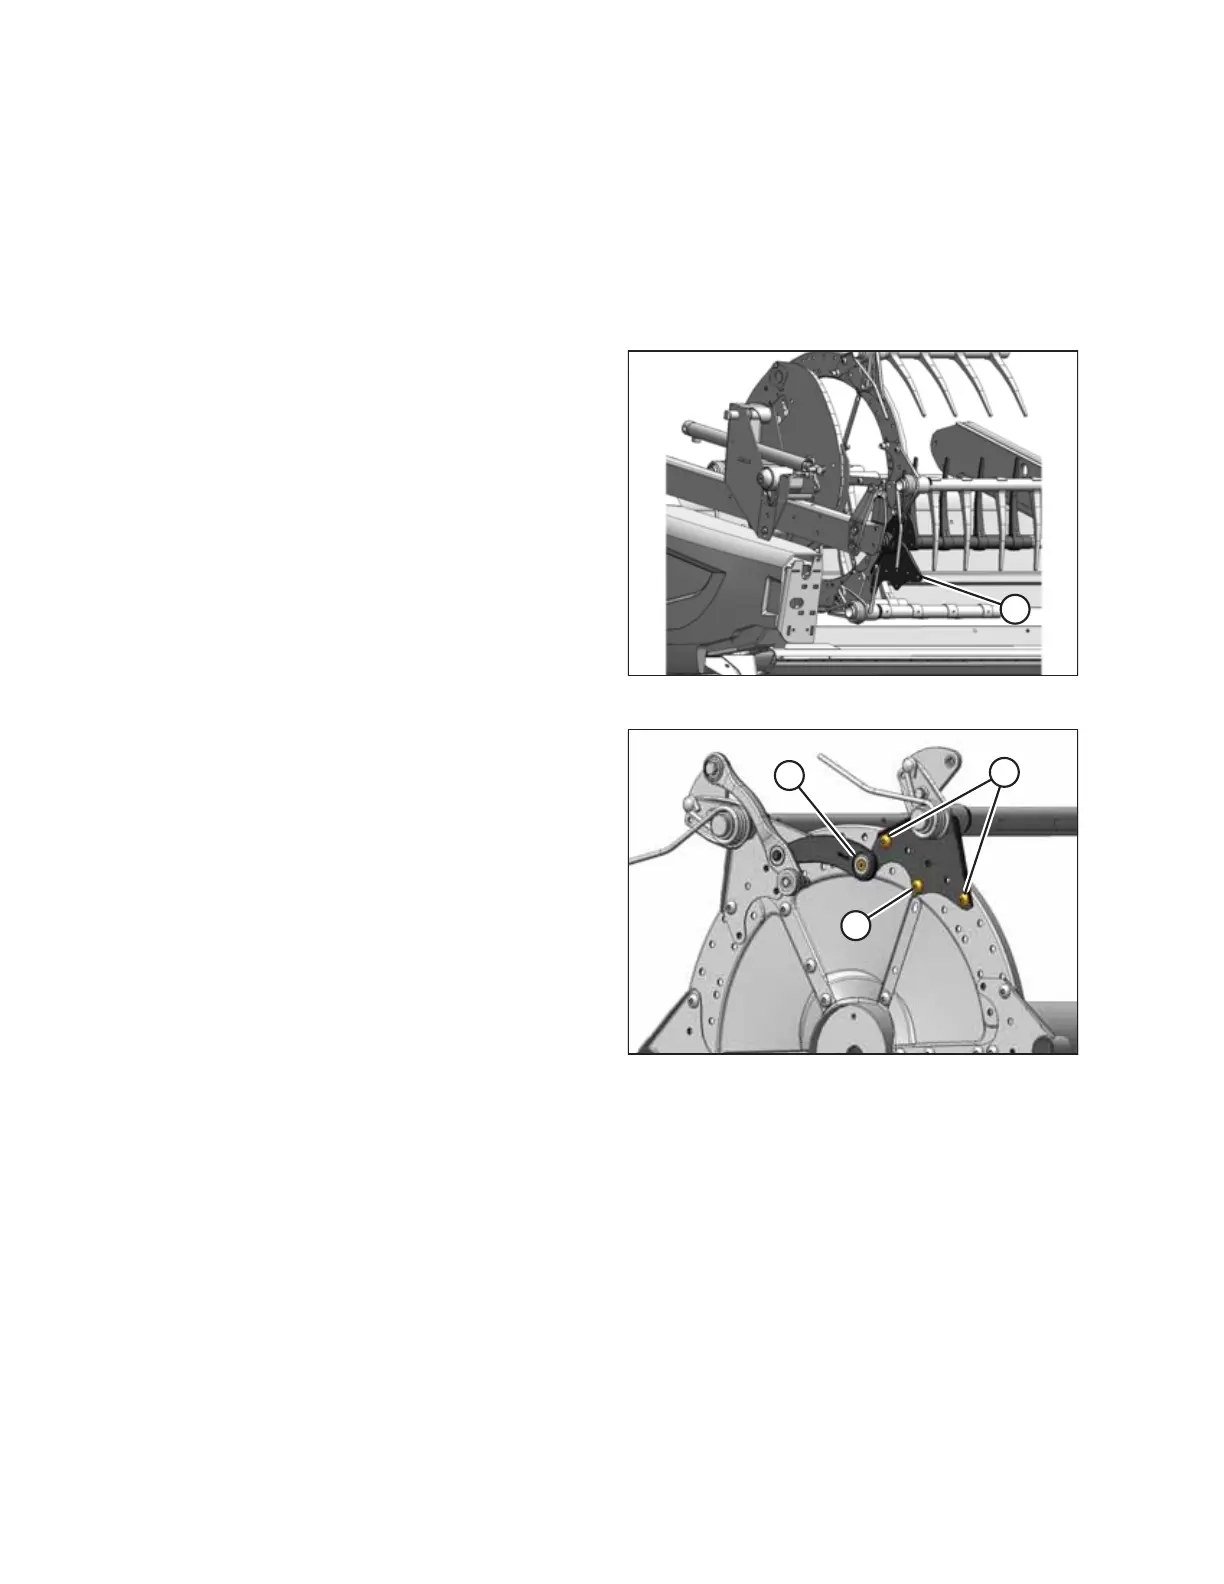
Figure 3.39: Location without Tine Tube
3. Rotate the reel manually until location (A) without tine tube
is accessible.
Figure 3.40: Cam End of Six-Bat Reel (Drive Not
Shown for Clarity)
A - Stud B - Bolts: 1/2 in. x 1.0 in. Torx
®®
C - Bolts: 1/2 in. x 1.0 in. Torx
®®
(Not Required with Plastic Tines)
4. Place tine tube onto reel discs and position the supports on
discs as shown. Refer to adjacent supports and tine tubes
for correct orientation. Temporarily secure tine tube
to discs.
5. Retrieve hardware bag that is wired to tine tube.
6. Assemble tine tube supports to discs using bolts (B) and (C)
with lock nuts as shown. Do NOT tighten hardware until all
bolts have been installed.
7. Tighten bolts to 95–108 Nm (70–80 lbf∙ft).
ASSEMBLING THE HEADER AND FLOAT MODULE