Uploading Pictures as They Are Taken
(0RAW/Control)
Connect the camera to a computer via USB to upload pictures as they are taken. You can take pictures
using the controls on the camera body or while controlling the camera remotely from the computer.
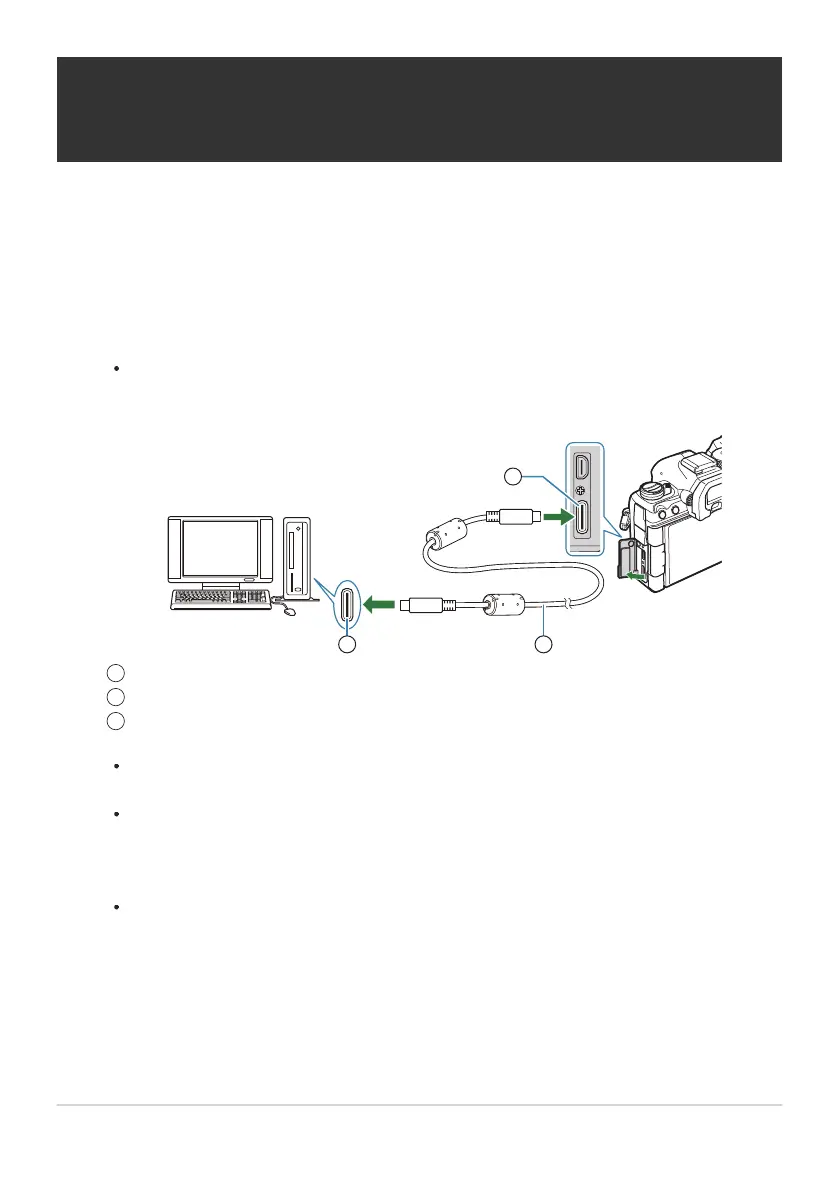
After confirming that the camera is off, connect it to the computer using the USB cable.
When attaching the USB cable, using an optional cable protector and cable clip helps
prevent damage to the connectors and disconnection of the table. g“Cable Clip (CC-1) /
Cable Protector (CP-2)” (P.486)
USB port
USB cable (supplied)
USB connector
The locations of USB ports vary from computer to computer. See the documentation
provided with the computer for information on USB ports.
If the USB port on the computer is Type A port, use the optional CB-USB11 cable.
Turn the camera on.
The camera will display a message prompting you to identify the device to which the USB
cable is connected.
If the message is not displayed, select [Select] for [USB Mode] (P.405).
If the batteries are very low, the camera will not display a message when connecting to a
computer. Be sure the batteries are charged.
462
Uploading Pictures as They Are Taken
(0RAW/Control)
1.
1
2
3
2.
B
C
 Loading...