4.
Click the Upload button. SecureSync saves the uploaded bundled file in the
/home/spectracom/xfer/config/directory.
Note: When uploading files remotely via long distances, or when
uploading multiple files via several browser windows simultaneously,
the upload process may fail to complete. In this case, cancel the
upload by clicking X, and go back to Step2.
5.
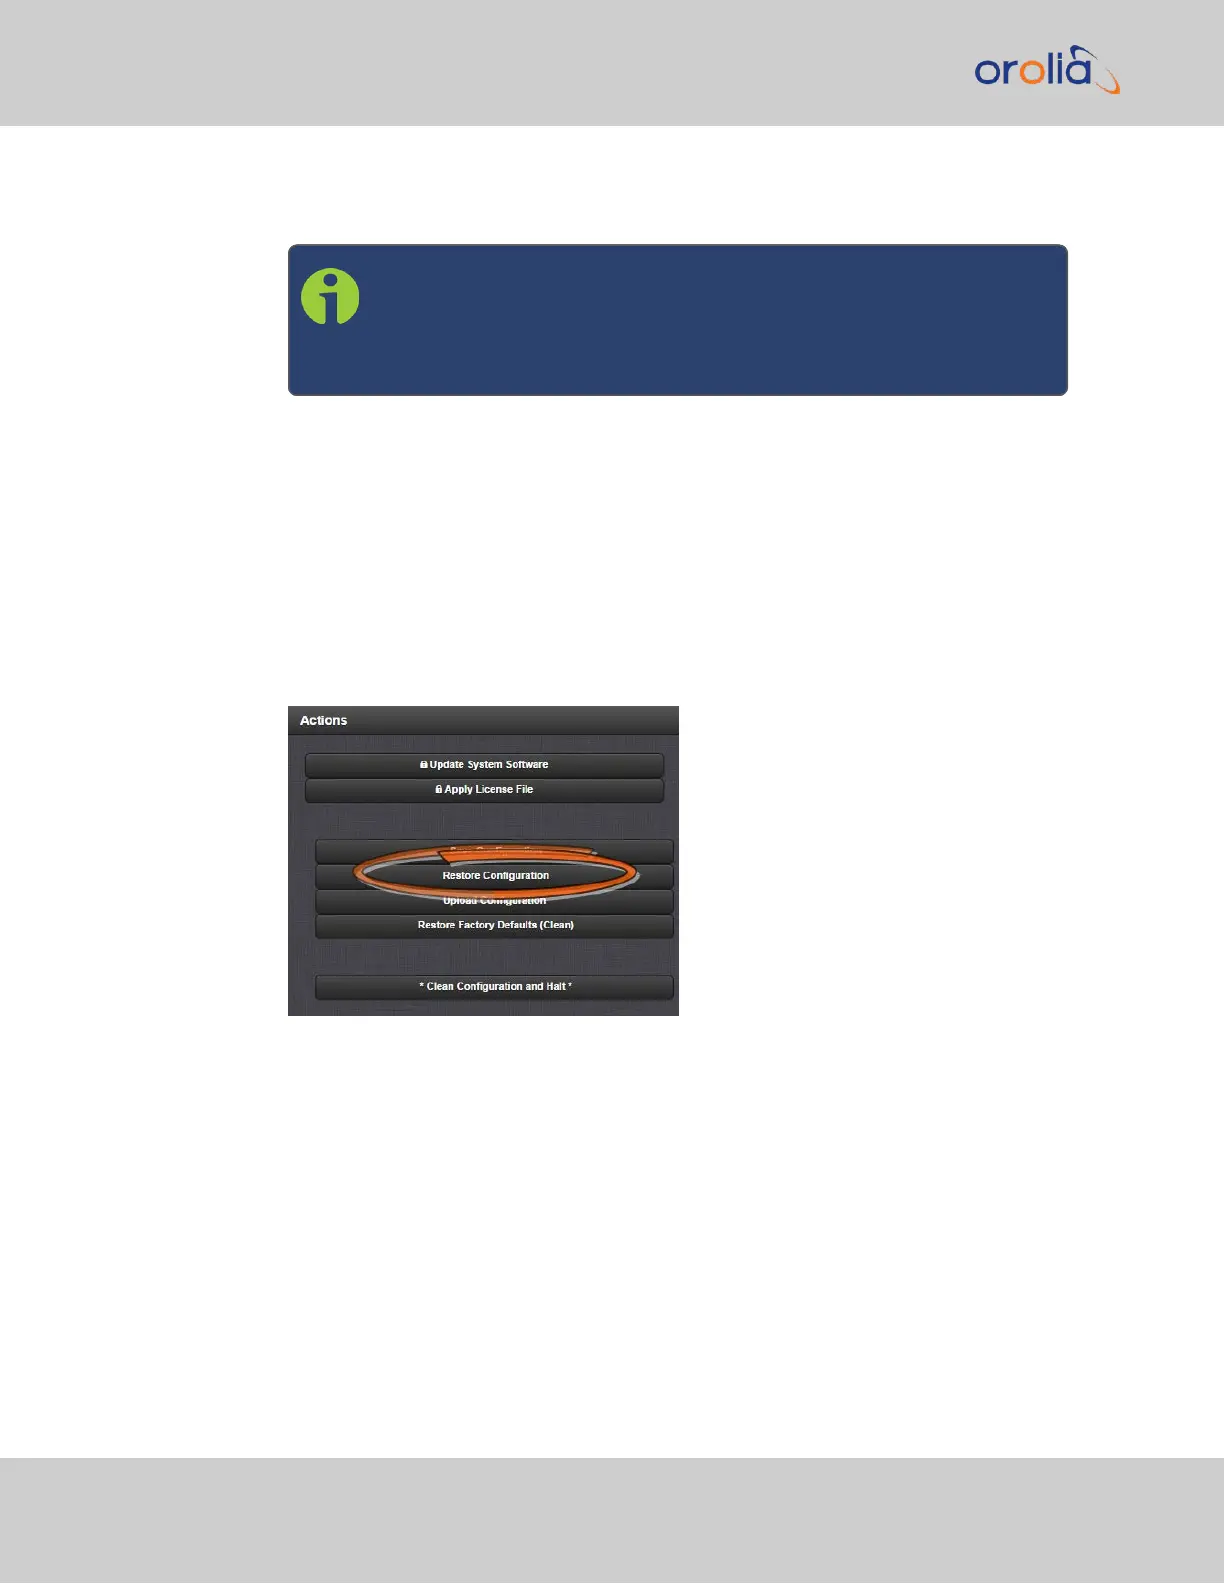
To use the new configuration file for this SecureSync, click the Restore Con-
figuration button, and follow the procedure described under "Restoring the Sys-
tem Configuration" below.
4.7.4 Restoring the System Configuration
To restore the System Configuration:
1.
Navigate to TOOLS > SYSTEM: Upgrade/Backup.
2.
In the Actions panel, click Restore Configuration.
3.
Click OK in the grey confirmation window. The system will restore the configuration
using the bundled file stored at
/home/spectracom/xfer/config/SecureSync.conf, then reboot in order to
read the new configuration file. Once powered back up, SecureSync will be con-
figured with the previously stored file.
4.7.5 Restoring the Factory Defaults
For instructions on how to restore the SecureSync's configuration files to their factory
default settings see "Resetting All Configurations to their Factory Defaults" on the
facing page.
320
CHAPTER 4 • SecureSync 2400 User Manual Rev. 2
4.7 Backing-up and Restoring Configuration Files