1.
Navigate to MANAGEMENT > NETWORK: SNMP Setup.
2.
Click the row of the SNMP V1/V2 panel that displays the community you wish to
edit or delete. The cursor will change from an arrow icon to a pointing finger to indic-
ate that the entry is clickable.
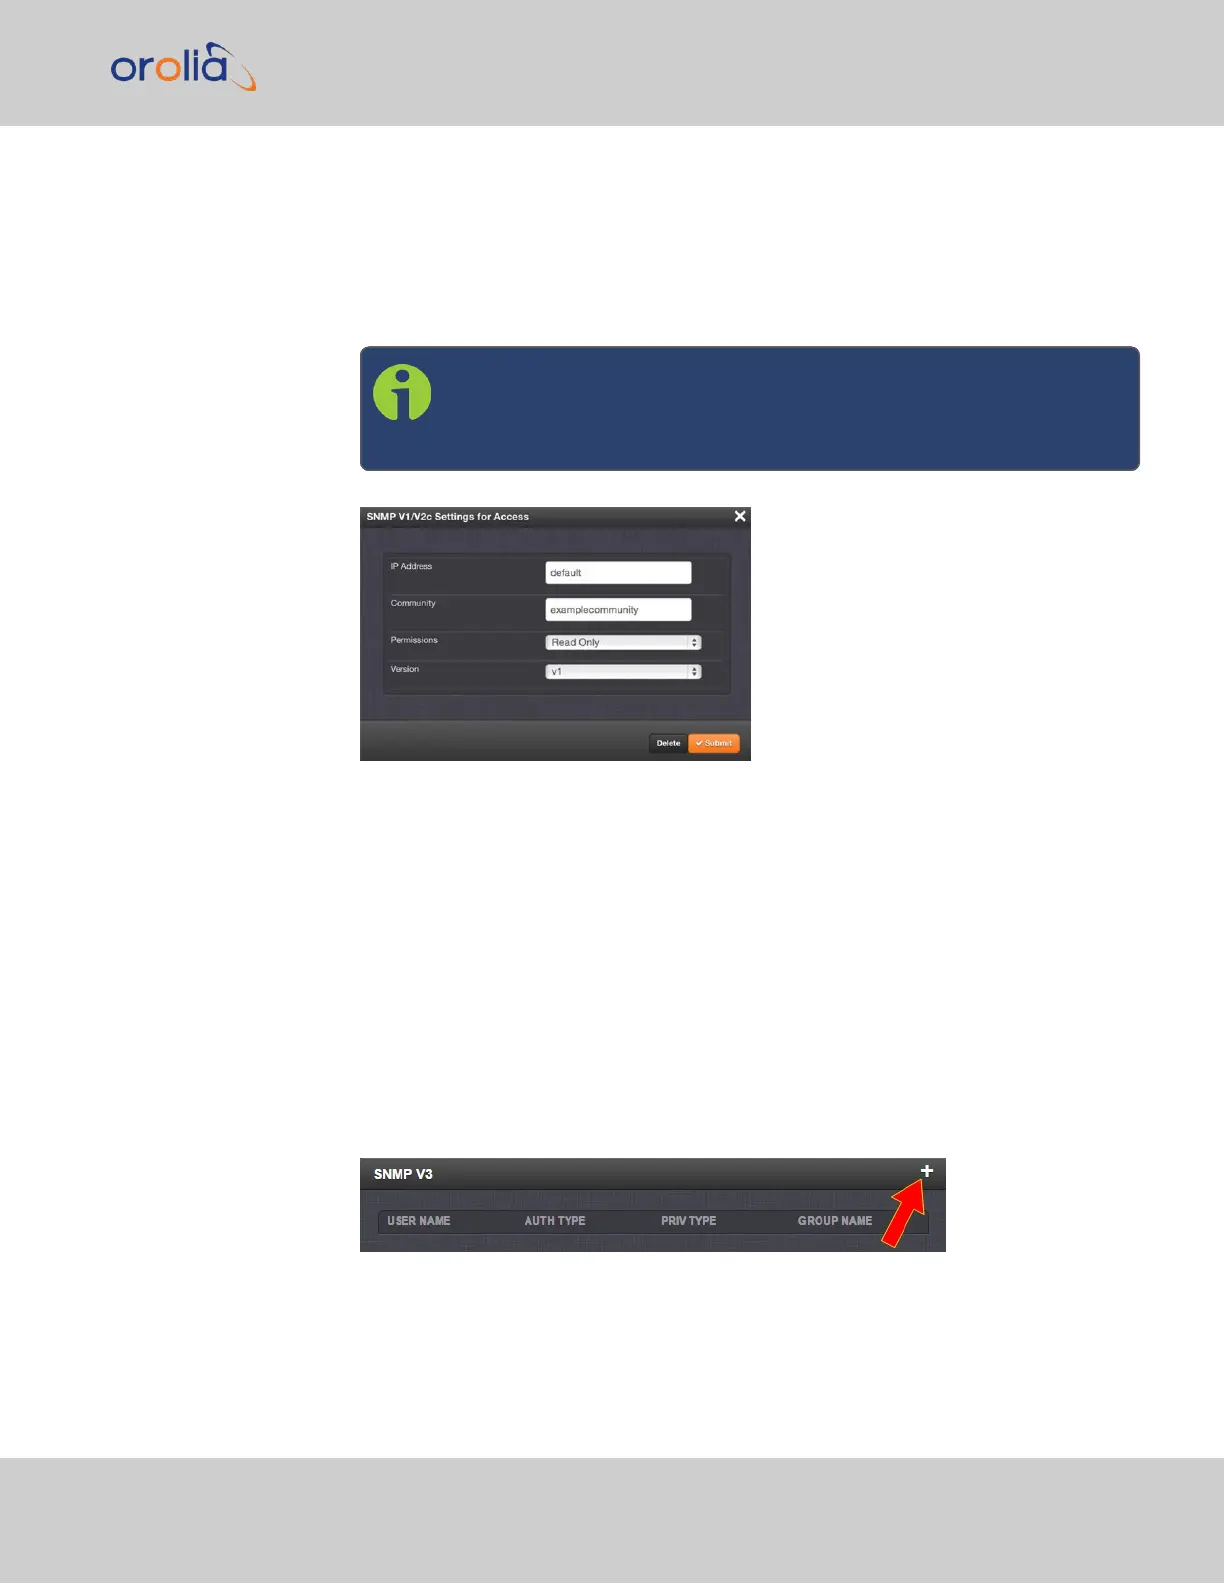
3.
The SNMP V1/V2c Settings for Access window will display.
Note: The options available for editing in the SNMP V1/V2c Settings
for Access window will vary contextually according to the inform-
ation in the entry chosen.
4.
To edit the settings, enter the new details you want to edit and click Submit. OR: To
delete the entry, click Delete.
2.14.8.2 SNMP V3
SNMP V3 utilizes a user-based security model which, among other things, offer enhanced
security over SNMP V1 and V2.
Creating Users
1.
Navigate to MANAGEMENT > NETWORK: SNMP Setup.
2.
In the SNMP V3 panel, click the PLUS icon in the top-right corner.
3.
The SNMP V3 Settings window will display.
2.14 Configure Network Settings
CHAPTER 2 • SecureSync 2400 User Manual Rev. 2
89