3.
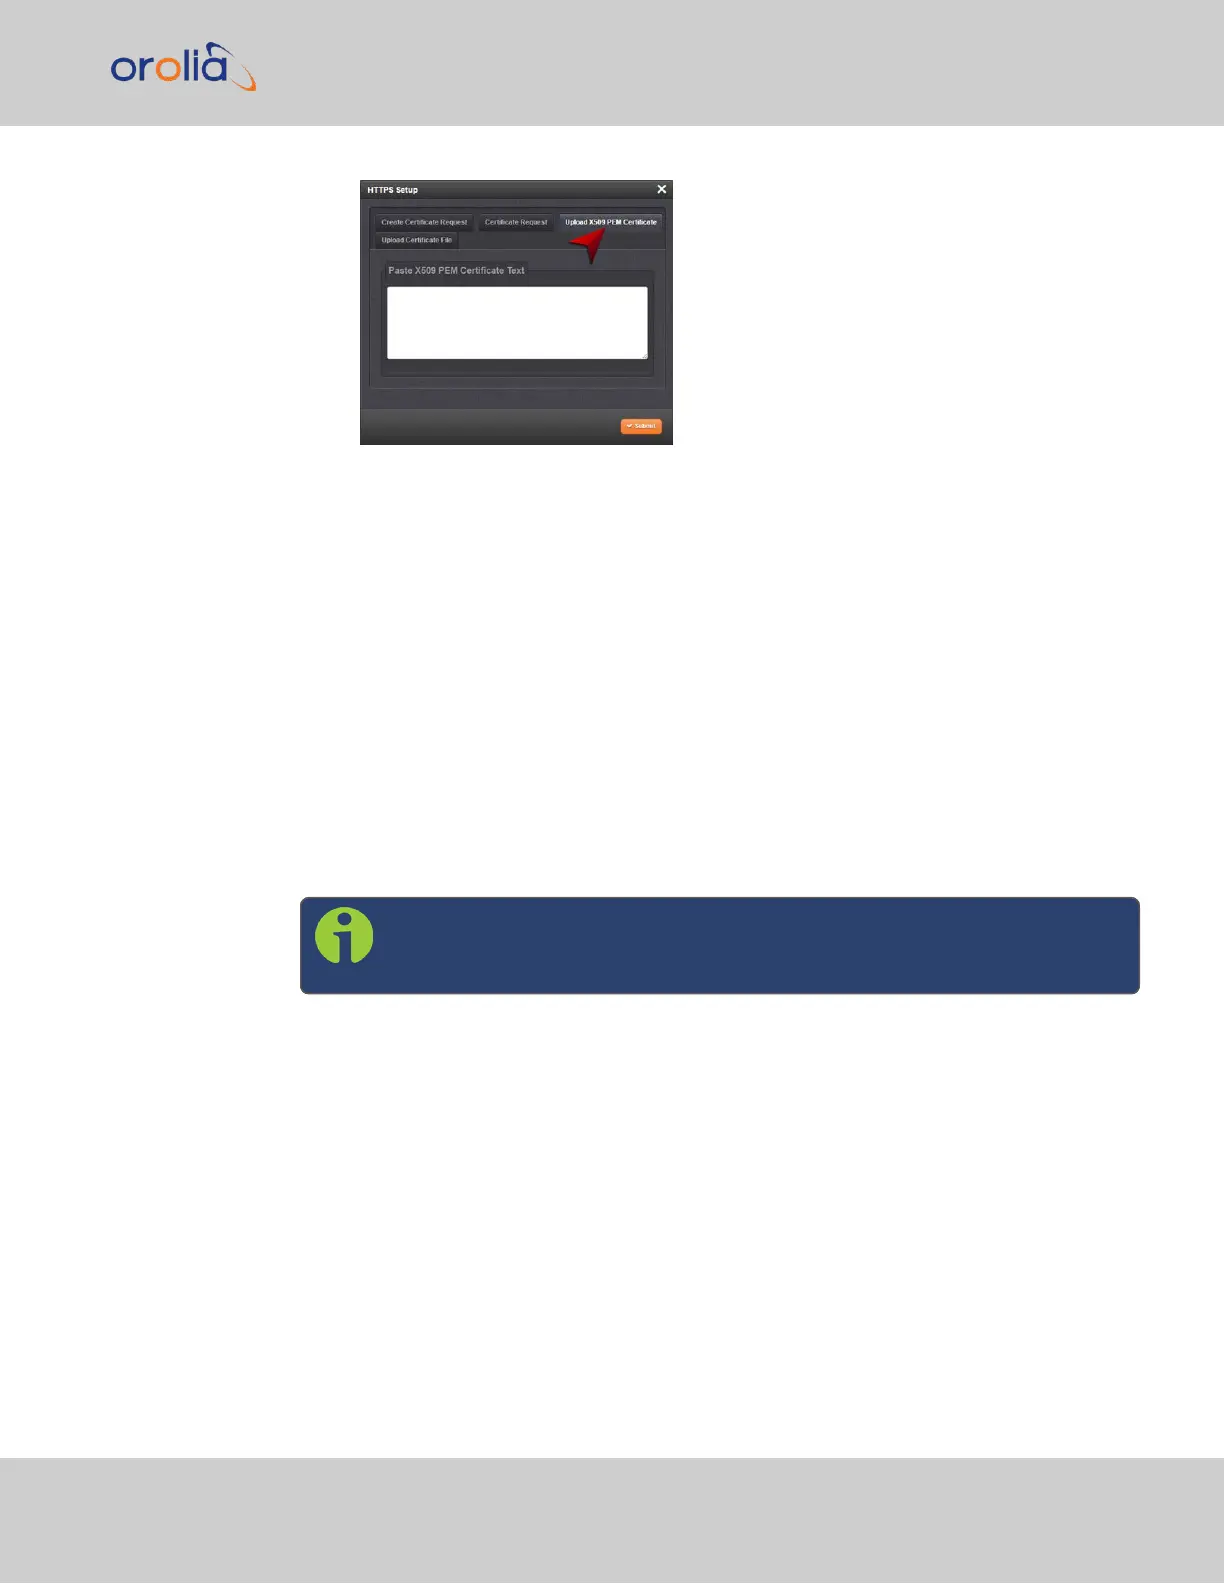
Copy the text of the Certificate that was issued to you by your Certificate Authority,
and paste it into the text field.
4.
Click Submit to upload the Certificate to SecureSync.
NOTE: The text inside the text field under the Edit X.509 PEM Certificate tab is editable.
However, changes should not be made to a Certificate once it is imported; instead, a new
Certificate should be requested. An invalid Certificate may result in denial of access to the
SecureSync through the Web UI.
2.14.6.8 Uploading an HTTPS Certificate File
Once the HTTPS Certificate has been issued by your Certificate Authority, you have to
upload the Certificate file to SecureSync, unless it is a X.509 PEM-format Certificate: In
this case you may also upload the pasted Certificate text directly, see "Uploading an X.509
PEM Certificate Text" on the previous page.
Note: For more information about Certificate formats, see "Supported Cer-
tificate Formats" on page67.
To upload an HTTPS certificate file to SecureSync:
1.
Store the Public Keys File provided to you by the Certificate Authority in a location
accessible from the computer on which you are running the WebUI.
2.
In the WebUI, navigate to MANAGEMENT > NETWORK: HTTPS Setup.
3.
Select the tab Upload Certificate File.
2.14 Configure Network Settings
CHAPTER 2 • SecureSync 2400 User Manual Rev. 2
75