Please note:
Unless you are using DNS in conjunction with DHCP (with the client configured using
SecureSync's hostname instead of IP address), Orolia recommends to disable DHCP for
SecureSync, and instead use a static IP address. Failure to do this can result in a loss of time
synchronization, should the DHCP server assign a new IPaddress to SecureSync.
2.12.2 Assigning a Static IP Address
Orolia recommends assigning a static IP address to SecureSync, even if the unit is con-
nected to a DHCP server.
This can be accomplished in several ways:
a.
Via the keypad and information display on the front panel of the unit, see "Set-
ting Up an IP Address via the Front Panel" below
b.
By connecting the SecureSync to an existing DHCP network, temporarily using the
assigned DHCP address, see "Setting Up a Static IP Address via a DHCP Network"
on page53.
c.
By connecting a Personal Computer to SecureSync via a serial cable, see "Setting
Up an IP Address via the Serial Port" on page54.
d.
By connecting a Personal Computer directly to SecureSync via a dedicated Eth-
ernet cable, see "Setting up a Static IP Address via Ethernet Cable" on page55.
2.12.2.1 Setting Up an IP Address via the Front Panel
Assigning an IP address to SecureSync, using the front panel keypad and information dis-
play is a preferred way to provide network access to the unit, thus enabling you thereafter
to complete the setup process via the WebUI.
Note: The following instructions apply to IPv4. To configure static
addresses in IPv6, you will need to use either the CLI or the front panel.
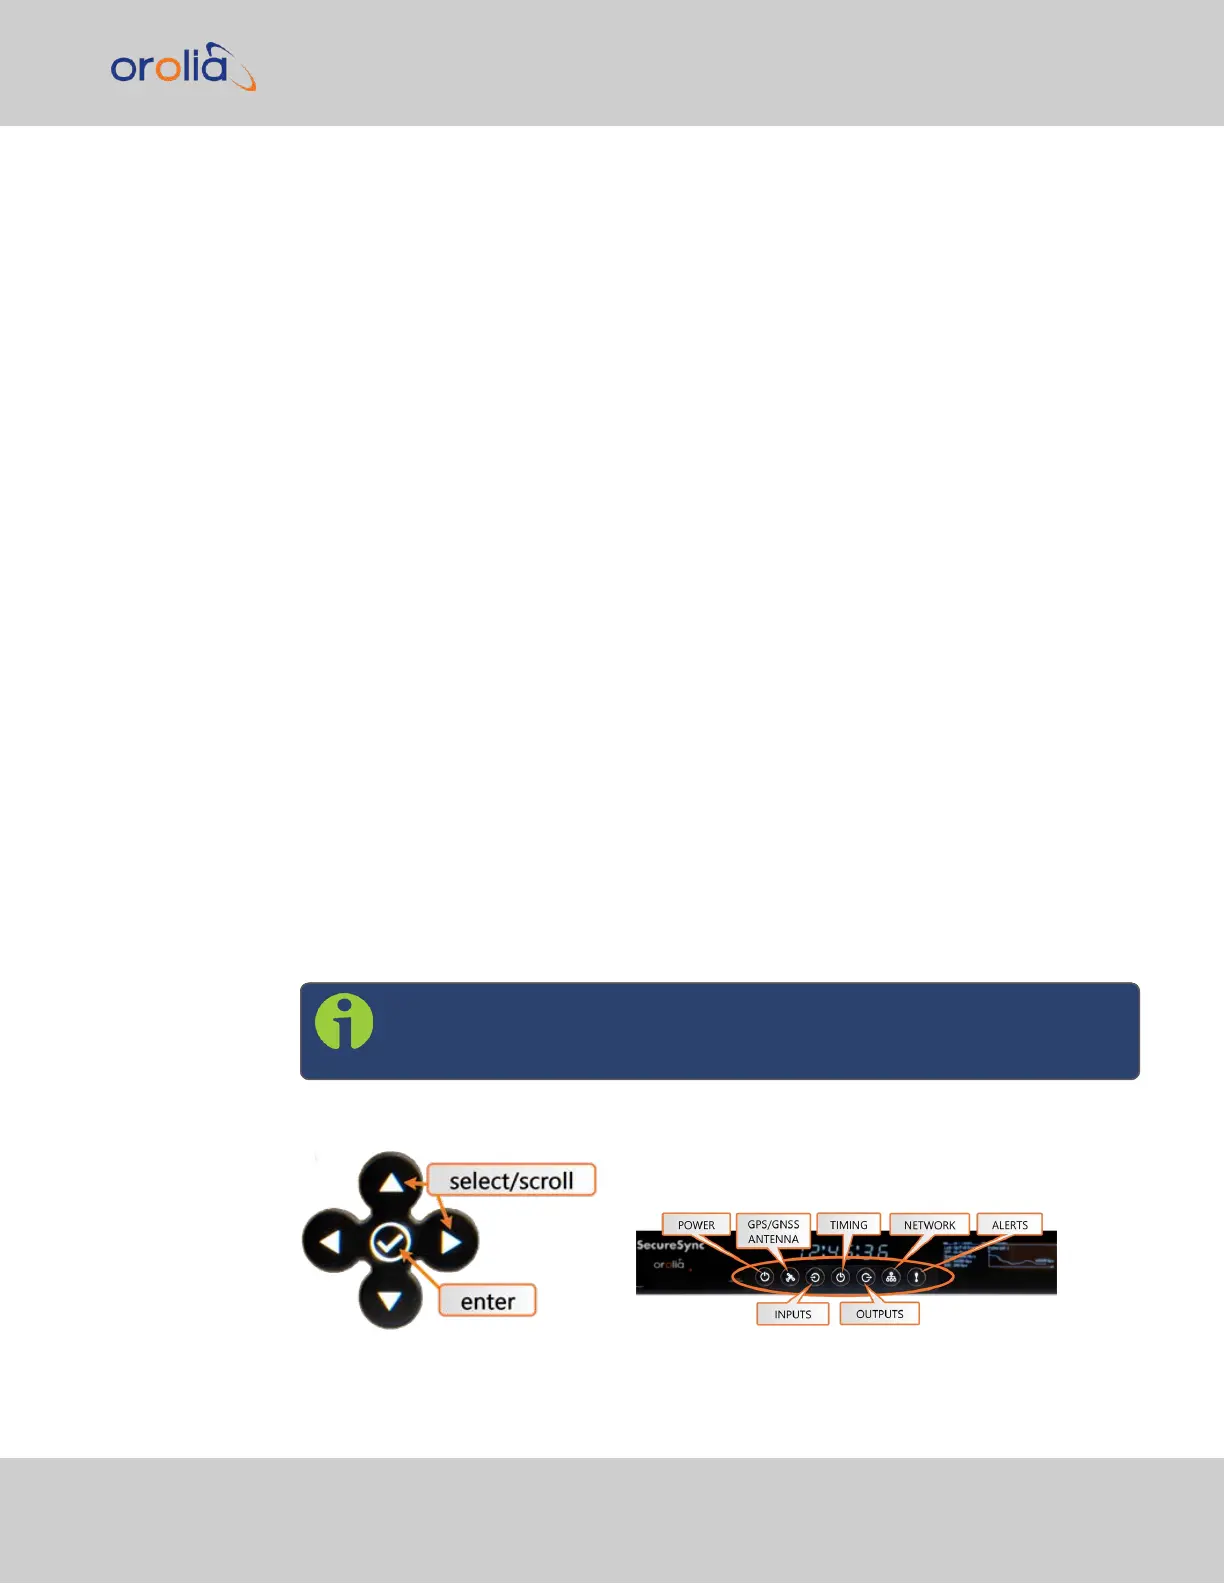
Keypad Operation
Figure 2-3: Front panel keypad and menu buttons
2.12 Setting up an IP Address
CHAPTER 2 • SecureSync 2400 User Manual Rev. 2
51