1.
Navigate to MANAGEMENT > HTTPS Setup, or to MANAGEMENT > Network
Setup > Actions panel: HTTPS.
2.
In the HTTPS Setup window, under the Certificate Request Parameters tab, com-
plete the form as described under "Creating an HTTPS Certificate Request" on
page68.
3.
Click Submit to generate your Certificate Request.
4.
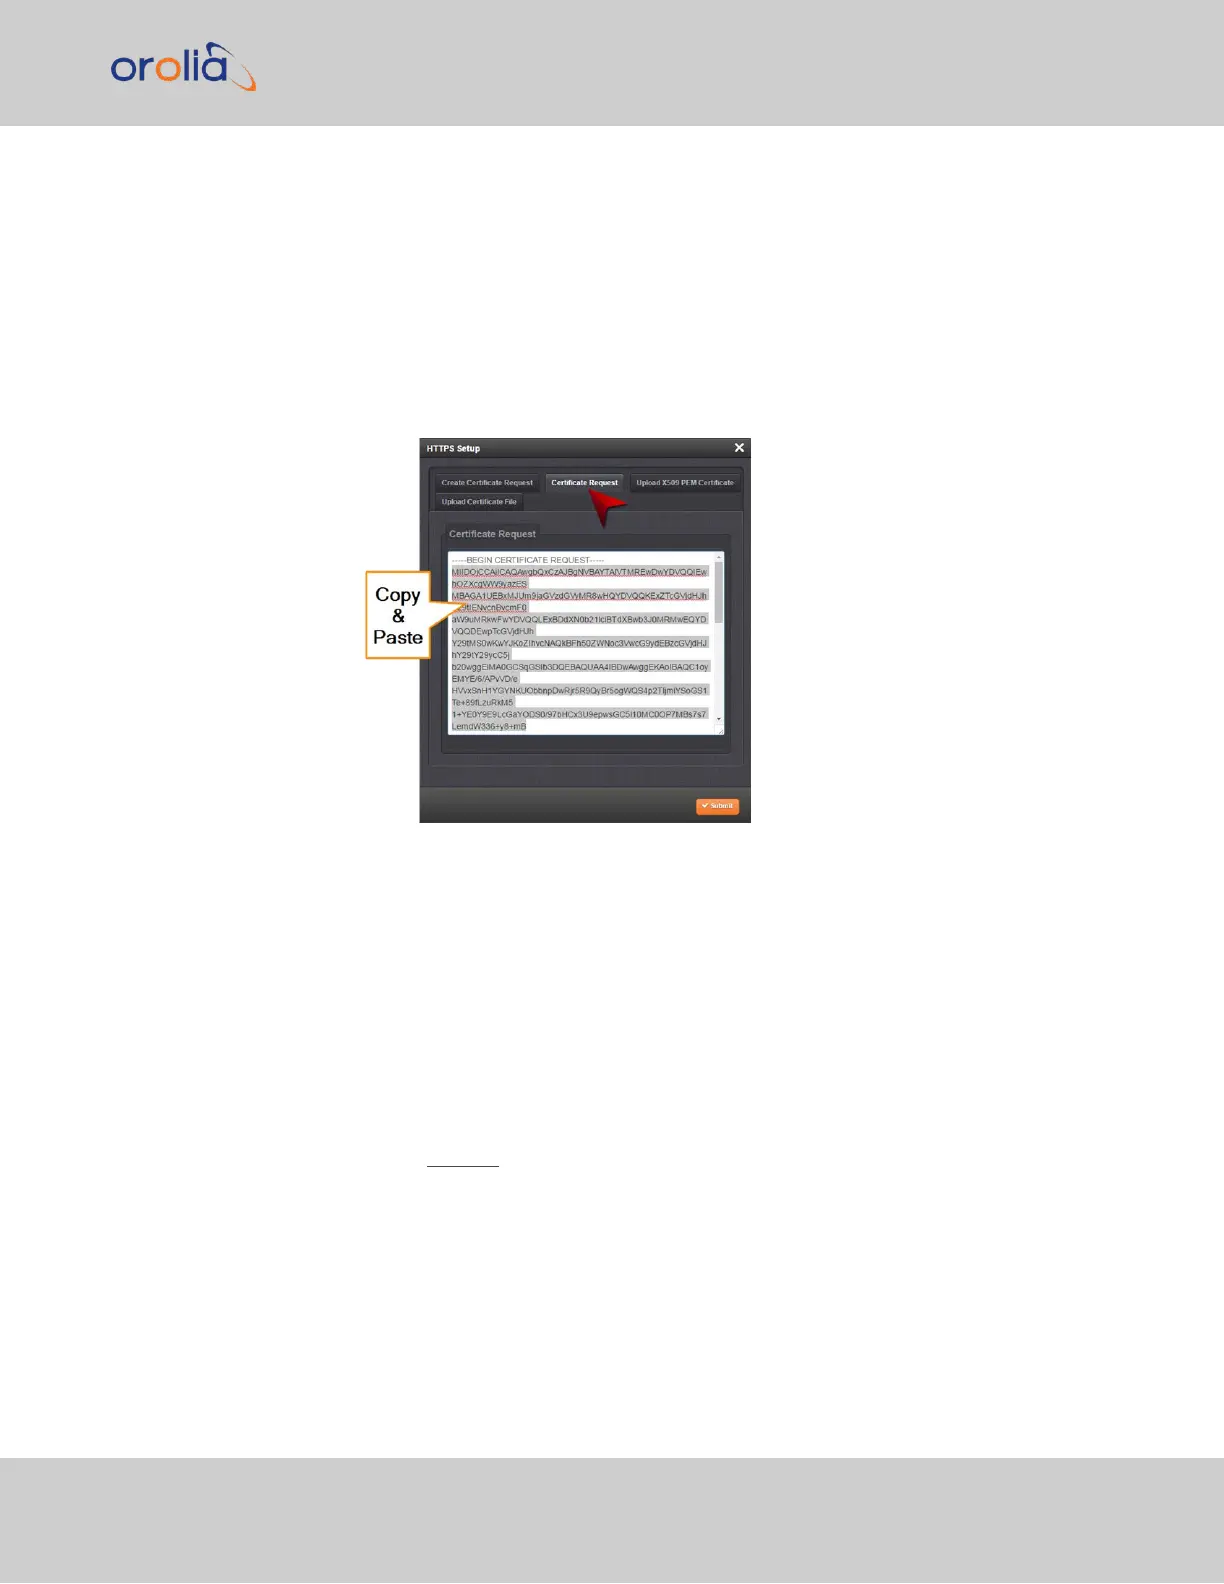
You have now created a Certificate Request. Navigate to the Certificate Request
tab to view it:
5.
Copy the generated Certificate Request from the Certificate Request window,
and paste and submit it per the guidelines of your Certificate Authority. The Cer-
tificate Authority will issue a verifiable, authenticable third-party certificate.
6.
OPTIONAL: While waiting for the certificate to be issued by the Certificate Author-
ity, you may use the certificate from the Certificate Request window as a self-signed
certificate (see below).
NOTE: Preventing accidental overwriting of an existing certificate:
If you plan on using a new Certificate Request, fill out a new form under the Certificate
Request Parameters tab. Be aware, though, that the newly generated Certificate
Request will replace the Certificate Request previously generated once you submit it.
Therefore, if you wish to retain your previously generated Certificate Request for any
reason, copy its text, and paste it into a separate text file. Save the file before generating a
new request.
Using a Self-Signed Certificate
In the process of generating a Certificate Request, a self-signed certificate will auto-
matically be generated simultaneously. It will be displayed under the Certificate Request
2.14 Configure Network Settings
CHAPTER 2 • SecureSync 2400 User Manual Rev. 2
73