2-5
Chapter 2. Mounting
Integrated mounting
Main unit
After mounting the display unit on the control panel, mount the main unit on the
main unit mounting rail of the integrating bracket.
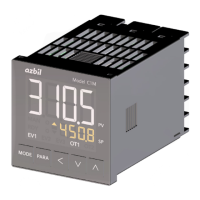
Display unit
To mount the display unit on the control panel, follow the steps below.
Be sure to mount the display unit securely on the integrating bracket using the
display unit mounting screws (M3 machine screws) included with the product.
(Tightening torque: 0.6 N·m)
(1) Attach the gasket with 92 × 92 mm hole on the display unit and connect the
integrating cable.
Insert the ferrules (part of the cable for integrated mounting supplied with the
product) with the specified colors into the terminal block of the display unit.
Terminal No. 1 2 3 4 5 6
Cable color White/orange Blue White/blue White/green Green Brown
(2) Pass the integrating cable through the wiring hole and attach the display unit
temporarily to the bottom part of the integrating bracket. Tighten the screws
lightly so that the integrating bracket leans forward as shown in the figure
below.
Note
• Connecting the cable between the main unit and display unit (p.3-18)
• (for instructions on wiring with the integrating cable)
Handling Precautions
• If the screws are tightened completely, the display unit cannot be put in
the control panel.
Mounting bracket
Gasket with
92 x 92 mm hole
Let the display lean outward
Screw in partially
Display