Using the Camera to Connect Patterns
221
Advanced Embroidery
5
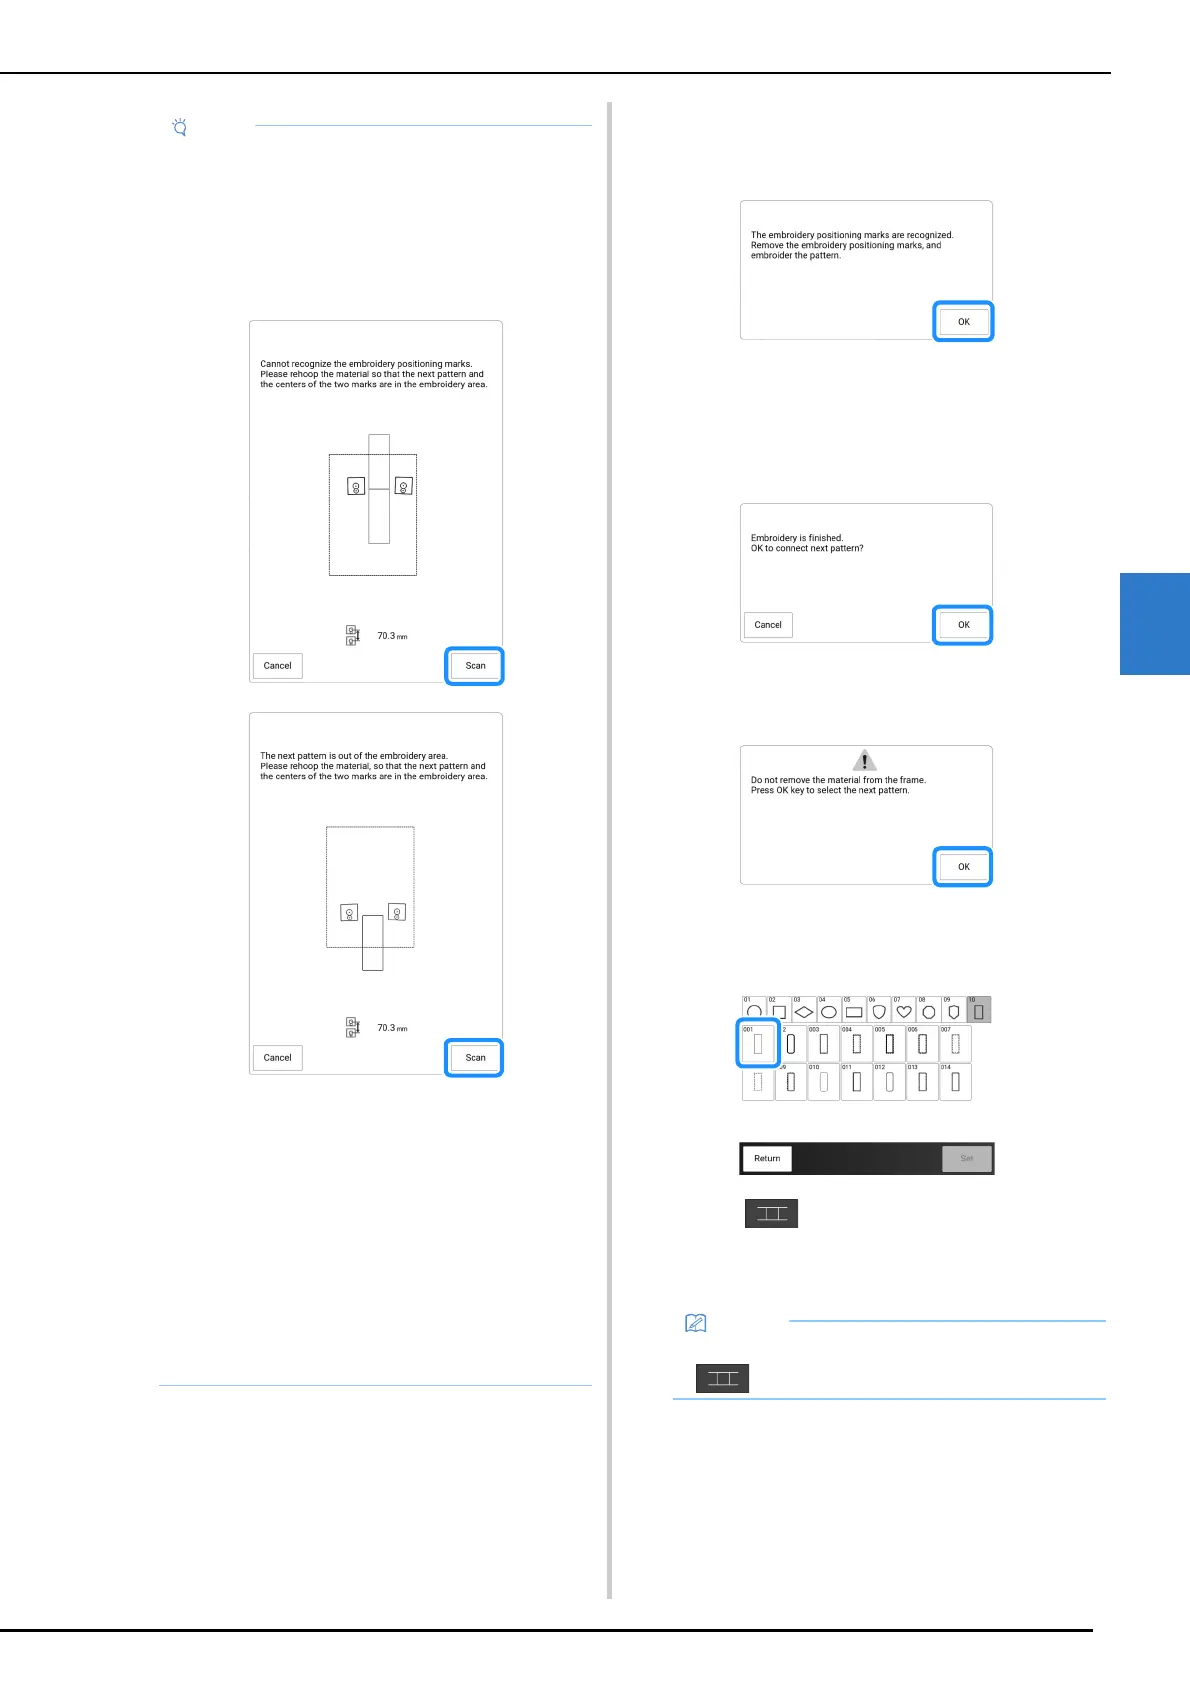
17 After the embroidery positioning stickers
have been detected, touch [OK], and then
remove the stickers.
18 Lower the embroidery foot, and then
embroider the second pattern.
When embroidering is finished, the following
message appears.
To connect a third pattern, touch [OK].
19 When the following message appears,
touch [OK].
20 Select the third pattern C, and touch
[Set].
21 Touch , and then select how the
patterns will be connected.
The pattern connection setting screen appears.
• If either of the following messages appear,
rehoop the fabric so that the next pattern and
both the embroidery positioning stickers are
within the embroidery area as indicated in the
screen.
Touch [Scan] to detect the embroidery
positioning stickers.
• If the machine detects that the next pattern
and the centers of the large circles of the two
embroidery positioning stickers do not fit within
the embroidering area, the operation will be
paused. Follow the on-screen instructions to
reposition the embroidery positioning stickers.
Refer to “Changing the Position of a Sticker”
on page 222 to reposition the stickers.
• If the sticker peels off during this procedure,
the patterns cannot be connected. If this
occurs, restart the procedure from the
beginning.
• To quit positioning, touch [Cancel].
• You can edit the pattern before selecting
.
 Loading...

