Useful Functions
Sewing Basics
77
2
10 Press the "Start/Stop" button to start
sewing. When the foot controller is
plugged in, press down on the foot
controller.
Gently guide the fabric to sew the
stitching straight.
The machine stops at the specified end point
automatically.
11 Peel off the end point sticker.
Temporary Stop Setting
If you cannot affix an end point sticker that avoids
the sewing area, you can adjust the machine
settings to temporarily stop sewing to allow the
sticker to be removed as you approach the end
point sticker.
1 Select a stitch.
2 Touch , set [End Point Setting
Temporary Stop] in the settings screen to
on, and then touch [OK].
3 Follow steps 3 through 6 of “Specifying
the Sewing End Point” on page 75.
4 With a chalk pencil, mark the fabric with
lines for sewing the stitch pattern and for
the end of stitching, and then affix an end
point sticker.
5 Follow steps 9 through 10 of
“Specifying the Sewing End Point” on
page 75.
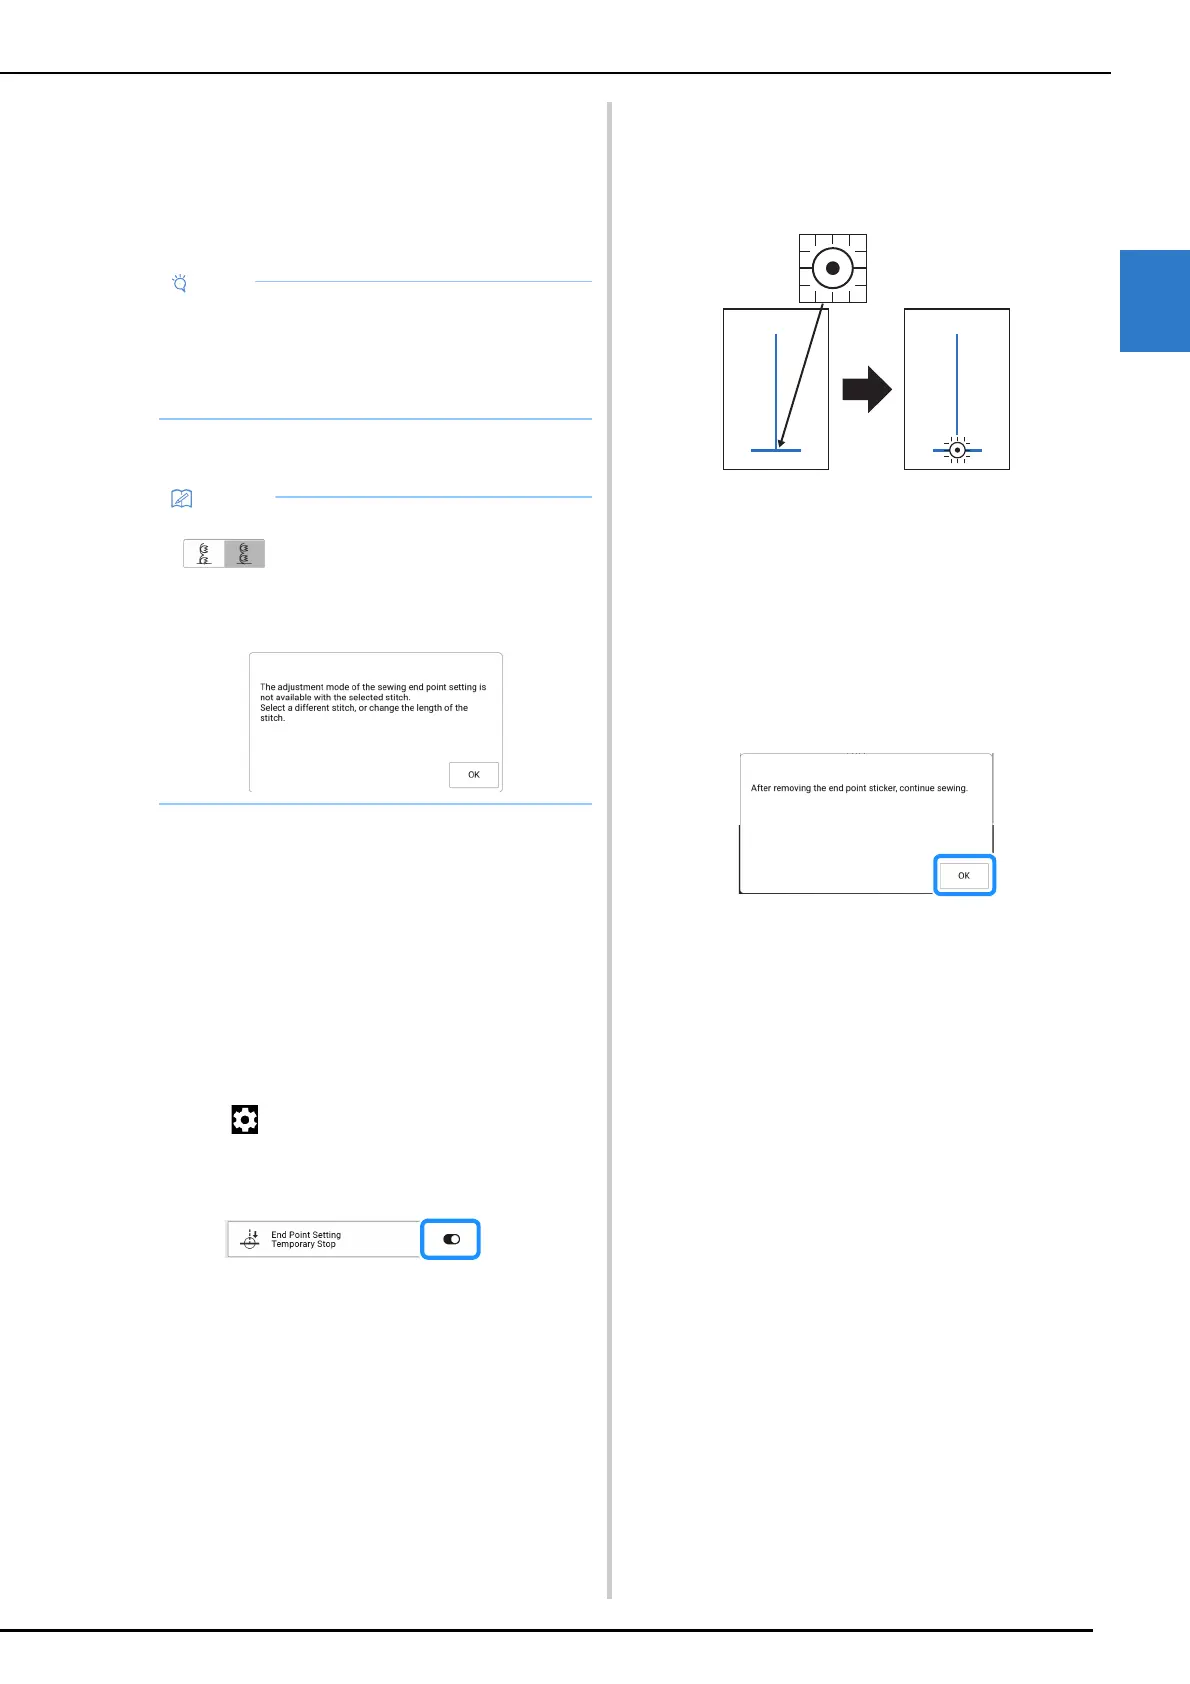
When the needle approaches the mark, the
machine stops, and the following message
appears.
6 Peel off the end point sticker, and then
touch [OK].
7 Press the “Start/Stop” button again.
When the foot controller is plugged in,
press down on the foot controller.
The machine finishes sewing the stitch pattern,
then stops.
• While making sure that the guidelines align
with the lines drawn with the chalk pencil, sew
the stitching straight, not at an angle.
• Do not forcefully feed the fabric. Otherwise,
sewing may not stop correctly.
• If the stitch pattern could not be adjusted when
was set in step
6, the following
message appears. Cancel [End Point Setting],
and then select a different stitch or change the
length of the stitch.