Step 17
Aer all modules have been transferred to the replacement unit, remove the PIU being replaced from the blade,
and set it aside for repair paperwork processing.
Step 18
Carefully align and install the replacement PIU into the appropriate slot.
Note: The PIU should be slowly and carefully inserted into the blade to prevent damage to the PIU and/or
blade. When the connector pins of the PIU engage the backplane, the PIU must be fully seated within 10
seconds. If it takes longer than 10 seconds to install the PIU, an equipment fault alarm may be raised.
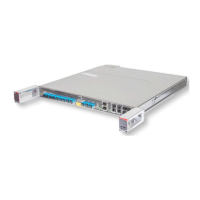
Lever
Lock
FNC000046_Rev_01
Figure 112
Inserng PIU
Step 19
Clean the opcal connectors on the opcal bers.
Cauon
: Opcal connector performance is aected by dust. Clean all connectors before reconnecng the
cables. Keep the ends of ber-opc cables covered when the cables are not in use.
Step 20
Remove the opcal connector covers, if necessary, and carefully press the LC connector tab on each of the I/O
ber-opc cables to carefully install each cable into its correct connector on the PIU.
System Maintenance
Equipment Replacement
365
Release 19.1.1 · Issue 1.1, May 2021
Fujitsu and Fujitsu Customer Use Only