215184 369 Revision A
Figure 9.143: Control Handle Buttons
8. Briefly press button (A) or button (B) in order to select the
set point.
9. Repeat Step 7, page 368 for the set point.
Setting Cutting Height Manually – CLAAS 500 Series
WARNING
Check to be sure all bystanders have cleared the area.
NOTE:
Changes may have been made to the combine controls or display since this document was published. Refer to the combine
operator’s manual for updates.
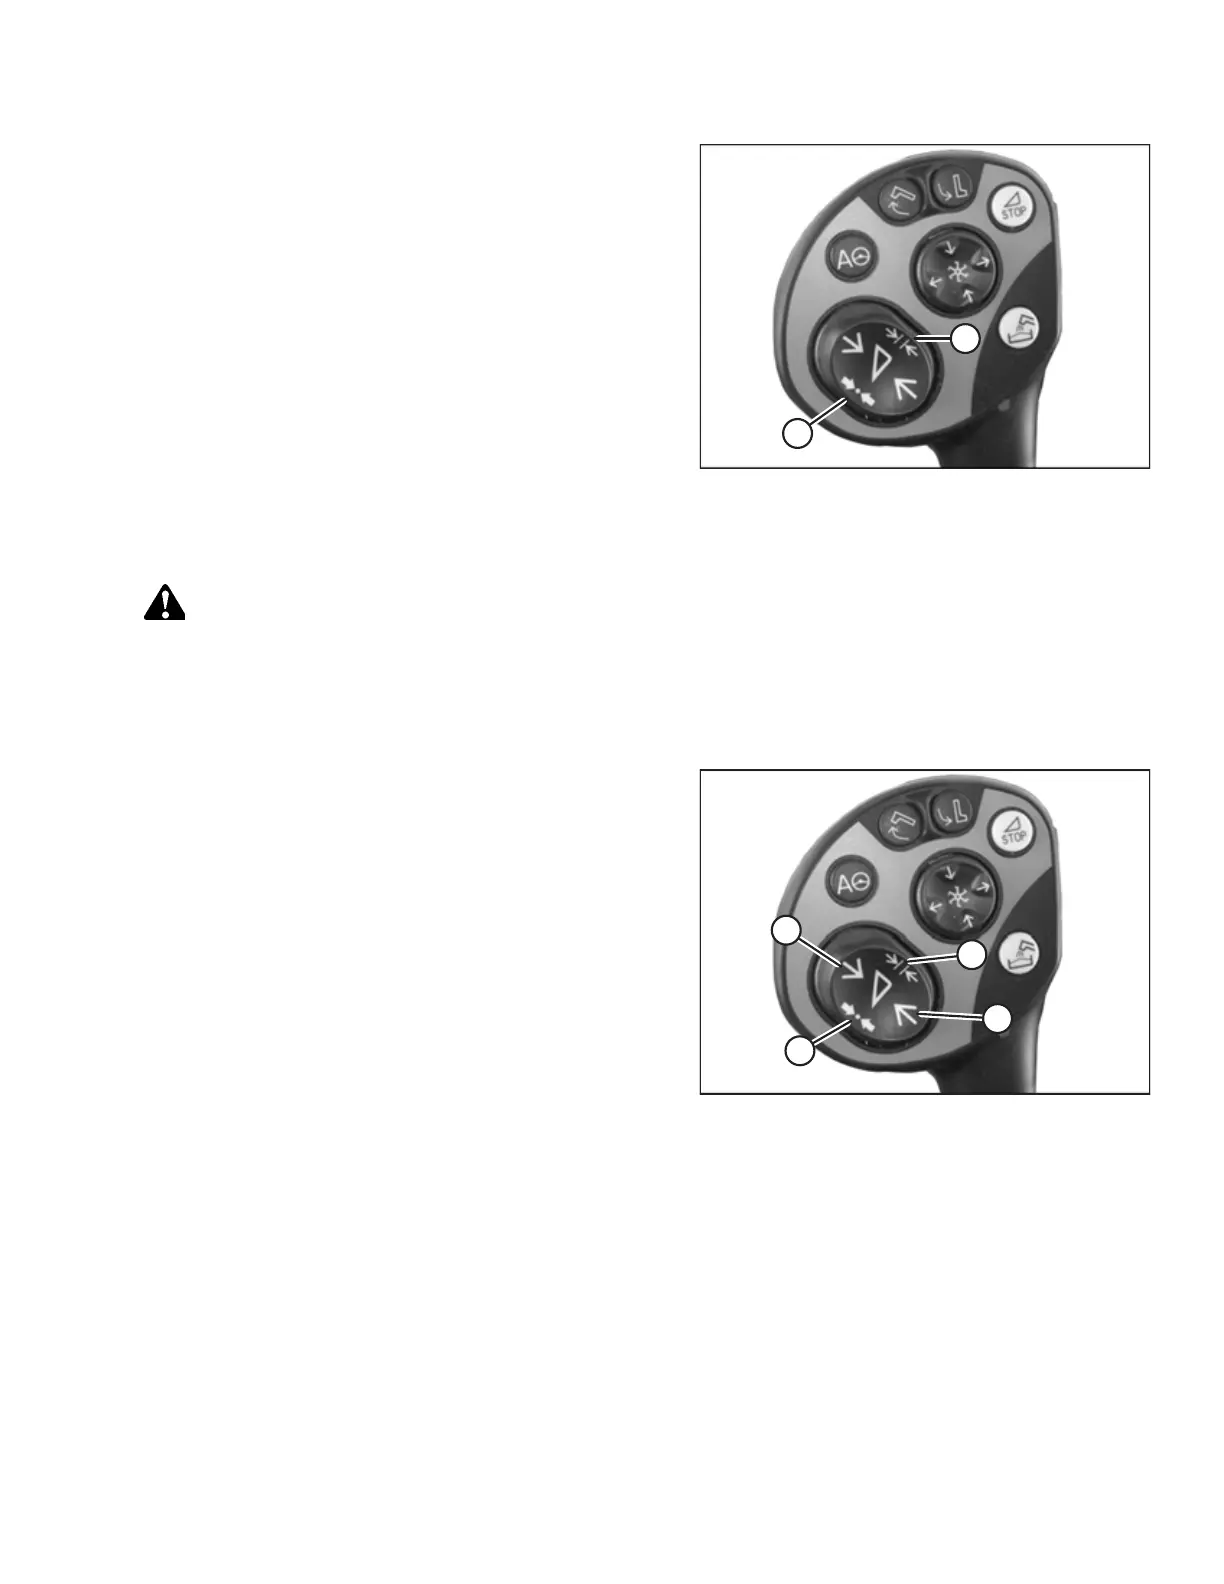
Figure 9.144: Control Handle Buttons
1. Use button (A) to raise the header, or button (B) to lower
the header to the desired cutting height.
2. Press and hold button (C) for 3 seconds to store the cutting
height into the CEBIS (an alarm will sound when the new
setting has been stored).
3. Program a second set point, if desired, by using button (A)
to raise the header, or button (B) to lower the header to
the desired cutting height, and briefly press button (C) to
store the second set point into the CEBIS (an alarm will
sound when the new setting has been stored).
NOTE:
For above-the-ground cutting, repeat Step 1, page 369, and
use button (D) instead of button (C) while repeating Step 2,
page 369.
SETTING UP AUTO HEADER HEIGHT CONTROL