Plockmatic BM3050 system 27 August 2019 3. Repairs and adjustments (REP and ADJ)
3-64
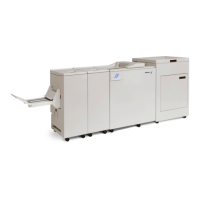
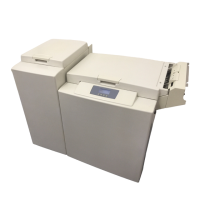
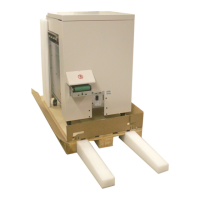
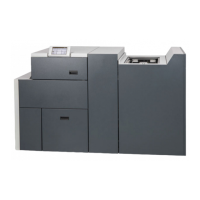
REP 8.0 Stacker Module
Parts List on PL 8.0
Removal
1. Turn off the main power and disconnect the power cord.
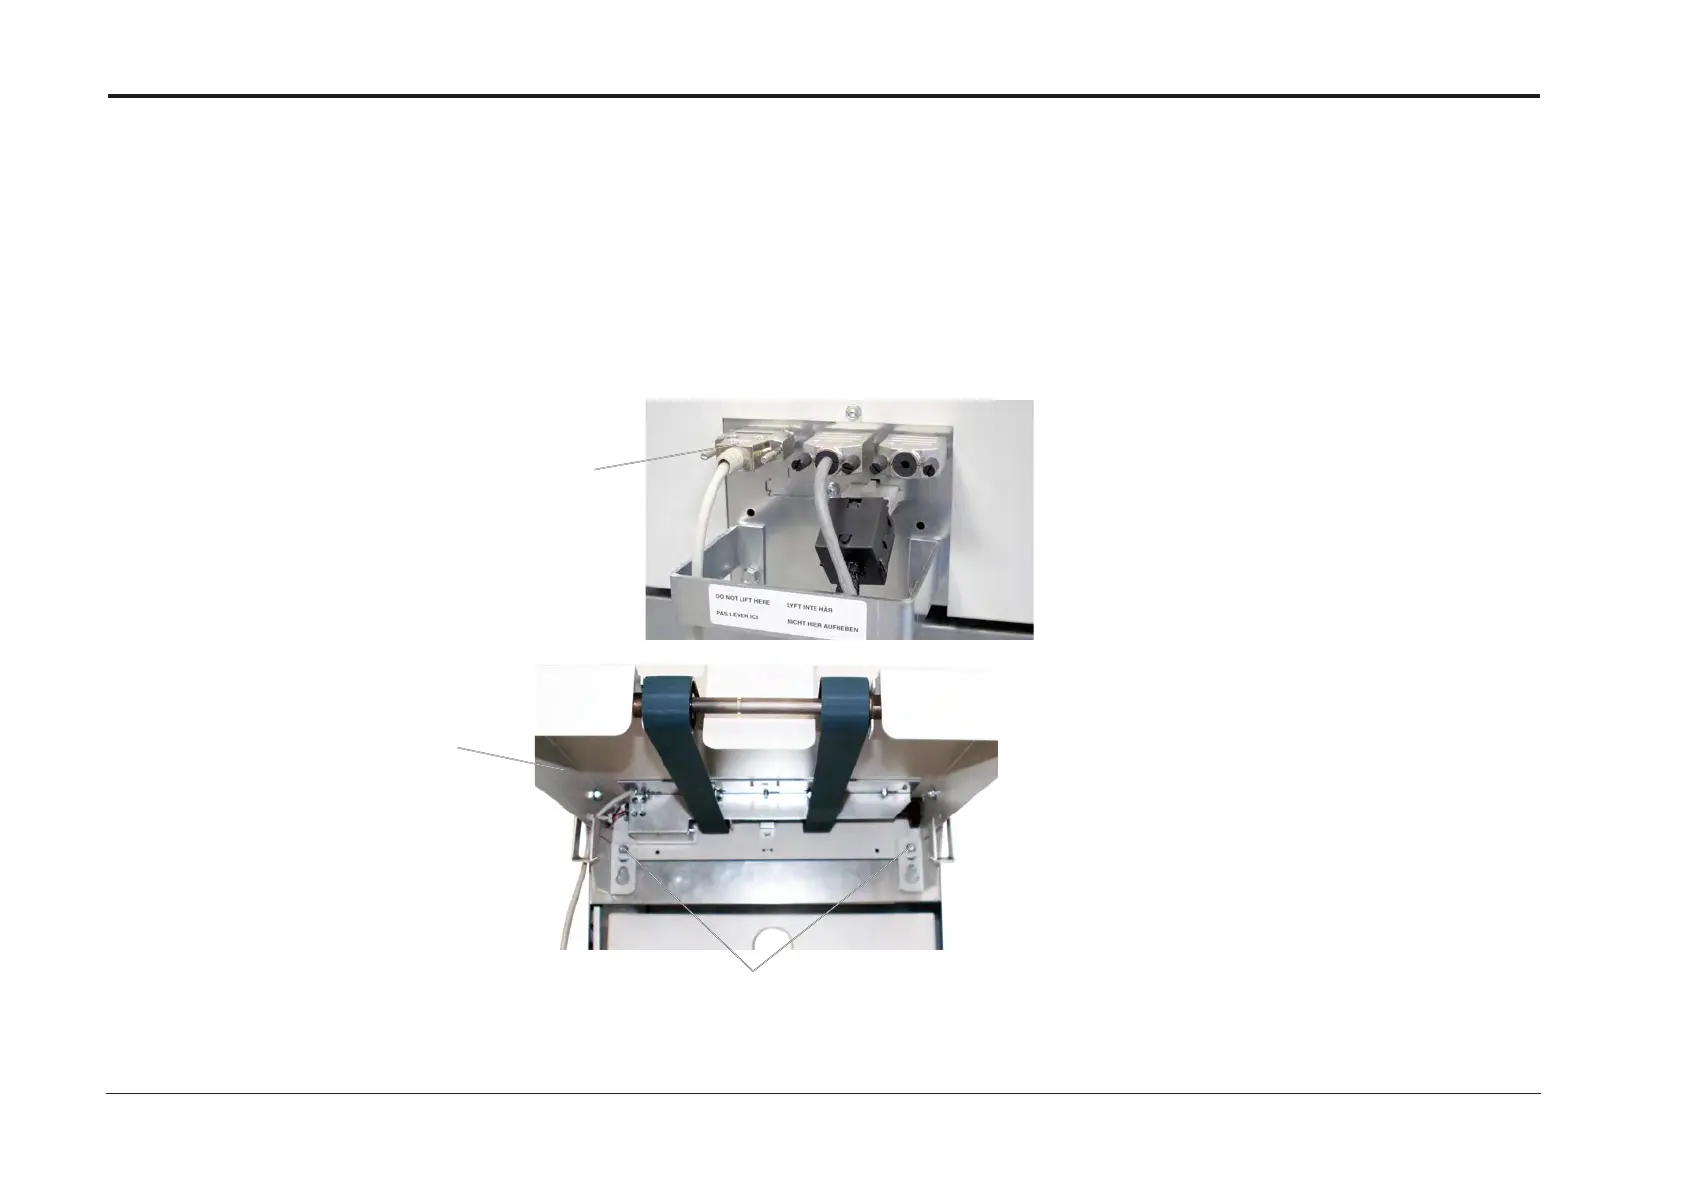
2. Disconnect connector [A].
NOTE:
Depending on system conguration, the Connector can be located on
either the back of the BM, TR or SQF module.
The picture shows the connector connected to the TR module.
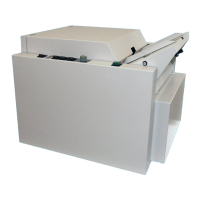
3. Loosen screws (x2) [B]
4. Lift and remove Stacker [C].
Replacement
1. Check ADJ 8.0 Stacker Module.
2. Reverse removal procedure.
[B]
[C]
NOTE:
If the Stacker is to be re-installed on a different unit,
fasten the 2 lower screws so that they do not interfere
with Covers on other modules.
[A]
NOTE:
Depending on system conguration,
the Connector can be located on either the back of
the BM, TR or SQF module.
The picture shows the connector connected to the TR module.