Plockmatic BM3050 system 27 August 2019 1. Installation Procedure
1-24
1.2.2 POWER REQUIREMENTS
1. Ensure that a power outlet is available nearby the system,
fused to withstand the system’s combined rated current.
The current consumption can be seen on the machine labels.
Example: if the machine label says “100-240 V, 4-2 A”
then the rated current is 4 A at 100V and 2 A at 230V.
2. Make sure to route power cords to avoid people from tripping on them.
3. Avoid using excessively long extension cords.
1.2.3 PRE INSTALLATION INFORMATION
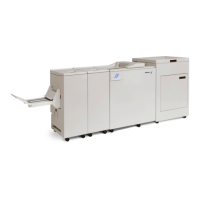
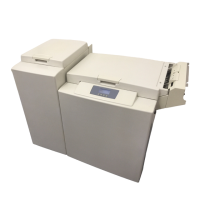
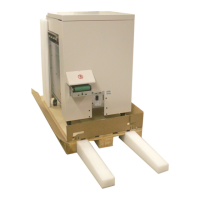
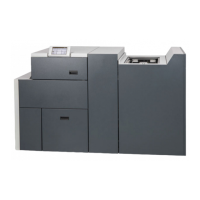
You are about to install one or more of the following modules:
• AF602 Feeder
• VF602 Feeder
• CST3050 Creaser Side Trimmer
• CR3050 Creaser Module
• BM3035 Booklet Maker
• BM3050 Upgrade Kit
• SQF3050 Square Fold Module
• FTR3050 Trim Module
• BST4000-1 Belt Stacker Module
This installation instruction covers all of the above in the following order:
• BM Rotate Crease Trim Module (or CR3050 Creaser Module)
• BM3050 Upgrade Kit
• BM3035/BM3050 Booklet Maker
• BM Book Fold Module
• Trim Module - either attached to BM Square Fold Module or attached
directly to Booklet Maker without a Square Fold in between
• BST4000-1 Belt Stacker Module
• Installation of the rail (main rail part and the extensions) is described
as the installation of the modules progresses.
If you do not install a certain module or option, just skip to the next section.
If you were not present during unpacking, check the unpacking instruction
to make sure all boxes and parts supplied with each modules and op-
tions are present and ensure that all packaging material, strech lm etc. is
removed from the modules.
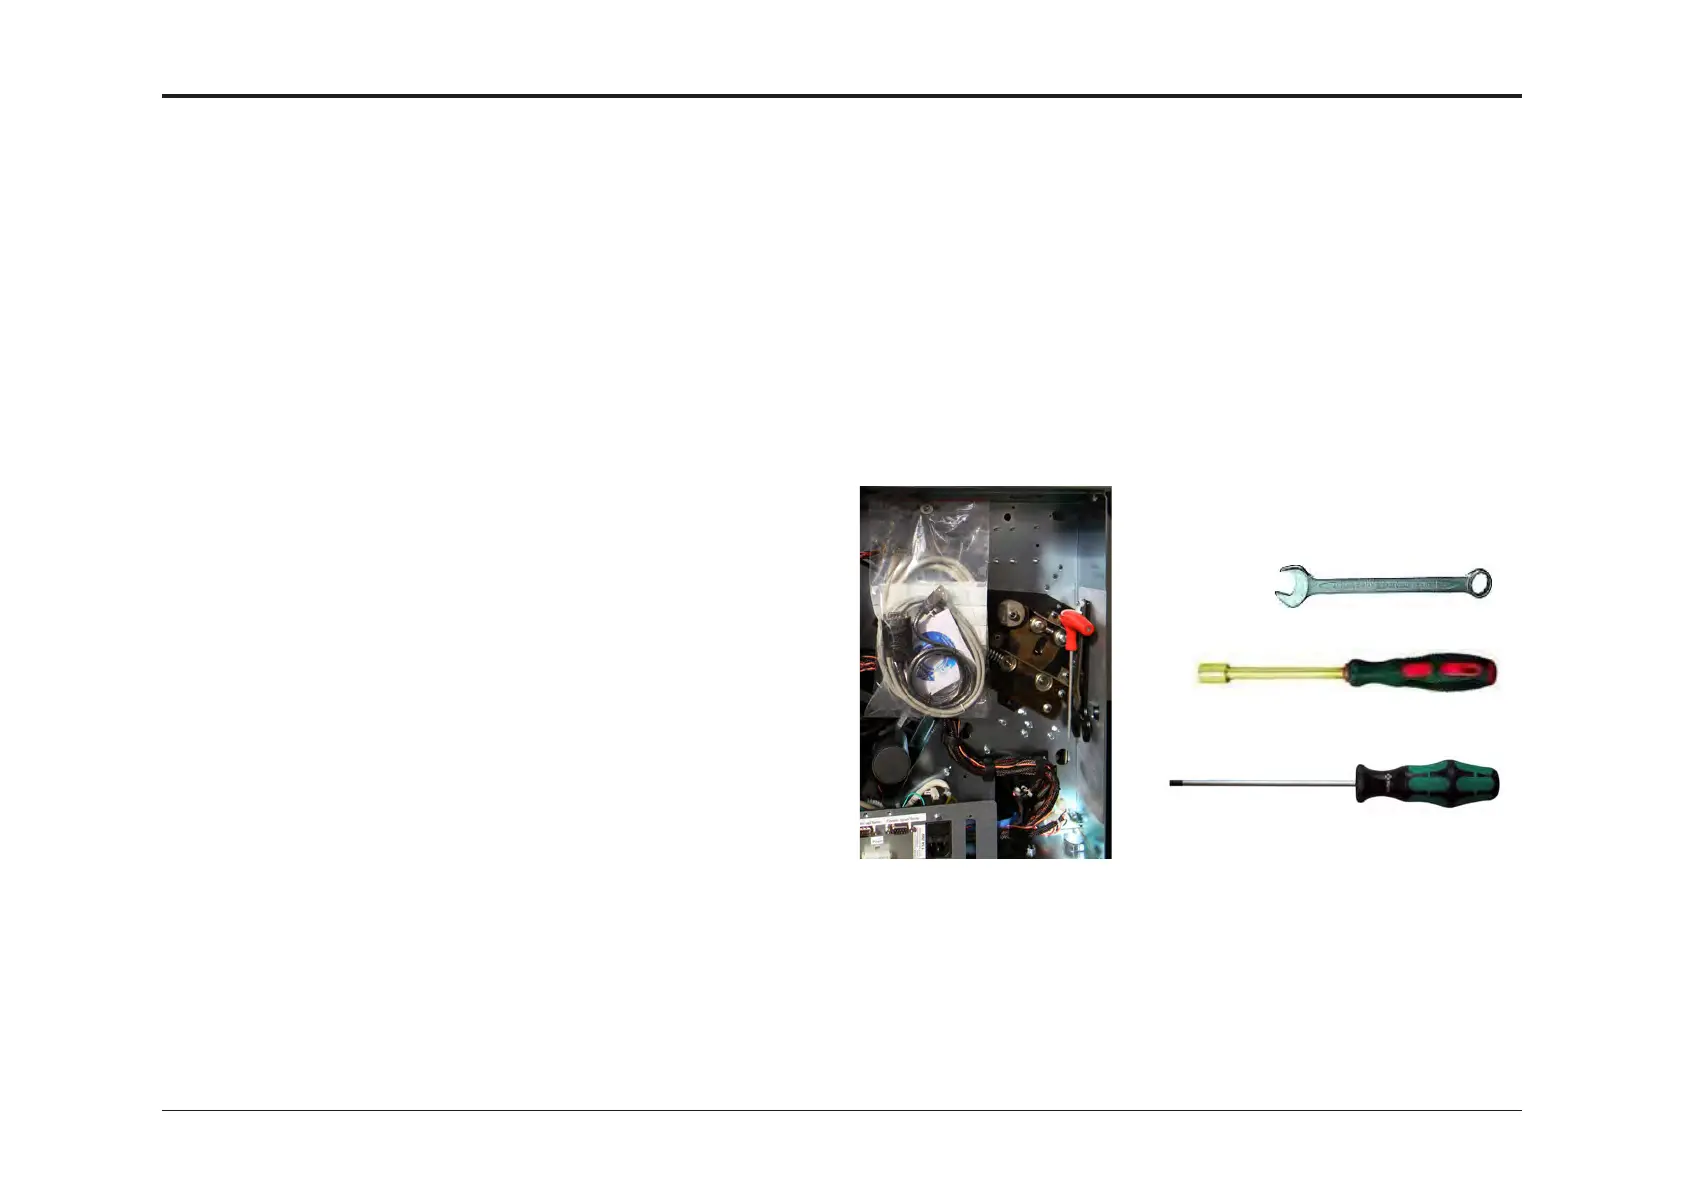
Location of tools
supplied. Actual look
may differ.
1.2.4 TOOLS
To complete installation, following tools are needed:
Supplied with the Booklet Maker, located behind rear cover:
• 24 mm spanner/box or open end wrench.
• 17 mm spanner/box or open end wrench.
• Torx T20 driver, min 115mm (4.5”) long.
• USB to RS-232 adapter, Software download cable and USB stick.
Not supplied:
• 7mm spanner/box or open end wrench
• 8mm spanner/box or open end wrench or hex nut driver
• Flat blade screwdriver size 4 or 5
spanner/box or open end
wrench
hexnut driver
Torx T20 screwdriver
Tools needed
NOTE:
Check the Booklet Maker installation section for how to remove the rear
cover in order to obtain the supplied tools.