DOB 1300-1556 | X3-45 Commuter PA-1648 Maintenance Manual Section 06 revised release October 2021
1. Unscrew both “Phillips” light screws then
remove the light assembly.
2. Install new light assembly and secure using
screws.
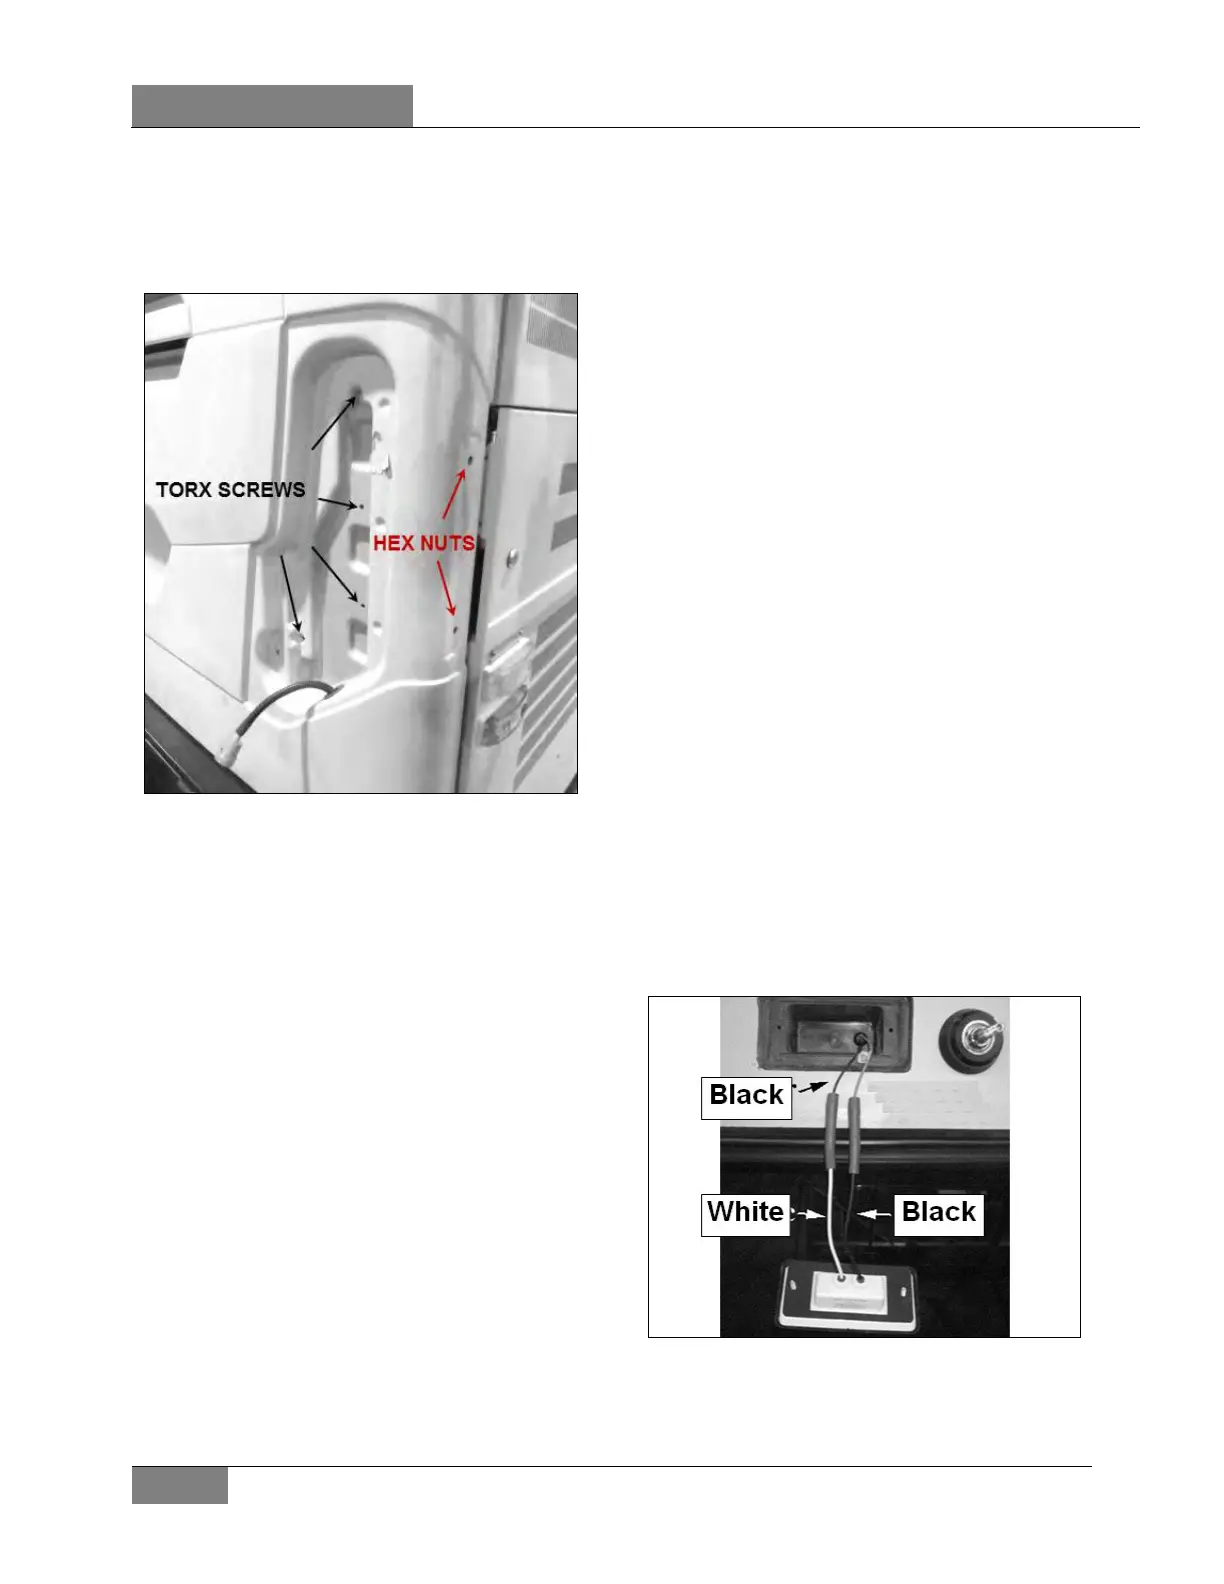
FIGURE 72: TAILLAMP POD RETAINING SCREWS &
NUTS
15.4.3 Lamp Removal And Replacement
1. Open engine compartment rear door.
2. Unscrew the lamp support retaining screws
(2), and then from the outside, remove the
lamp and its support.
3. From the outside, install the new lamp with
its support then fasten the retaining screws.
15.4.4 High-Mounted Stop Light Removal And
Replacement
This vehicle is equipped with a high-mounted
stop light (LED). This light is a sealed unit and
should be replaced as an assembly in
accordance with the following procedure:
1. Unscrew both “Phillips” light screws, and
then remove the light assembly.
2. Position the new light assembly and install
the “Phillips” screws.
15.5 LICENSE PLATE LIGHT
Two LED units are mounted above the rear
license plate(s) of vehicle. In case of burn out,
the LED unit must be changed according to the
following procedure.
1. Pry out the rubber seal with a small
screwdriver. Pull on the LED unit and
disconnect it.
2. Reconnect new LED unit, place rubber seal,
and press on it until it is seated in position.
15.6 CLEARANCE, IDENTIFICATION AND
MARKER LIGHTS
The vehicle is equipped with marker,
identification and clearance lights (LED). The
clearance lights are mounted at each corner of
the coach near the top and the identification
lights are in the upper center of rear and front
sections.
15.6.1 Clearance and Identification Lights
Removal and Replacement
The rear clearance and identification lights are
red and the front ones are amber.
These lights are LED sealed units and should be
replaced as an assembly in accordance with the
following procedure:
1. Unscrew both “Phillips” screws, and then
remove the LED unit. Unplug the
connectors.
FIGURE 73: LED SEALED UNIT WIRE CONNECTION
2. Plug the new unit connectors. Engage the
mating parts; push until the connector is fully
seated. Turn slightly until you feel a click.
 Loading...


