SECTION 09: PROPELLER SHAFT
DOB 1300-1556 | X3-45 Commuter PA-1648 Maintenance Manual First release Oct 2020
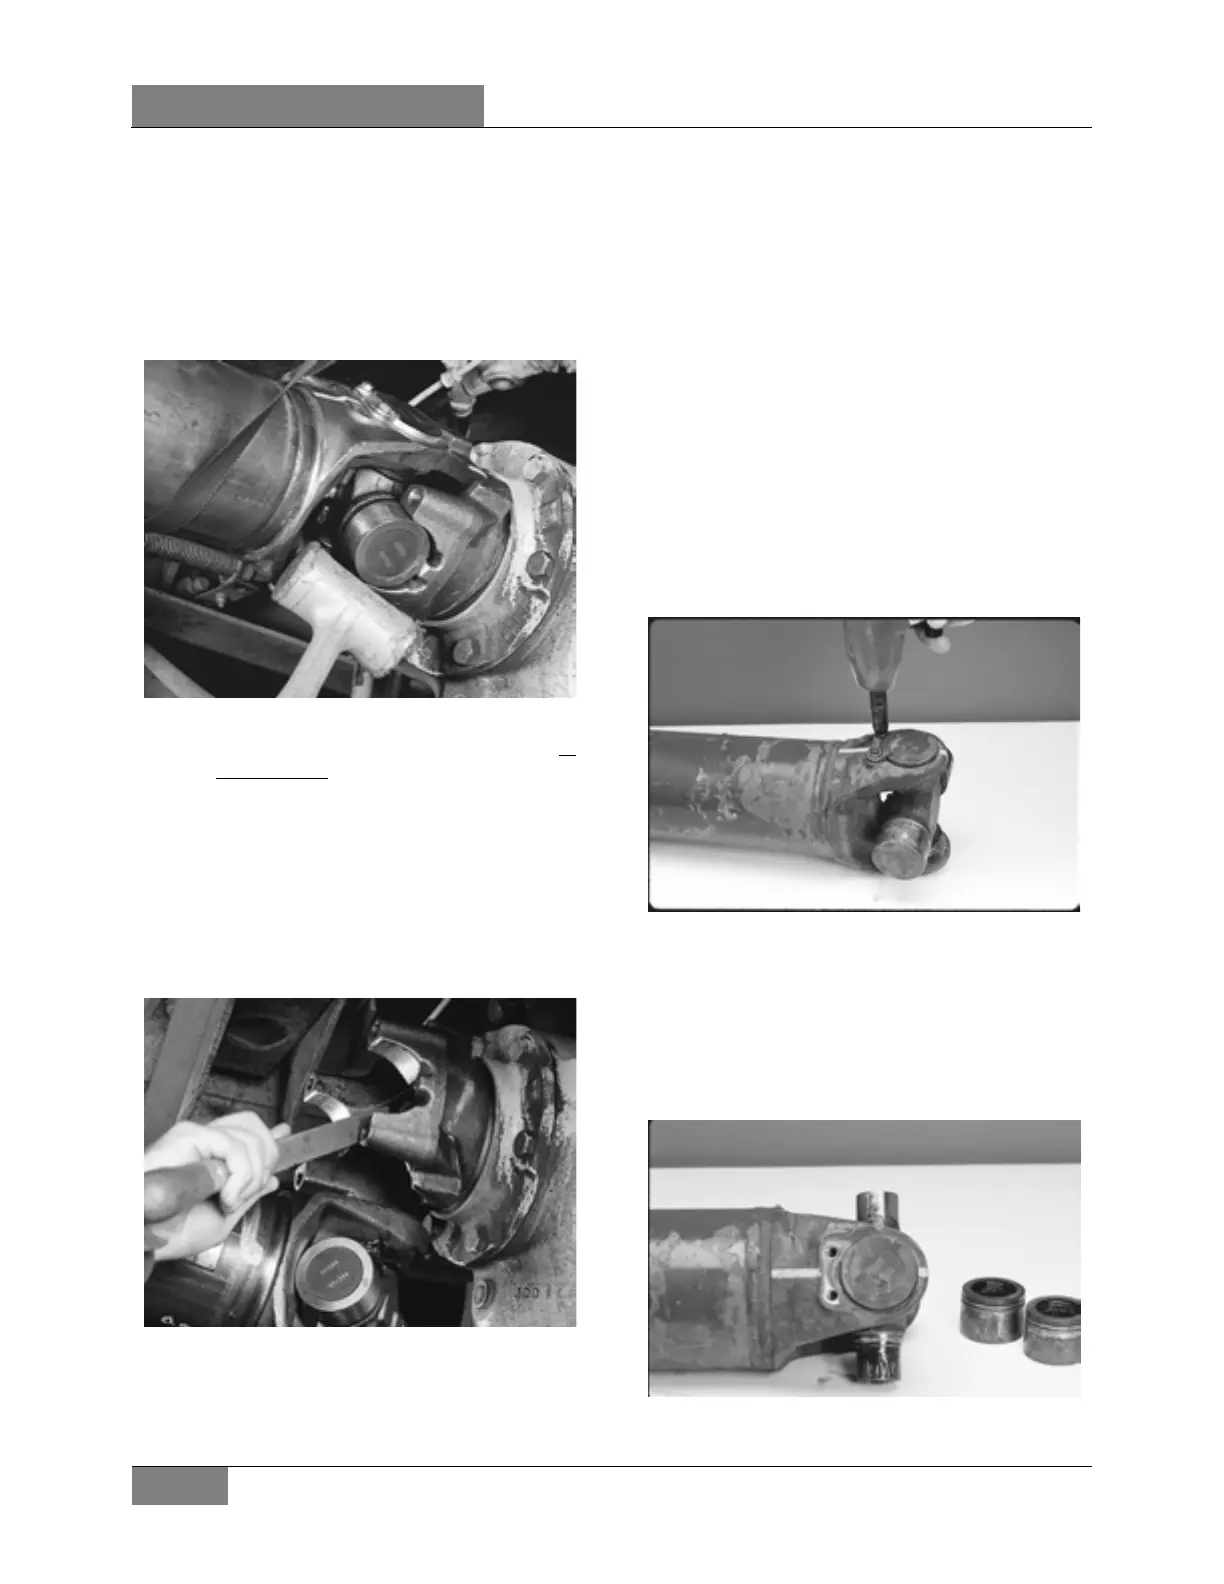
4. It may be necessary to unseat bearing
cup assemblies by tapping on yoke or
bearing cup with a soft-faced hammer.
Once the bearing cup assemblies are
free, collapse the propeller shaft until
both bearing assemblies clear the open
end yoke cross holes. Allow the
propeller shaft to rest on support strap.
FIGURE 13: UNSEATING BEARING CUP ASSEMBLIES
5. Remove bearing retainers and bolts at
the front end.
6. Inspect all end yoke cross hole surfaces
and bolt hole threads for damage. If the
bolt hole threads are damaged, the yoke
must be replaced.
7. Inspect for raised metal or fretting on
open yoke cross holes can be removed
with a fine-toothed file and/or emery
cloth.
FIGURE 14: RAISED METAL OR FRETTING ON OPEN
YOKE CROSS HOLES
8. Inspect the end yoke cross holes for
distortion and damage.
5.1.1 Inspect Companion Flange/Flange
Yokes
1. Inspect all flange bolt hole threads or
through holes for damage. If the bolt
hole threads or through holes are
damaged, the flange must be replaced.
2. Inspect all flange faces for galling or
damage. If damaged, the flange must be
replaced.
5.2 REMOVAL PROCEDURE FOR
UNIVERSAL JOINT KIT
1. For Quick Disconnect Style: Remove
spring tab bolts and discard, and remove
outboard bearing cap assemblies.
FIGURE 15: SPRING TAB BOLTS REMOVAL
2. Make sure universal joints cross assembly is
not tilted in the yoke. Place bearing cup
spacer onto the base of the arbor press and
under the yoke. If the arbor is larger than the
bearing cup diameter, a smaller diameter
push rod will be needed to avoid damaging
the yoke or bearing.
FIGURE 16: CORRECT POSITIONING
 Loading...


