DOB 1300-1556 | X3-45 Commuter PA-1648 Maintenance Manual First release Oct 2020
Fuel filter change intervals should be analyzed
and adjusted accordingly.
5. AIR CLEANER (DRY TYPE)
The vehicle is equipped with a dry-type
replaceable element air cleaner, located in the
engine compartment. Access the air cleaner
through the engine R.H. side door. Engine air
enters the air cleaner through an intake duct on
the R.H. side of the rear cap, next to the last
window. It then flows through a pre-cleaner and
finally through the air cleaner. The pre-cleaner
removes dust and moisture by means of a
discharge tube at the bottom of the element. It is
in series with a replaceable impregnated paper
filter element (air cleaner).
5.1 AIR CLEANER SERVICING
Replacing the air filter cartridge is important to
ensure clean air and good flow. Neglecting this
servicing could lead to an efficiency loss and
eventual engine problems. Follow these steps to
replace the filter cartridge:
MAINTENANCE
Air cleaner
Change the filter element when indicated by the
restriction indicator or at the intervals specified
by the Lubrication And Servicing Schedule in
Section 24: LUBRICATION & SERVICING.
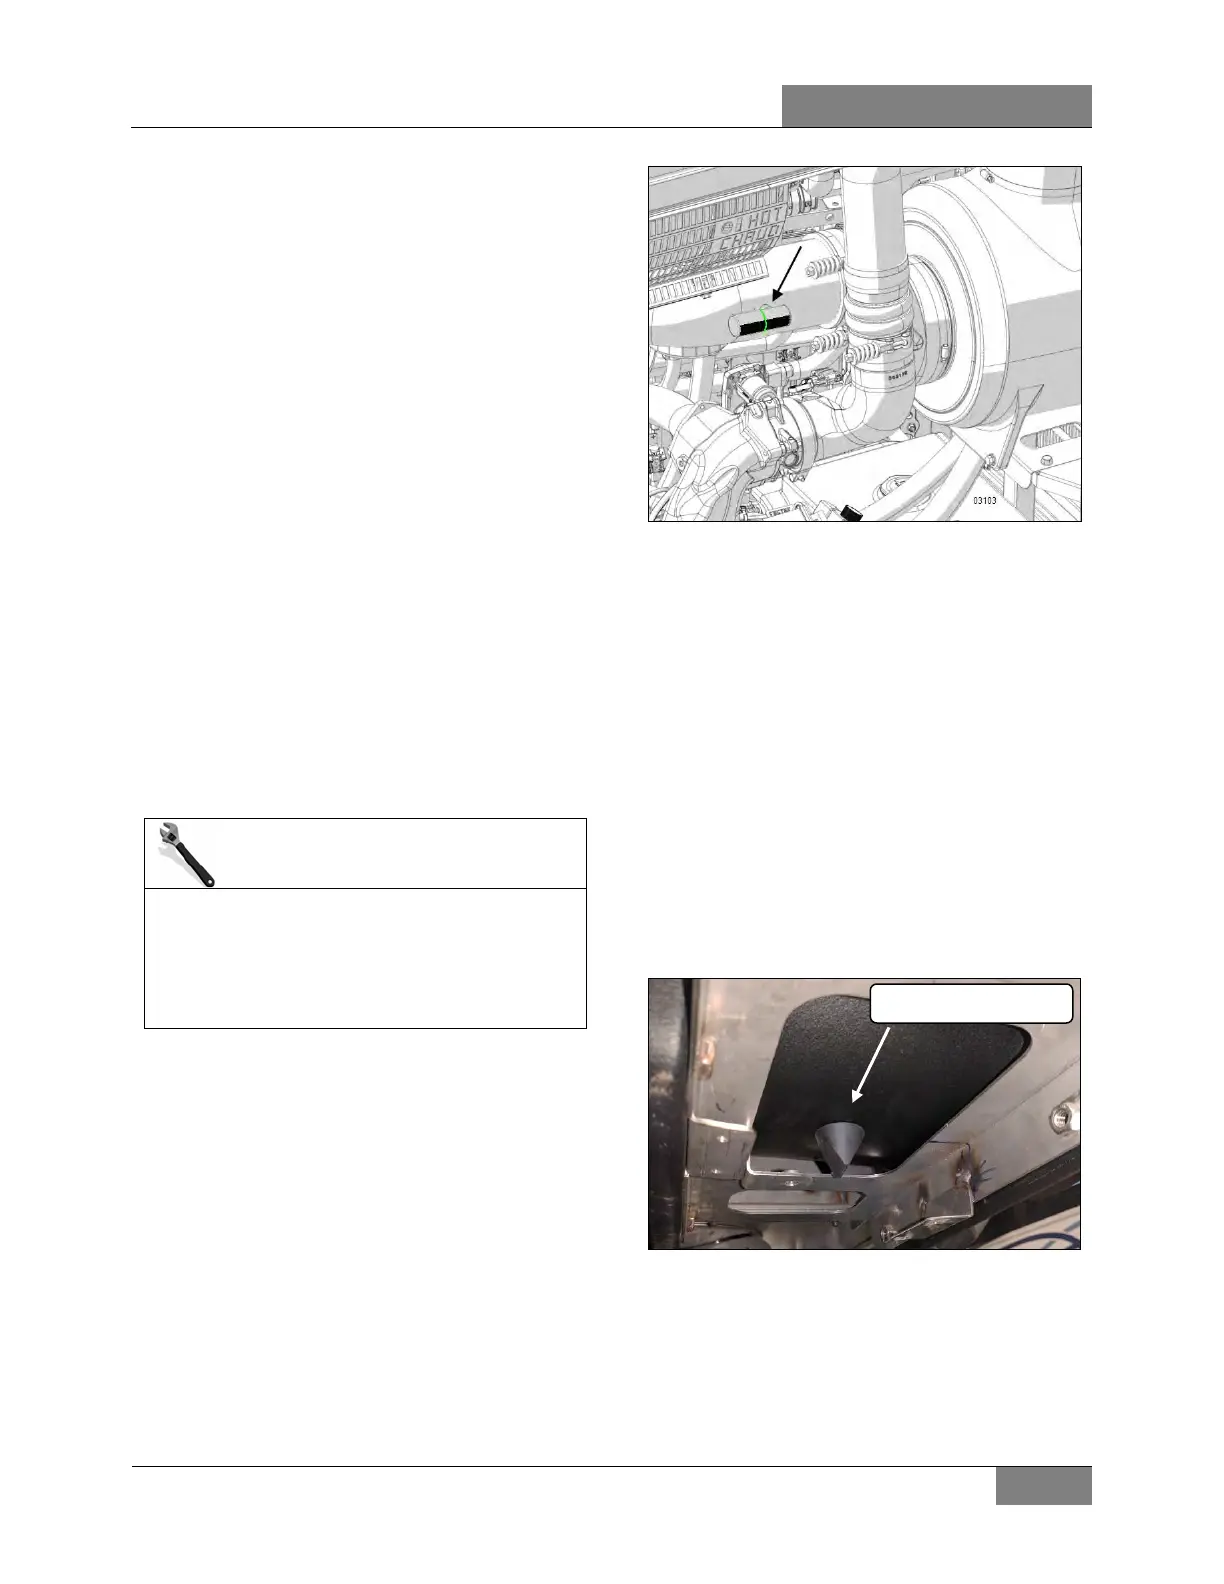
5.1.1 Checking restriction indicator
A resettable restriction indicator is installed on
the engine air-intake duct, clearly visible from the
rear engine compartment. The indicator
monitors the vacuum level between the air
cleaner and the engine. A red marker is
displayed when the air cleaner is clogged and
must be replaced. Reset by pressing on the
indicator's extremity.
FIGURE 22 RESTRICTION INDICATOR LOCATION
Indication of a need to replace the filter will be
apparent once its line turns red. Proper
operation will be indicated by a green line.
Consult the servicing schedule for time intervals
between each regular filter change.
5.1.2 Replacing the Filter
• Remove the four filter cover plastic bolts. The
filter itself can be removed by pulling it with
gentle movements from left to right and
up/down. A residual suction may occur,
creating additional resistance.
• Empty the drain rubber valve located under
the filter housing; if damaged this part can be
ordered and changed.
FIGURE 23 RUBBER DRAIN VALVE UNDER FILTER
• Using a clean damp cloth, wipe the sealing
flange and the inside of the outlet tube.
 Loading...


