SECTION 12: BRAKE AND AIR SYSTEM
DOB 1300-1556 | X3-45 Commuter PA-1648 Maintenance Manual First release Oct 2020
16. DISC BRAKES
Knorr-Bremse SN7 disc brakes are used on all
axles.
The front axle service brakes are actuated by 24
inch
2
effective area air brake chambers. The
drive axle service brakes as well as the
emergency/parking brakes are actuated by 24
inch
2
effective area air brake chambers. On the
tag axle, the service brake chambers have a 16
inch
2
effective area.
The Knorr-Bremse SN7 brakes are supplied with
automatic clearance adjusters as standard
equipment for easier adjustment.
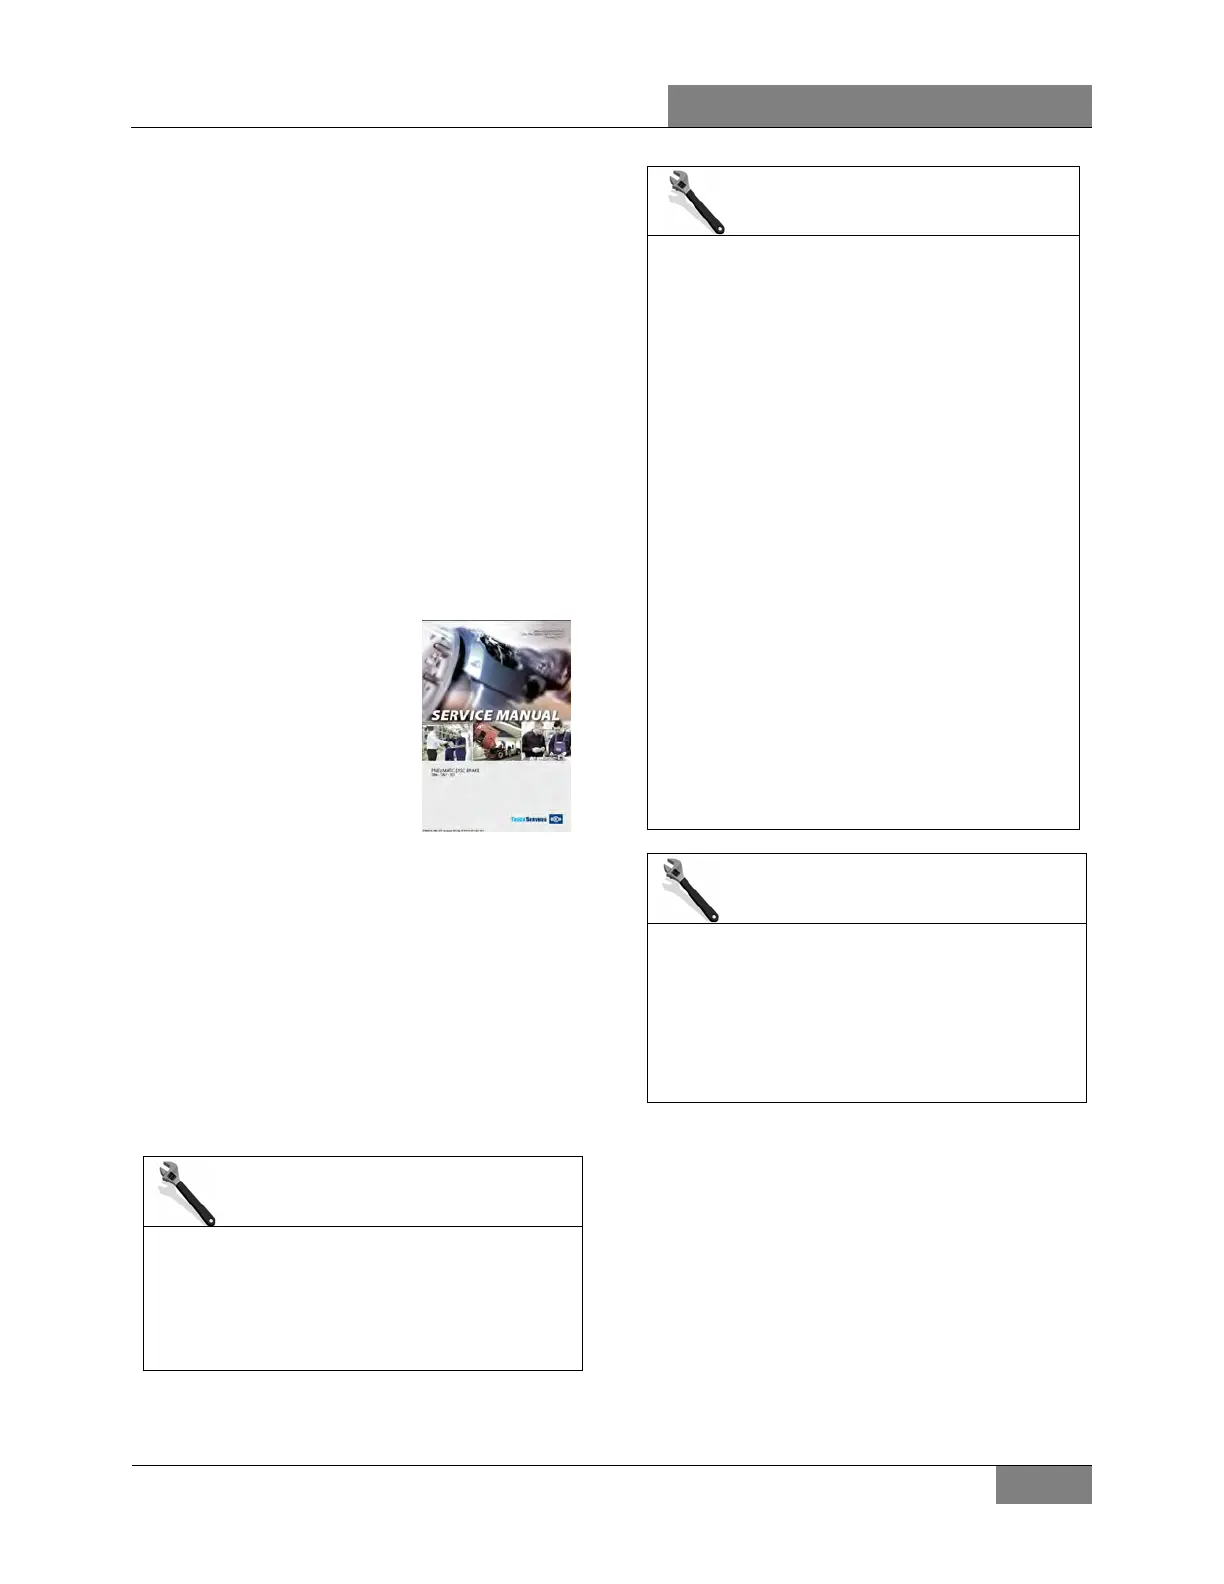
For detailed maintenance
procedures, refer to Knorr-
Bremse Pneumat
ic Disc
Brake Y006471 Service
Manual
Technical Publications
USB flash drive and also
availa
Technical Publications site.
16.1 INSPECTION POINTS
If an individual wheel has heated abnormally,
Please refer to Bendix BW7514_Single wheel
end thermal overload checklist. This checklist
will help you through standard verifications
required by the brake manufacturer before filing
a warranty claim.
The following inspection points will ensure long-
life and trouble-free operation of the disc brake.
MAINTENANCE
Check brake pads & discs wear visually (this is
independent of any electronic wear indicator
fitted to the vehicle) at the intervals specified
by the Lubrication and Servicing Schedule in
Section 24: LUBRICATION & SERVICING.
MAINTENANCE
With every pad replacement or once a
year whichever comes first:
1.
Check correct functioning of the
adjuster (see 16.2.6).
2. Check that caliper operates smoothly
over its full range of movem
16.2.6).
3.
Check the adjuster cap for correct
fitting and condition (item 37).
4. Check the sealing elements for correct
fitting and condition (items 9, 58) (see
16.2.10 Caliper Guide Pin Seals &
16.2.11 Tappet & Boot Assemblies).
5. Check the caliper bearing in the area of
the rubber bush/guide sleeve (item 6)
(see 16.2.8 step 2).
6.
Check the caliper running clearance
(see 16.2.7).
7. Check fitting and condition of the cover
(item 10) and cover (item 68
variants may exist).
MAINTENANCE
Moisture and dirt is the enemy. Special care
should be awarded to the condition of the
various sealing elements, boots and caps to
prevent any moisture or dirt intrusion in the
caliper. Any missing or damaged sealing
element, boot or cap should be replaced
immediately.
At each pad replacement, make sure the caliper
operates smoothly over its full range of
movement. If the caliper shows the following
signs, replacement of the rubber bush/guide
sleeve (item 6, Figure 25), guide pin (items 4 &
5 Figure 26, screw (items 39 & 40) and cap
(items 10 & 68) is required.
• excessive or abnormal play
• movement along guide pins is hard or
impossible (due to corrosion or dirt)
• A missing guide pin cap
If an individual wheel has heated abnormally,
please refer to Bendix BW7514_Single wheel

 Loading...
