SECTION 22: HEATING AND AIR CONDITIONING
DOB 1300-1556 | X3-45 Commuter PA-1648 Maintenance Manual First release Oct 2020
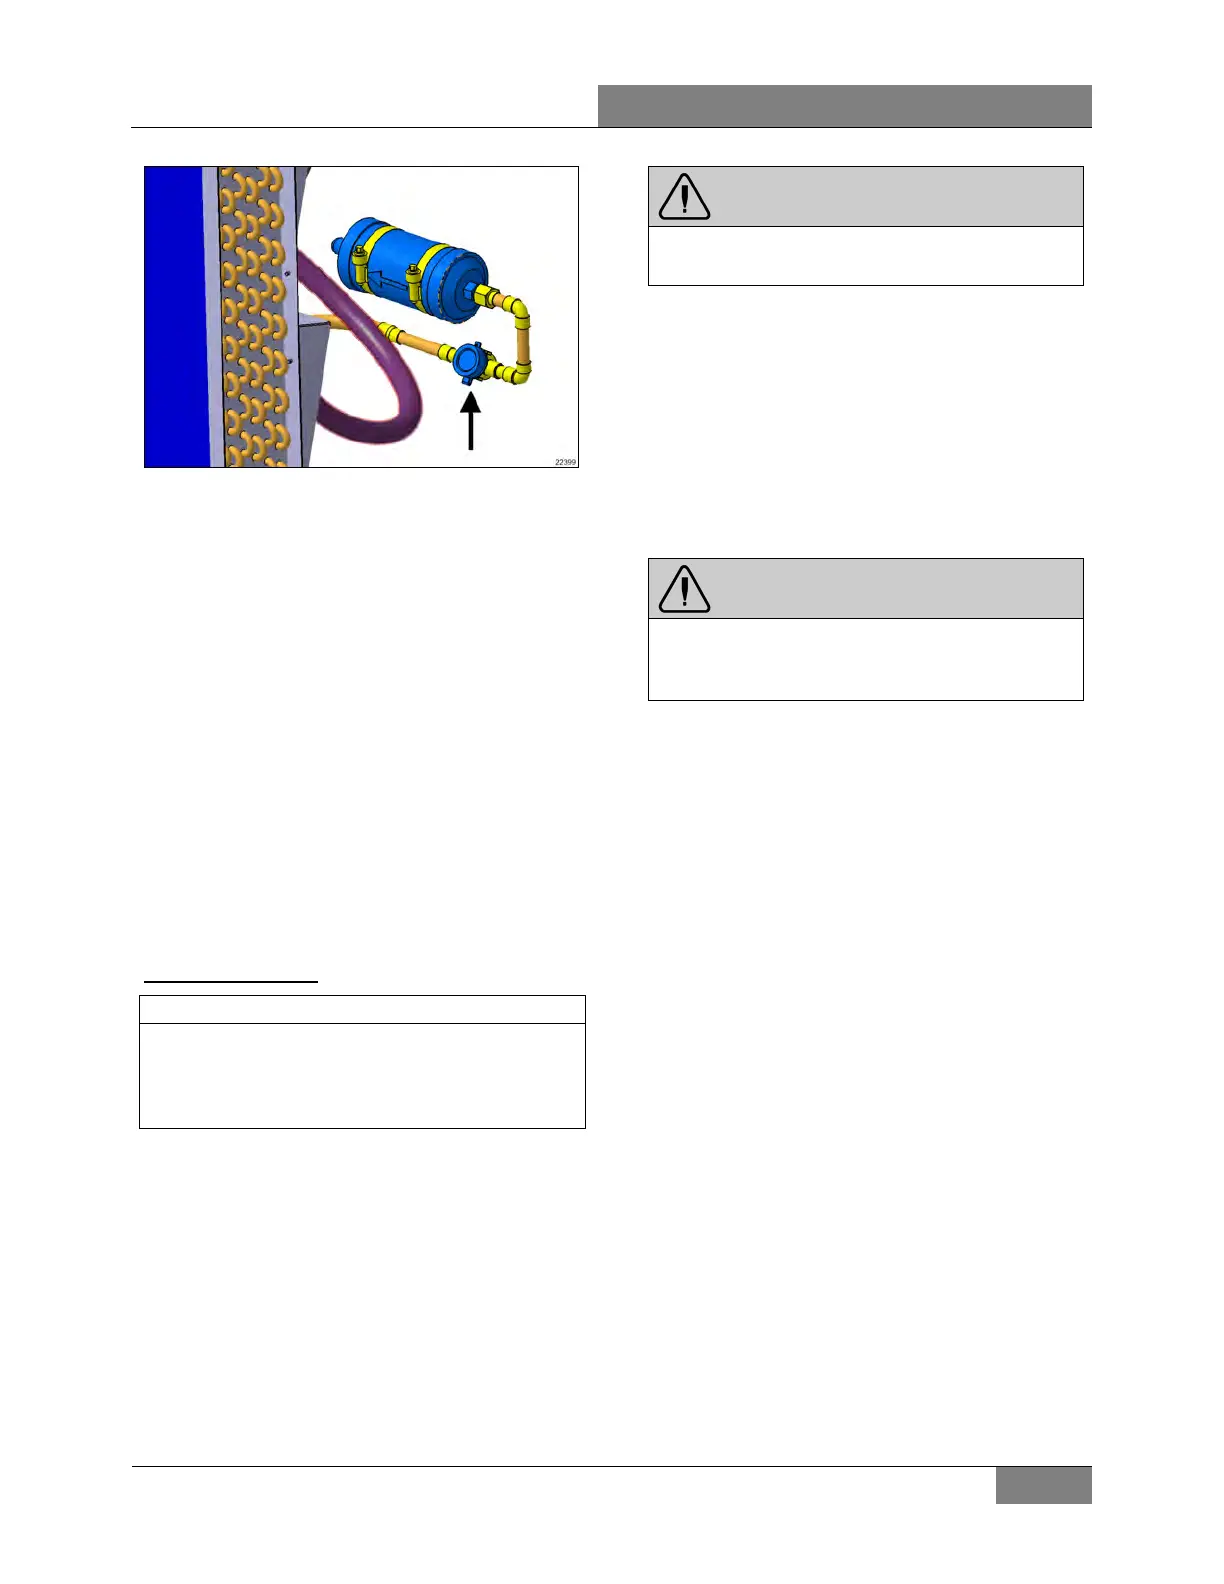
FIGURE 58: MOISTURE INDICATOR SIGHT GLASS
3- At fast idle, the high side pressure should
be near the following calculation: add 30° F
to the ambient temperature in Fahrenheit.
In the refrigerant chart (see 5.8
TEMPERATURES & PRESSURE CHART),
find this temperature and the corresponding
saturation pressure and add 10 psi for the
pressure drop between compressor and
condenser.
Calculation example:
At 70°F outside, add 30°F. In the chart
(paragraph 5.8 ), find the pressure value for a
temperature of 100°F. For R-134a refrigerant
gas, you will find a value of 124 psi. Add 10
psi to this value for the compressor to
condenser line, this result gives 134 psi. So a
high side pressure value between 129 to 139
psi should be OK.
Refrigerant addition
Use a bottle that is more than half full.
Alw
ays charge the system with the cylinder
upright and the valve on top to avoid drawing
liquid out of the cylinder.
1. Install a heated refrigerant bottle at the
back of the vehicle, on a scale, straight up.
Refer to section “Precautions in Handling
Refrigerant” for the proper heating method.
2. Connect the yellow hose of your manifold
gage set to the red (vapor) valve on the
bottle. Connect the blue valve of the gage
set on the suction shutoff valve service port
of the compressor. Connect the red valve of
the gage set to the discharge shutoff valve
service port. Hoses should be purged of air
at installation (evacuated).
WARNING
Secure manifold gage hoses so they will not
be damaged by engine belts and pulleys.
3. Midseat the compressor suction and
discharge shutoff valves.
4. In order to speed up the charging, unplug
the unloader to keep all compressor
cylinders active.
5. Let the door and hatches open and maybe
open side windows to prevent cooling down
the coach too rapidly. Preferably, the
interior would be hot, at least over 68°F.
WARNING
If discharge pressure is above 100 psig, the
condenser fans will be running. Keep hands
clear of fans
6. Start engine.
7. Switch to fast idle for faster fill and battery
protection.
8. Open the blue gage valve. The suction
pressure should go up meaning the
compressor is sucking from the tank also. If
there is almost no pressure rise, the tank is
too low or too cold.
9. Check the moisture indicator sight glass
and the discharge pressure to meet the
criteria described above.
10. When the sight glass gets clear, you can
add some reserve, up to 2 pounds, as long
as the high pressure does not move up.
11. When finished, close gage valves and
bottle valve.
12. Before stopping the engine, check the
compressor oil level and note it in the repair
book as well as the amount of refrigerant
added.
13. Shut down engine and backseat suction
and discharge shutoff valves (FIGURE 56).
MAX TORQUE: 12 lb-ft (16 Nm)
14. Remove gages and replace caps.
15. Perform a road test for final verification.
 Loading...


