ON/OFF indicator
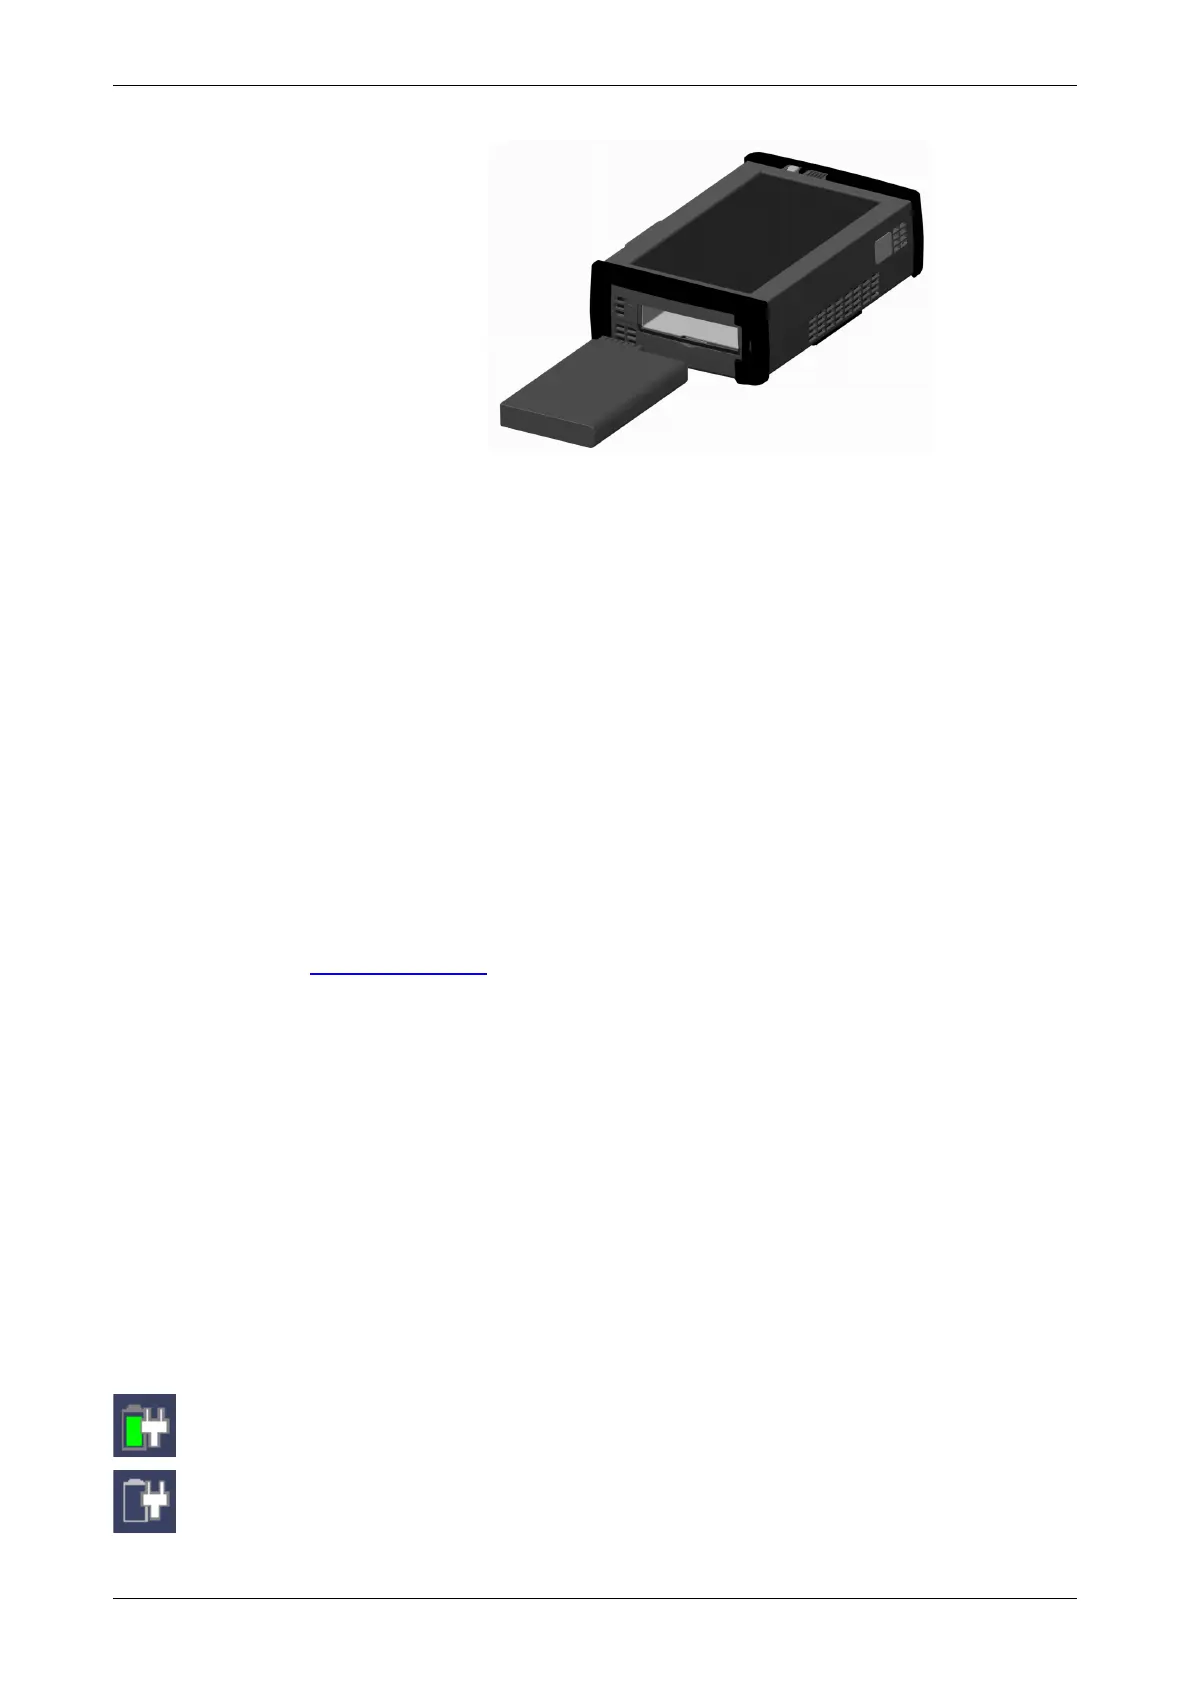
6. When installing the battery, note the direction of the battery terminals.
With the instrument placed on its back - and the battery compartment in
front of you - the terminals should be in the upper left corner.
7. Re-install the battery compartment door and tighten the lock screw.
2.3.2 Charging Battery in Fast Mode
Power is supplied from the external AC mains adapter - and the Network
Master is switched OFF during the charging (Stand By Mode).
To charge the Network Master battery using the fast charge mode, follow the
procedure below:
1. Switch the Network Master OFF.
2. Connect the mains adapter, as described in the "Connecting Mains Power
Adapter" section.
When connected, the ON/OFF indicator will flash after approx. 30 seconds,
indicating that charging is in progress. When the flashing stops, the charging
is complete. If the battery is defective - the ON/OFF indicator will also light.
Therefore, the best way to check the battery status is to switch on the
Network Master and observe the battery information as described in the
Instrument toolbar section.
2.3.3 Charging Battery in Normal Mode
Power is supplied from the external AC mains adapter - and the Network
Master is switched ON during the charging.
A normal charging of the battery is taking place every time the instrument is
in use and connected to the mains adapter.
The battery status can be checked in the instrument toolbar (expandable
icon toolbar) on the right-hand side of the screen, or in the status line if the
battery indicator is displayed there. See the "Battery Status Information"
section below.
2.3.4 Battery Status Information
The battery icon is displayed in the status line at the bottom of the screen.
The following icons are used to indicate the current battery status:
The battery is fully charged. The Network Master is using the AC adapter as
power source.
There is no battery in the Network Master (or the battery is malfunctioning). The
Network Master is using the AC adapter as power source.