Using the Camera to Connect Patterns
215
Advanced Embroidery
5
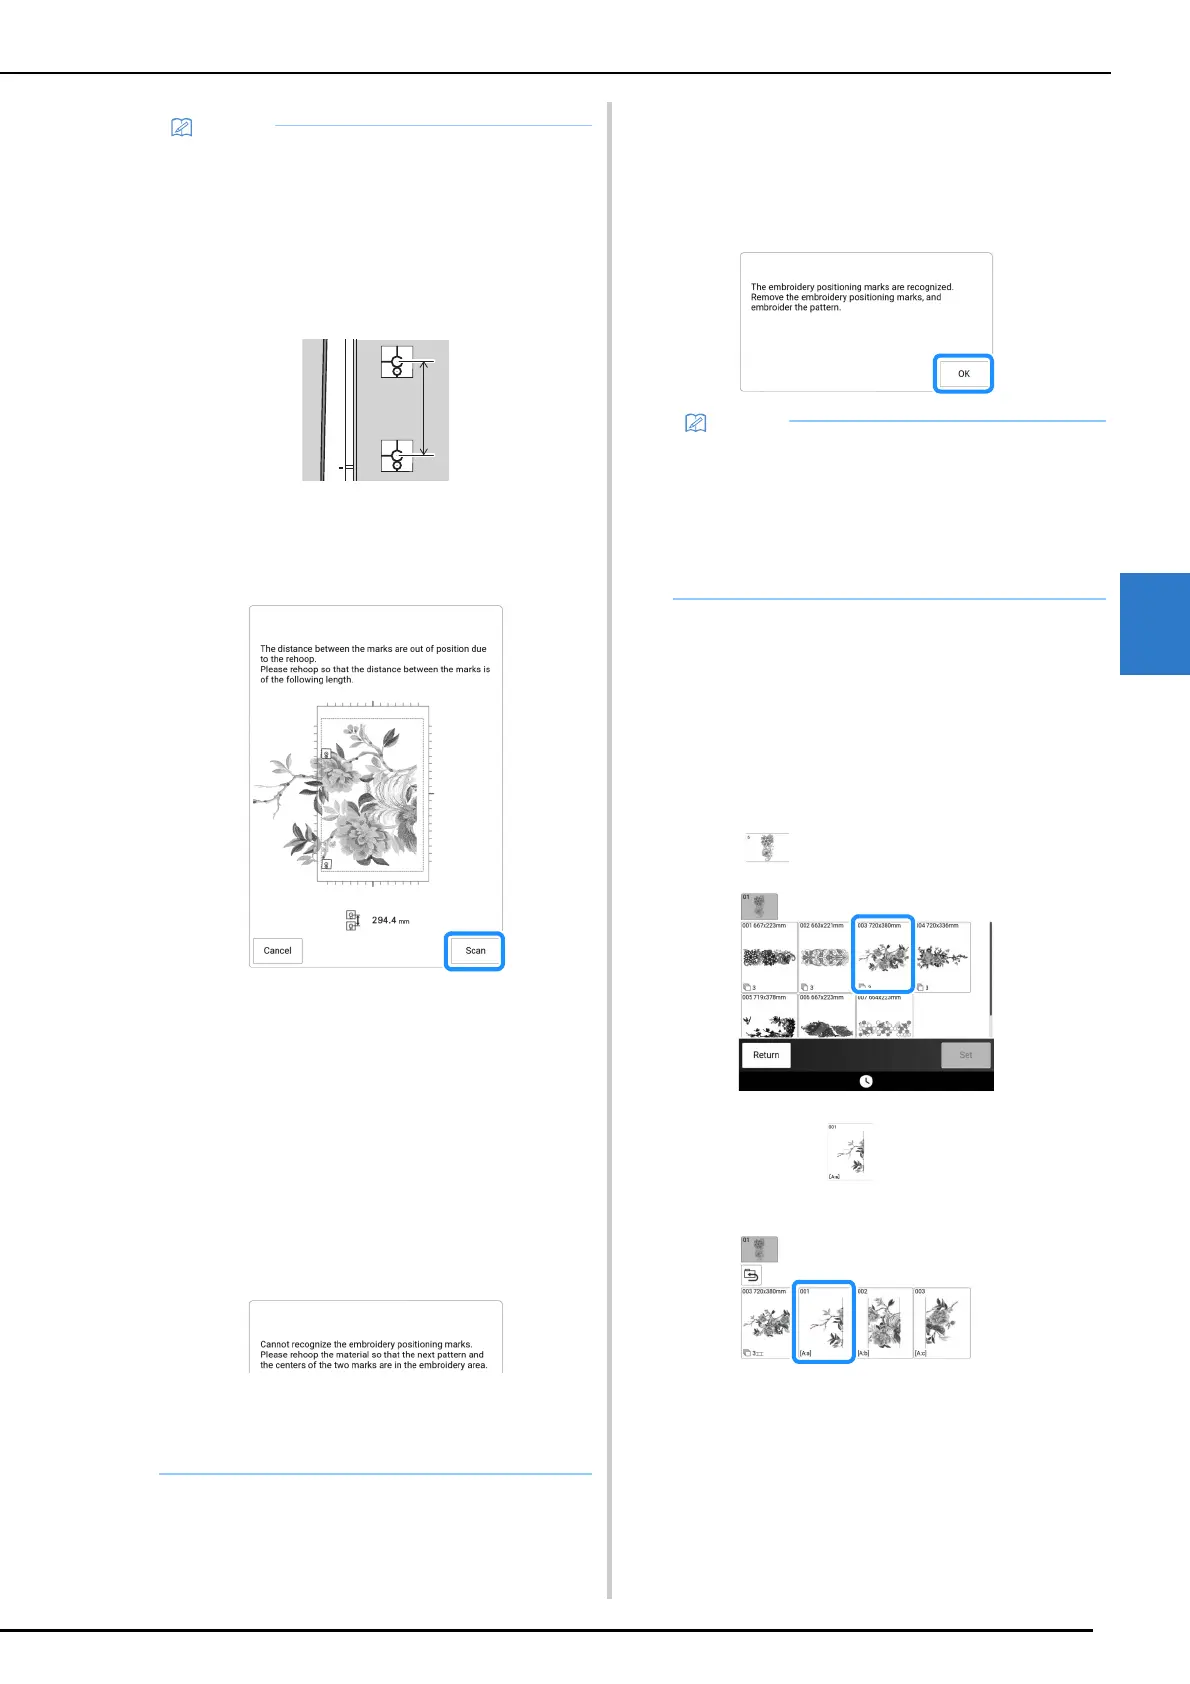
11 Reattach the embroidery frame and touch
[Scan].
12 Touch [OK], and then remove the
stickers.
13 Embroider the second pattern.
14 Embroider the remaining patterns in the
same way.
Connecting the Pattern Sections
Manually
1
Touch and then select a pattern.
2 Select section to be embroidered.
* Select the sections in alphabetical order.
• In order to cleanly connect the first and second
patterns, make sure that the distance between
the embroidery positioning stickers (distance
between the centers of the large circles) is the
same before and after rehooping the fabric. If
the distance is not the same, the fabric may
not be taut. At this time, do not correct the
distance by moving a sticker.
• If the following message appears after step
11, rehoop the fabric so that the distance is
the same as that displayed. And then touch
[Scan].
• If the following message appears, rehoop the
fabric so that the next pattern and both the
embroidery positioning stickers are within the
embroidery area as indicated in the screen.
If problem persists, the machine may not
detect the embroidery positioning stickers.
Check the following:
- Make sure nothing obstructs the embroidery
positioning sticker.
- Set the fabric into the embroidery frame
correctly.
- Adjust the brightness of the lighting in the
room or the machine.
• For best results, if fabric puckers, iron the
wrong side of the fabric to smooth out before
rehooping. At this time, do not iron over or
remove the embroidery positioning stickers.
• With a built-in large-size split embroidery
pattern, if the distance between the
embroidery positioning stickers (distance
between the centers of the large circles) differs
by a few millimeters before and after the fabric
is rehooped, the pattern will be automatically
resized.
 Loading...

