190
To Use Different Settings between the Control Panel and Remote Panel:
(1) Turn F1 to select RU in PAGE3.
(2) Set LINK to OFF ,then press F3.
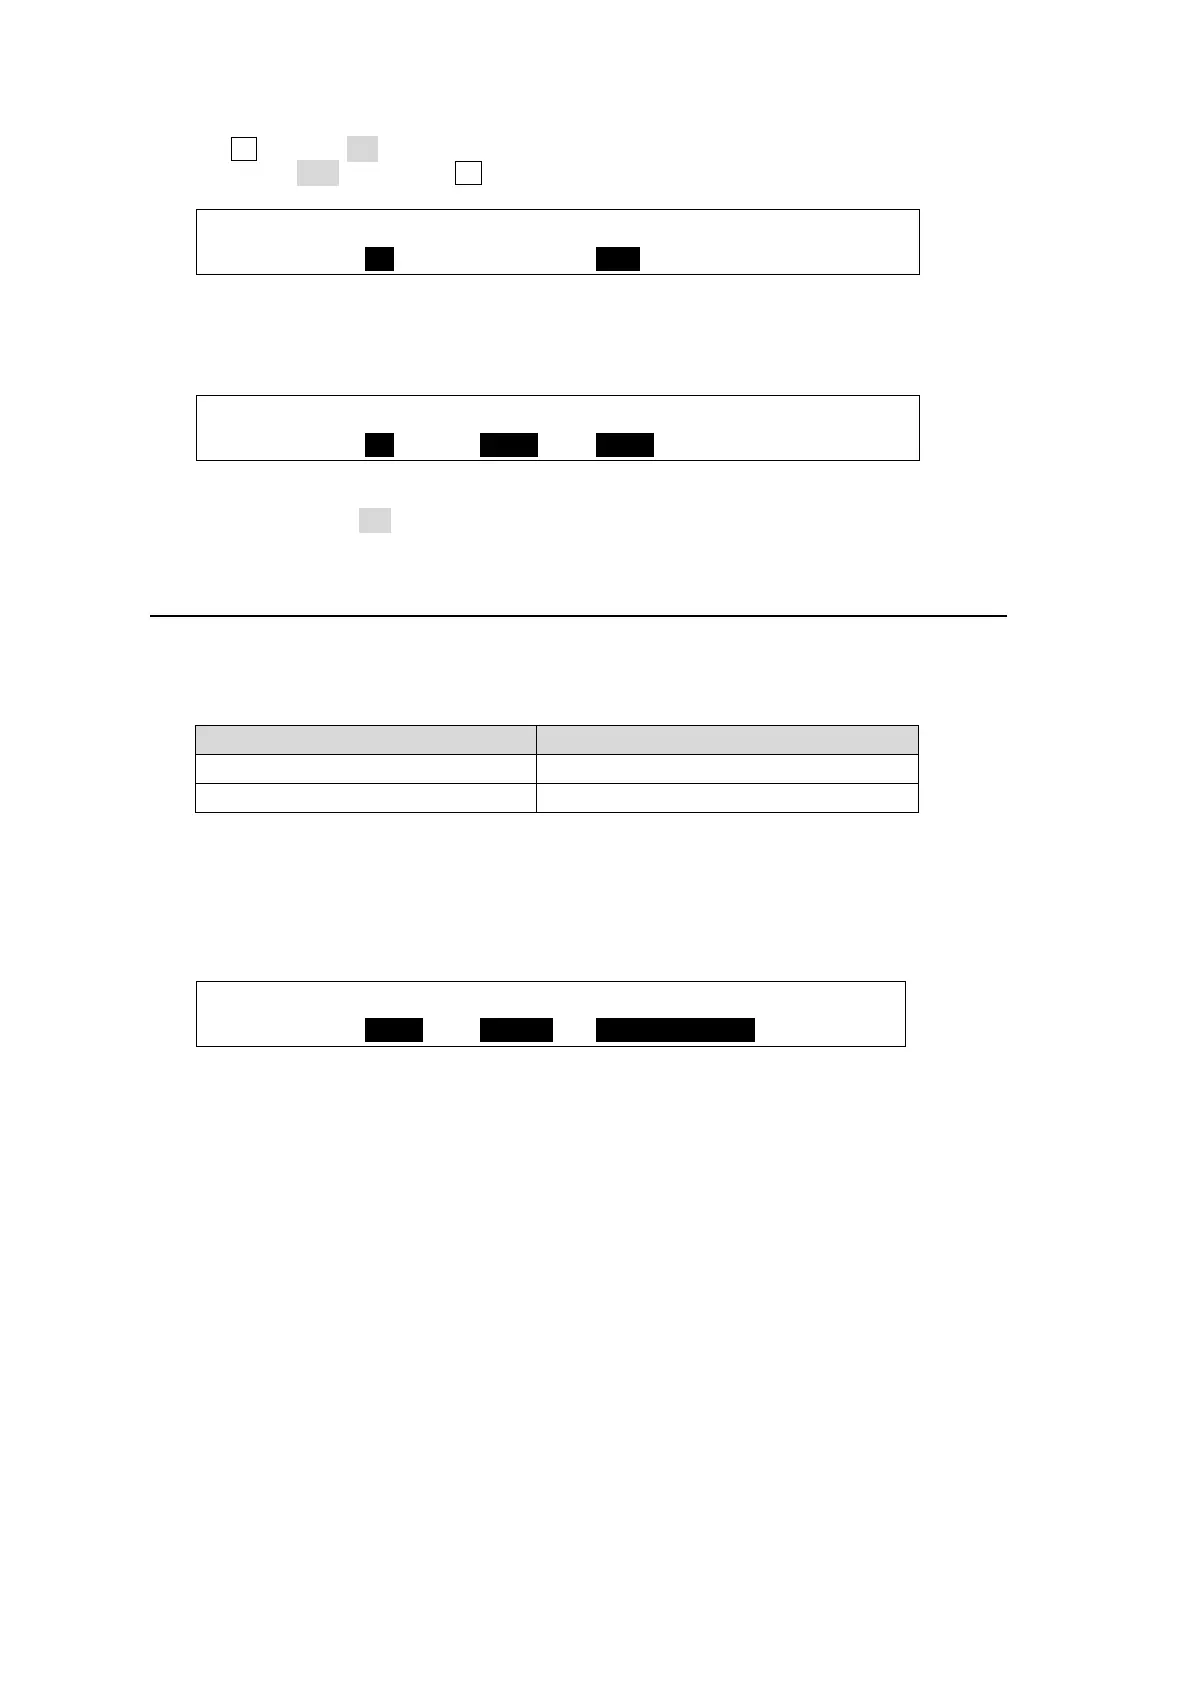
INPUT : SELECT: SHIFT : LINK : : 3/3
ASSIGN : =RU : =NORML: =OFF : :
(3) Go to PAGE2.
(4) Set the button and input assignments. For example, "to assign Button 1 to Input 4
(CAM4)," set the menu as shown below.
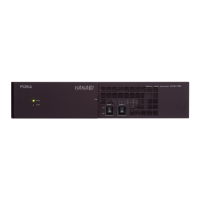
INPUT :BUTTON :SIGNAL NAME :INHIBIT: 2/3
RU ASGN : =01 : =IN04 : =CAM4 : =OFF :
Set other buttons on the HVS-30RU in the same way.
If INHIBIT is set to ON for a button, the selected button is inactive.
20-6-3. Setting USER Buttons
The free functional (USER) buttons on the HVS-30RU can be set on the switcher using the
menu as shown below.
USER Button Default Assignments
Assigning Functions to USER Buttons
(1) Display the [SETUP - PANEL - USER BTN] menu.
(2) Set the user button and function assigments. For example, "to assign User Button 1 to
DSK1 SCALER," set the menu as shown below.
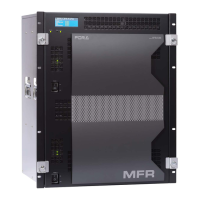
PANEL :SELECT : TYPE : FUNC(F3) : 1/2
USER BTN: =RU-1 : =USTRS: =DSK1 SCALER
See section 14 "USER Buttons" for details on USER buttons.
See the "HVS-30RU/30FP Operatin Manual" for details on available functions.