89
9-8-2. Changing Position and Size
The position and size of key images can be changed using the menu or joystick as follows:
Using the Joystick:
(1) Press the KEY1 menu button (with MENU lit) while holding down POS in the joystick
block.
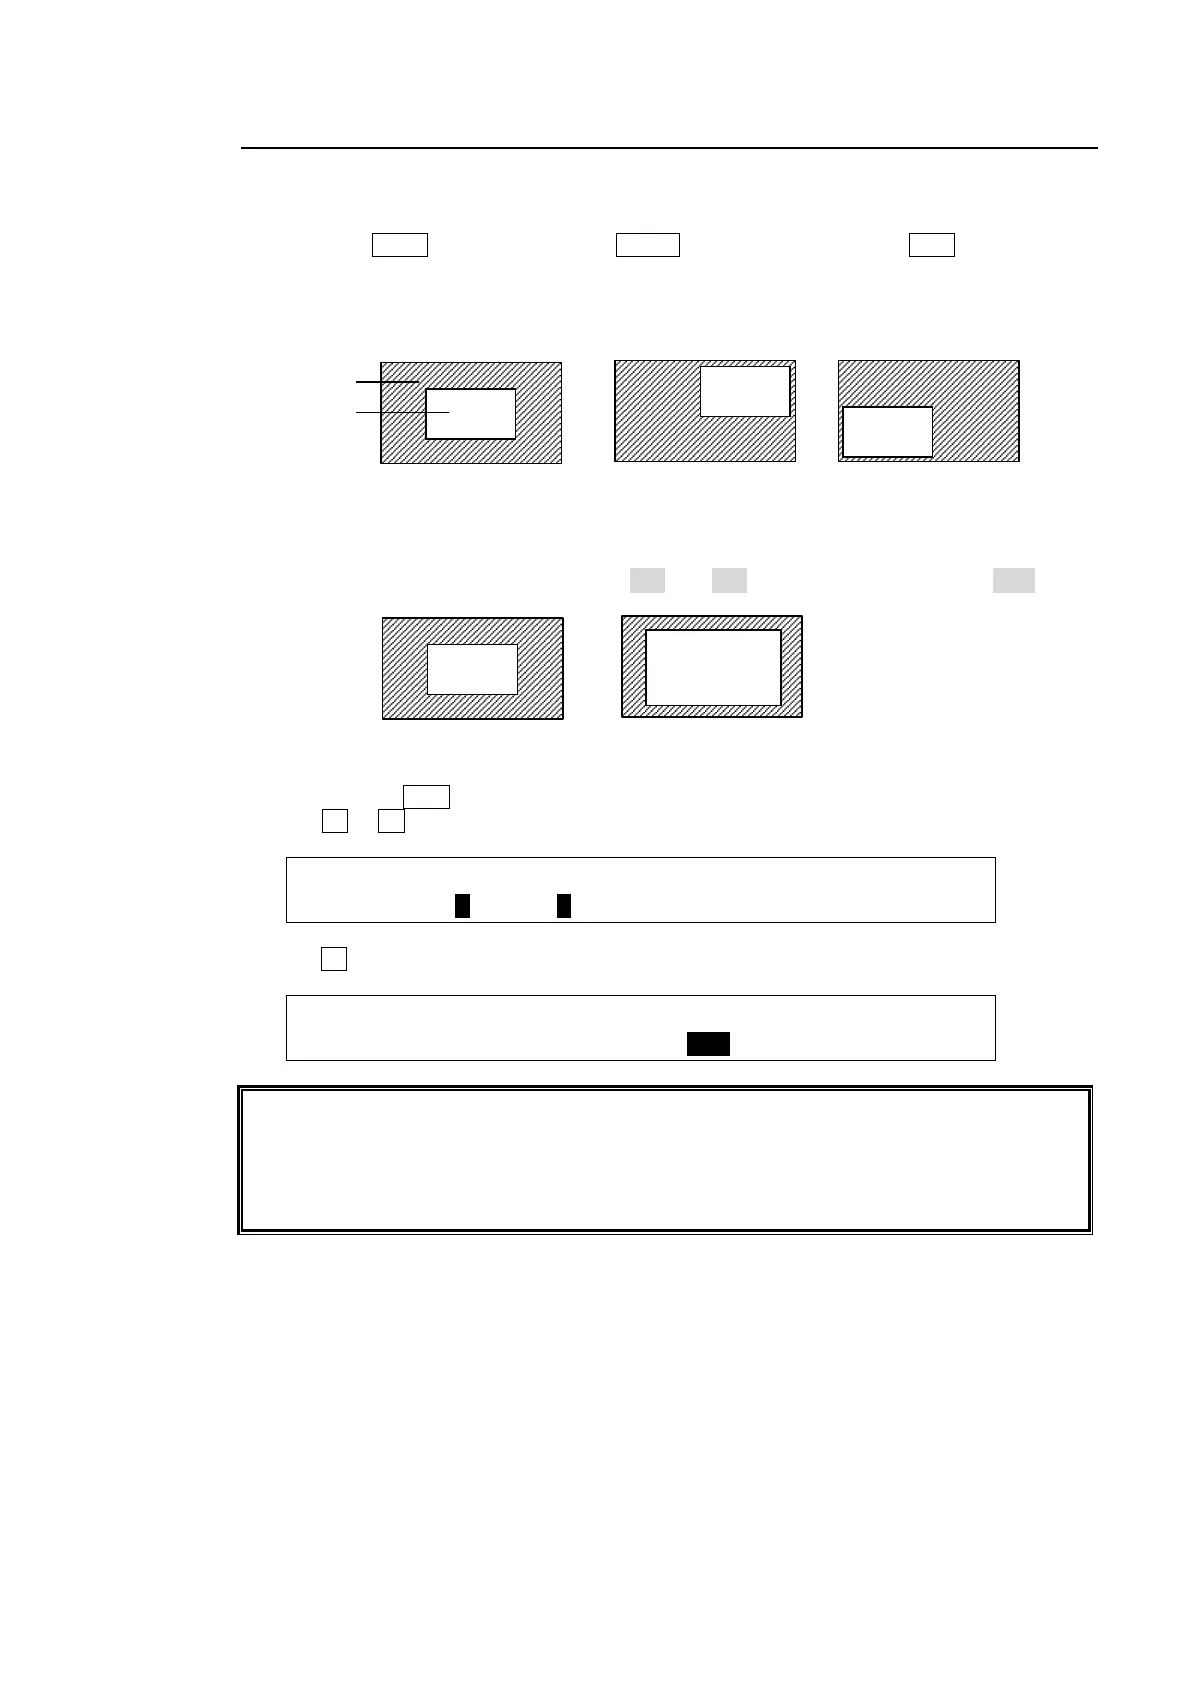
(2) Change the KEY1 position by moving the joystick up, down, left and right.
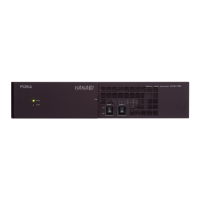
Change the key size by turning the SIZE control in the joystick block.
The figures below are examples of SIZE=500 and 750 when POSITION is set to (0, 0).)
Using the Menu
(1) Double-press POS in the joystick block to display [KEY1 - POS/SIZE] menu PAGE1.
(2) Turn F1 or F2 to set the position of the KEY1 image.
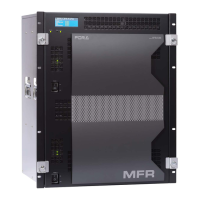
KEY1 : POSITION : SIZE :2D DVE : 1/5
POS/SIZE:X=0 Y=0 : =500 : =ON :
(3) Turn F3 to set the size of the KEY1 image.
KEY1 : POSITION : SIZE :2D DVE : 1/5
POS/SIZE:X=0 Y=0 : =500 : =ON :
The original base POSITION of a key is at the center of the output screen. You can set the
position of the key images by specifying X and Y coordinates, with the origin of the axes
located at the center of the screen.
Setting the size allows users to change the size of key images while retaining aspect ratios.
If the value is 1,000, the key images will be full-screen size.