GE HEALTHCARE
DIRECTION 2307224-100, REVISION 6DISCOVERY LS SYSTEM SERVICE MANUAL
Page 180 Chapter 6 - Table
6.2.6.37 Install the Table Latch
1.) Refer to Figure 6-98. Locate and remove the Table Latch Assembly from the upgrade kit.
During normal operation, the latch holds the table in the patient loading (CT) position.
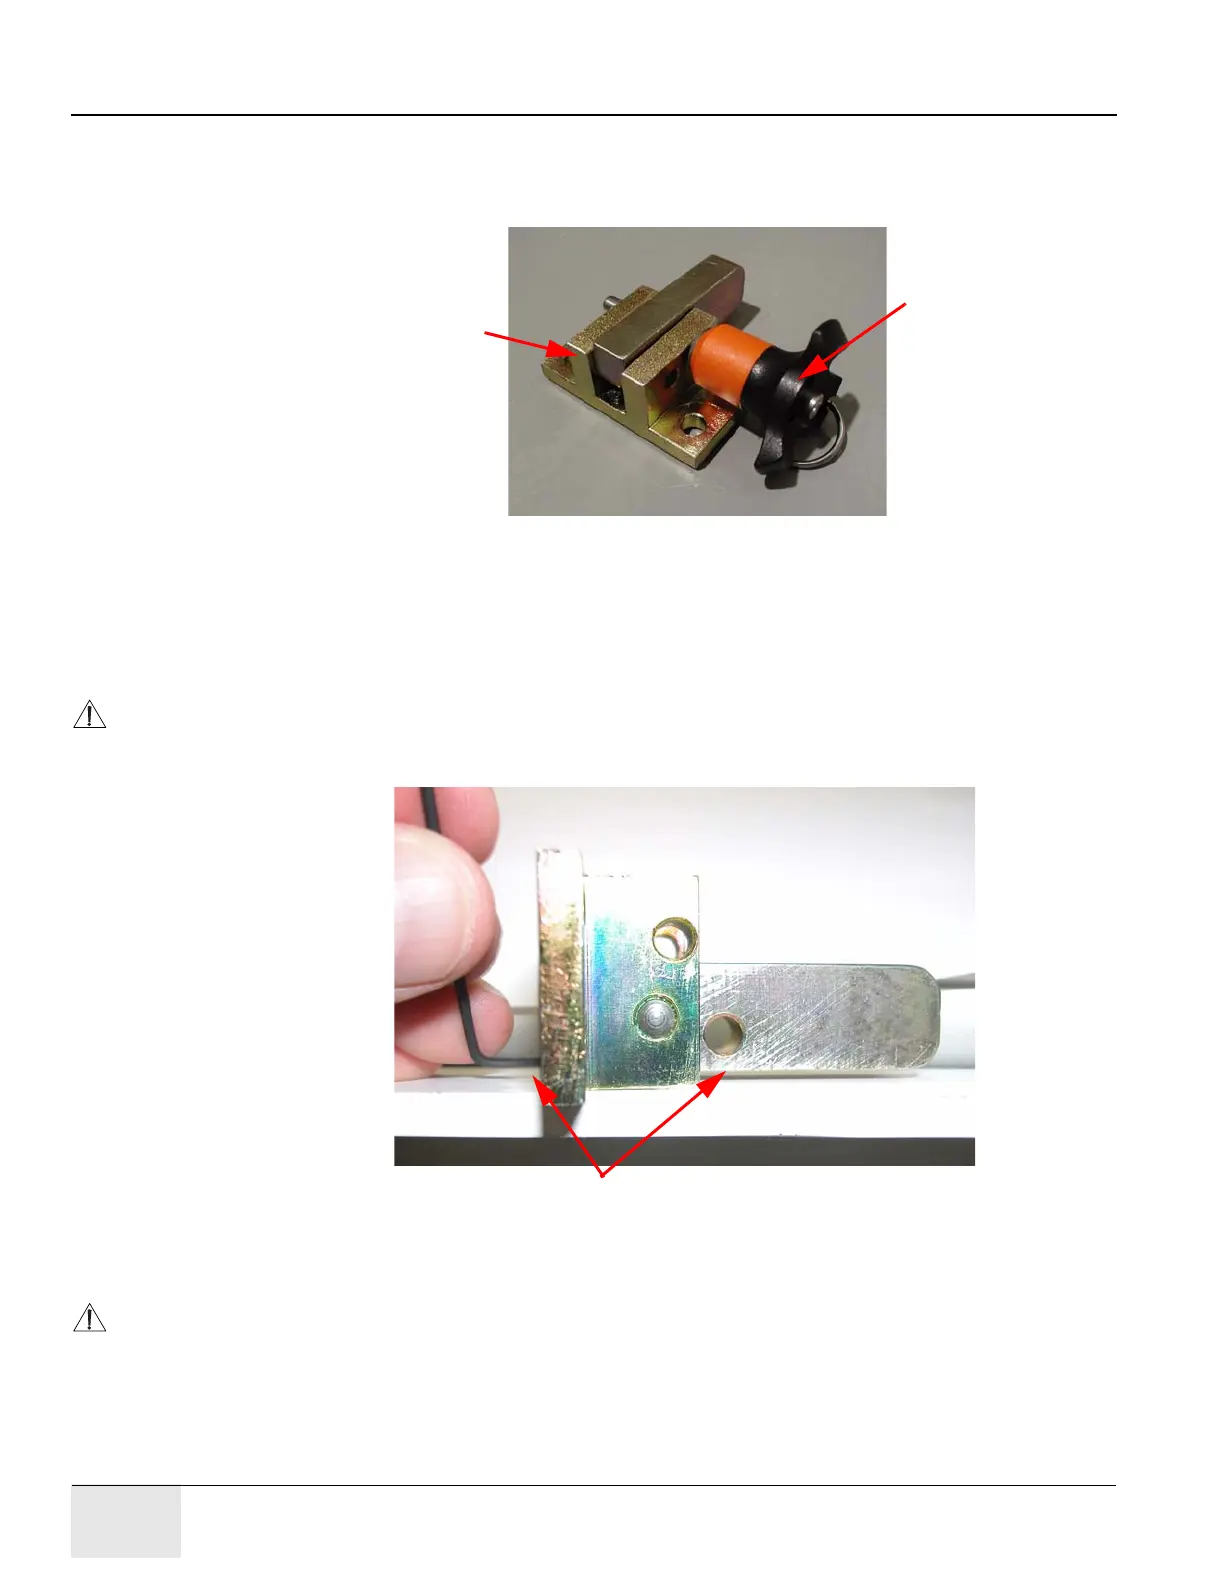
Figure 6-98: Table Latch Assembly
2.) Refer to Figure 6-99. The latch assembly should arrive with the set screw adjusted so the bar
is perpendicular to the bracket.
• If necessary, use a 1.5mm allen wrench to adjust the latch bar.
• If available, apply Loctite® 242 to the set screw.
NOTICE The latch pin limits the amount of adjustment to the set screw. For best results, insert the
latch pin before adjusting the set screw.
Figure 6-99: Adjust the Set Screw for 90 Degrees
NOTICE The Table Rail revision determines the length of the fastening hardware.
Table Latch
Latch Pin
Use a 1.5 mm Allen wrench to adjust set screw to raise and
lower the bar (should be perpendicular to the bracket).