Intel® Server D50DNP Family Integration and Service Guide
150
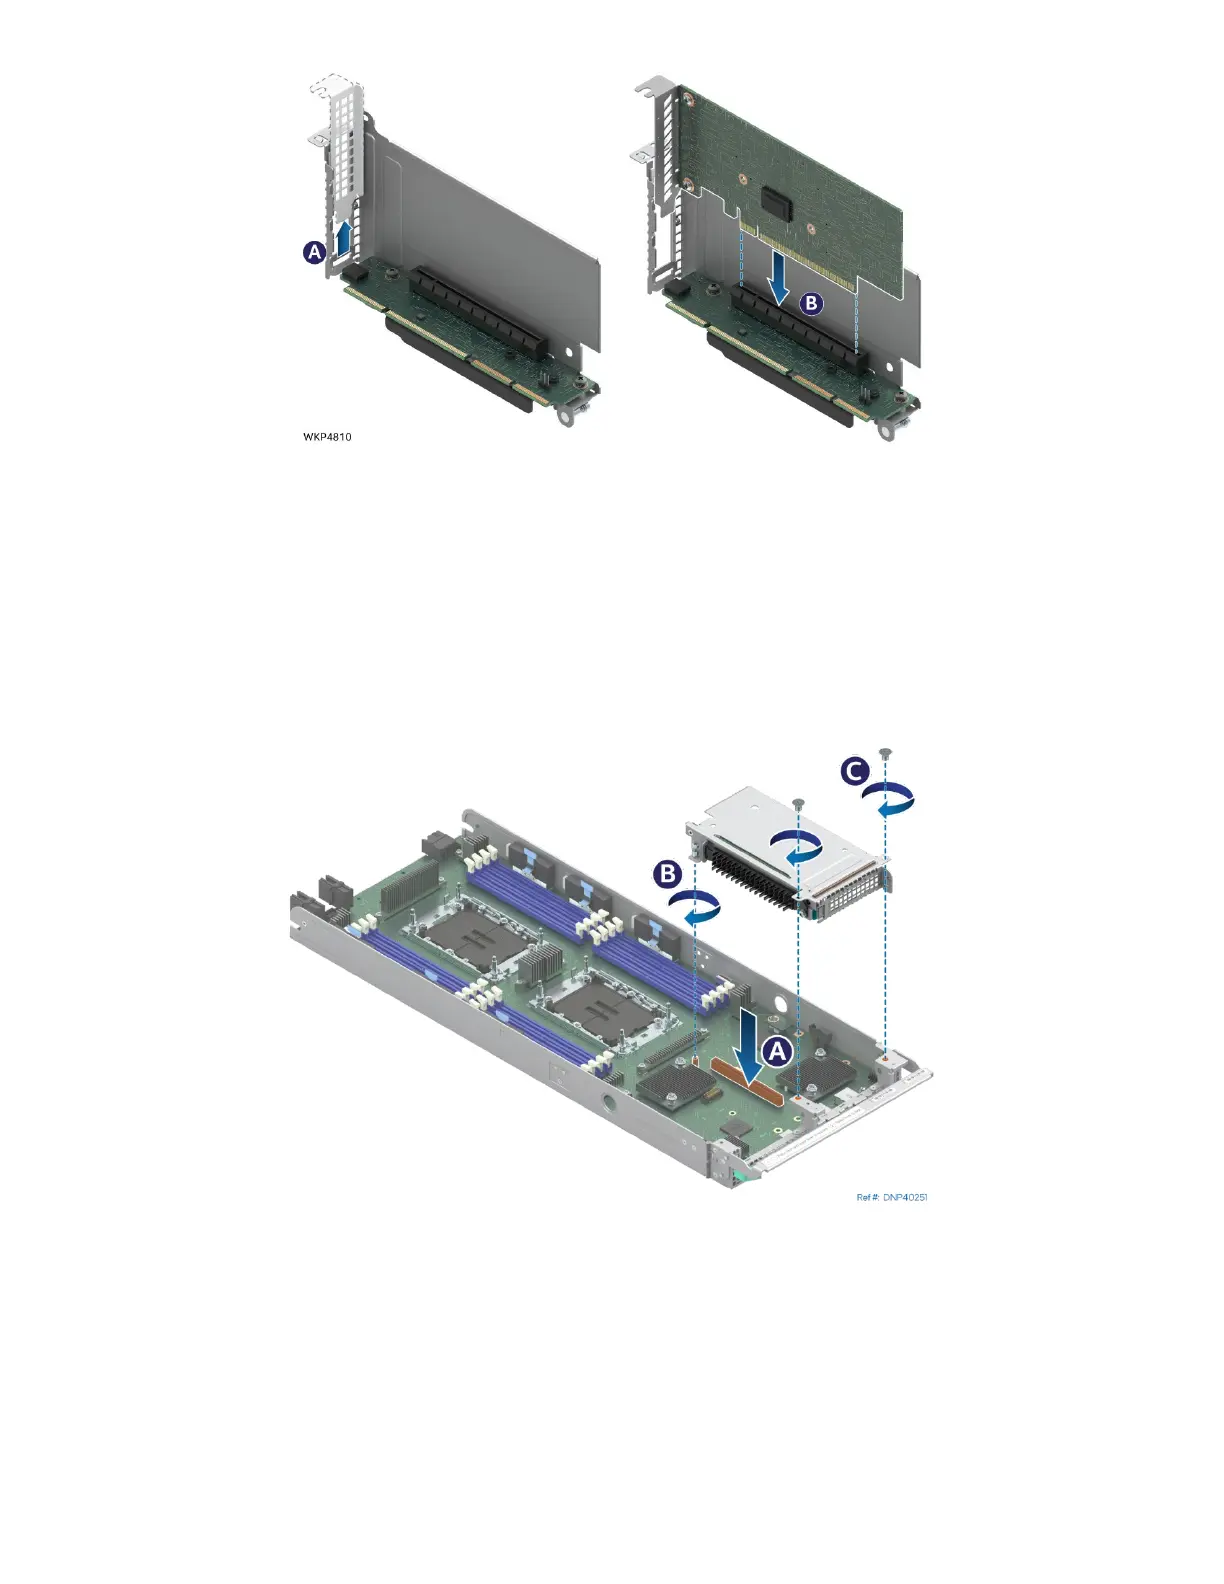
Figure 194. Add-In Card Installation
3. If installed, carefully remove the original rear metal filler plate from the metal frame of the riser
assembly (see Letter A).
4. Align the rear bracket of the add-in card to the rear opening of the riser assembly.
5. Carefully insert the add-in card down into the PCIe* slot (see Letter B).
6. Ensure that the add-in card is fully seated.
7. If necessary, repeat the installation steps for additional riser card.
8. Reinstall the riser card assembly into the module (see Section 7.5.4).
7.5.4 Standard Riser Assembly Installation
Figure 195. Installing Standard Riser Assembly into Chassis
1. Align the riser card with the riser slot on the server board (see Letter A).
2. Carefully push down on the riser assembly until the riser card is securely seated in the riser slot.
3. Ensure that the screw holes of the riser assembly are aligned with the mounting holes of the module.
4. Using Phillips screwdriver #2 tighten the captive screw at the back of the riser assembly to 5 in-lb.
(see Letter B)
5. Using Phillips screwdriver #1 install two screws to secure the riser assembly to the front of the
module. Tighten to 5 in-lb. (see Letter C).
module shown