Intel® Server D50DNP Family Integration and Service Guide
178
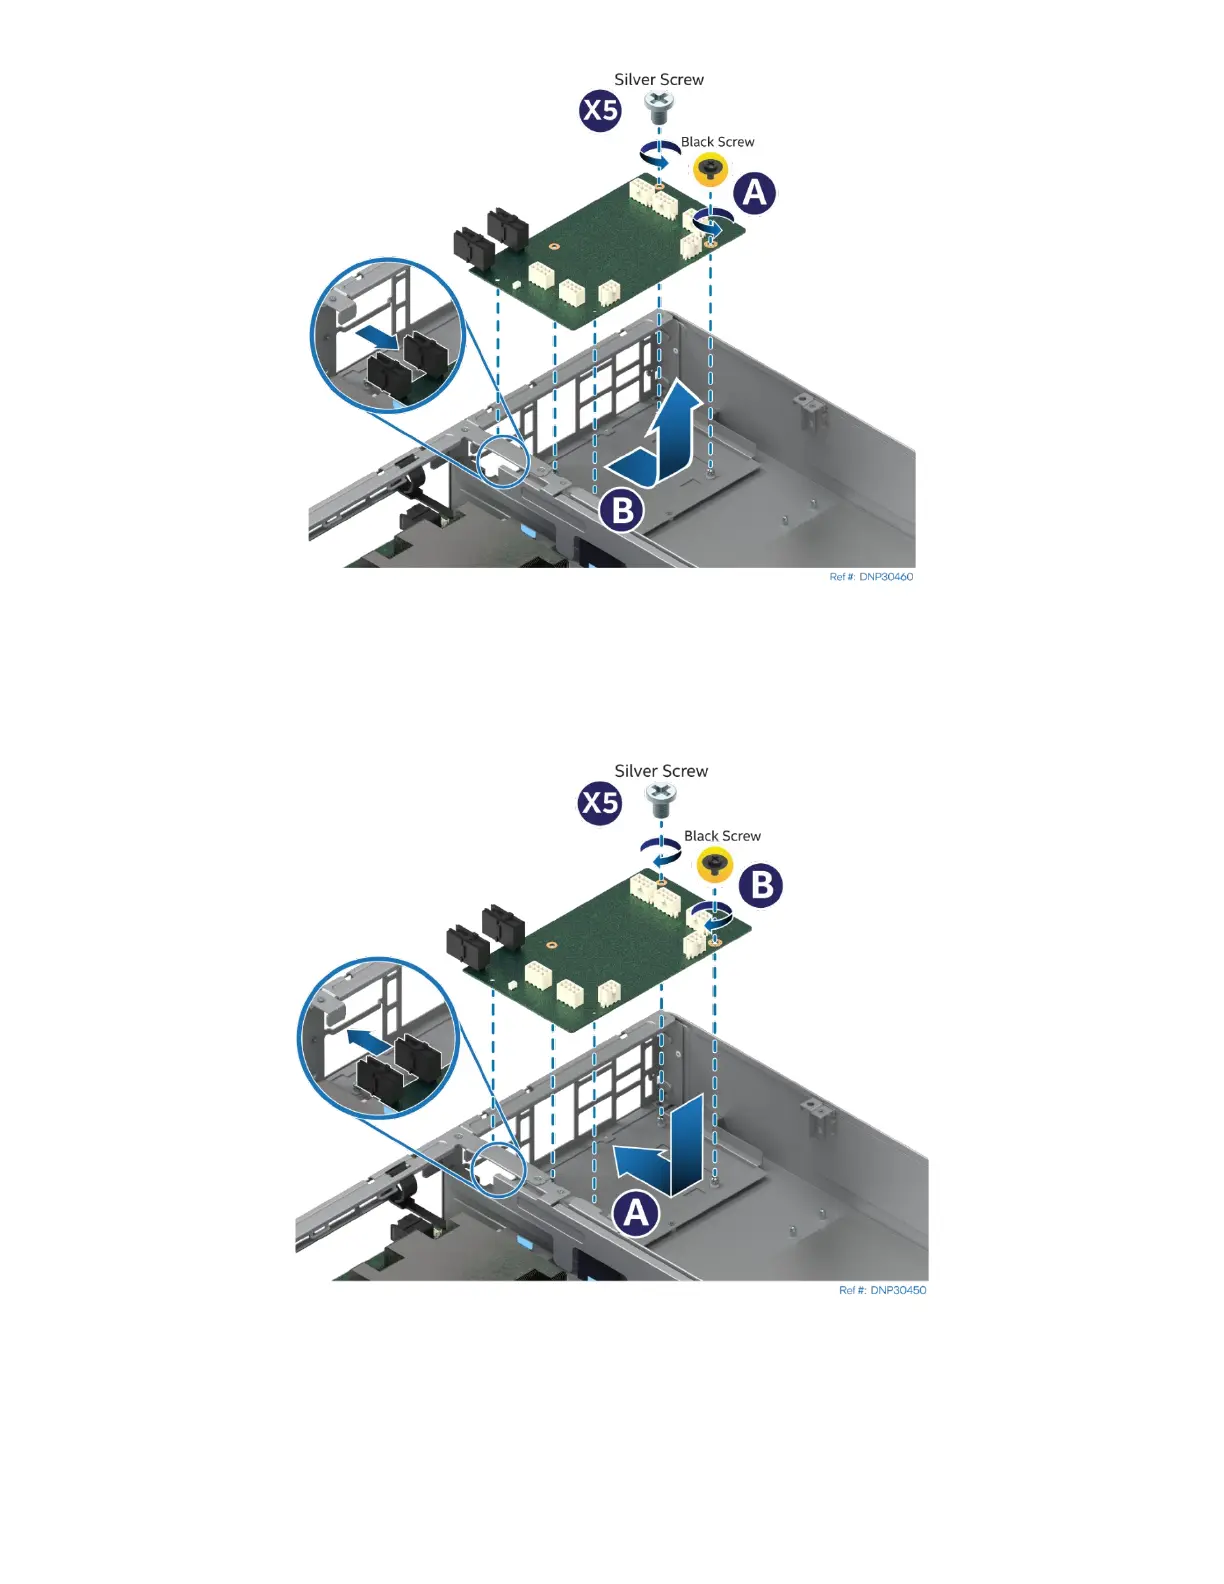
Figure 242. PCIe* Accelerator Module Power Connector Board Removal
4. Remove the black screw and the silver screws that secure the power connector board to the PCIe*
accelerator module using a Phillips* head screwdriver #2 (see Letter A).
5. Carefully remove the power connector board by lifting it up and away from the module (see Letter B).
6. Locate and unpack the new power connector board for replacement.
Figure 243. PCIe* Accelerator Module Power Connector Board Installation
7. Lower the power connector board into the slot in the module and slide it until all the screw holes are
aligned (see Letter A).
8. Secure the power connector board to the module with the black screw and the silver screws using a
Phillips* head screwdriver #2 (see Letter B).