Intel® Server D50DNP Family Integration and Service Guide
82
1. Peel off the protective film from one side of the short pad and attached it to the rear side of the SSD
under the tallest SSD component. This is usually the SSD controller IC.
2. Peel off the protective film from another side of the short pad
3.8.2 M.2 SSD Installation for Air-Cooled Configurations
1. Remove two screws attaching the Mylar “Attention” label to the riser assembly. Note that the screw
securing the label to the standoff has flat bottom head. This screw should be used to secure the SSD.
2. If needed, adjust the position of the M.2 SSD mounting standoff to accommodate 110mm M.2 SSD.
Using 3/16” hex nut driver, remove the standoff from the 80mm position and install it into the
110mm position. Tighten to 5 in-lb.
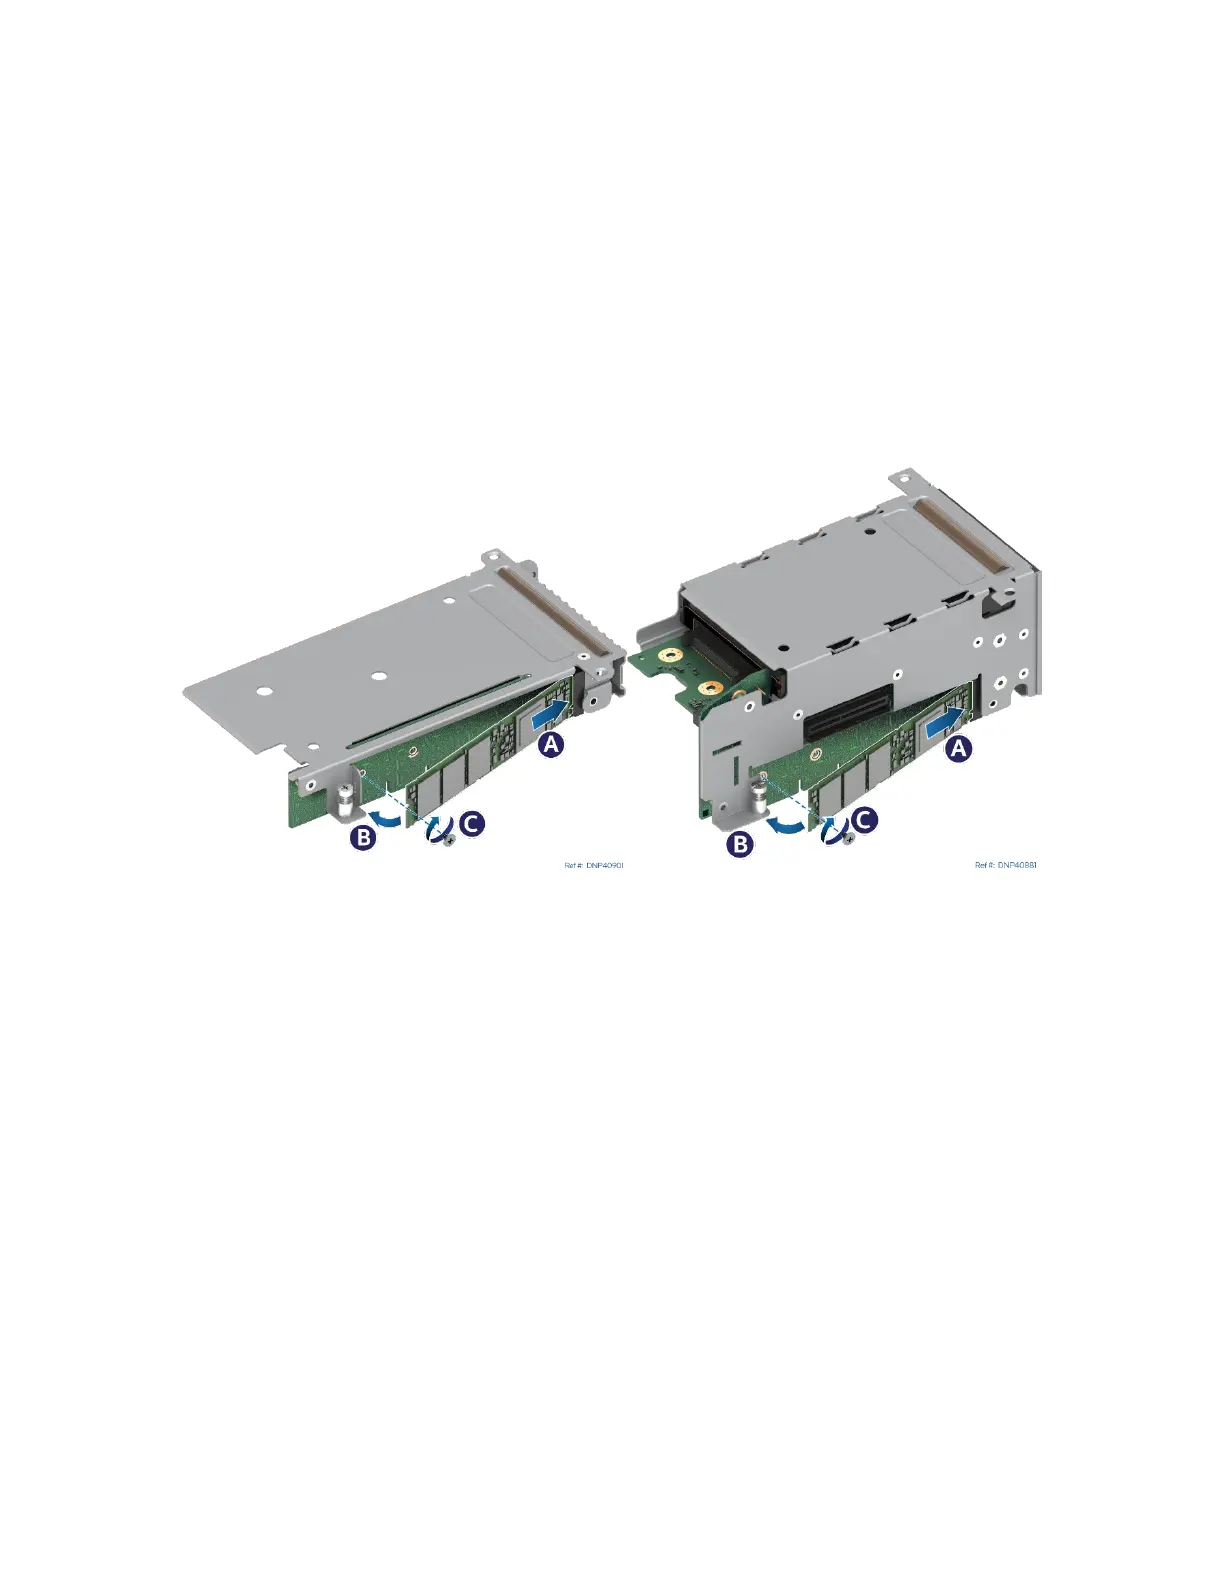
Figure 94. Installing M.2 SSD
3. Align the notch within the SSD edge connector with the key in the M.2 connector and insert the SSD
into the connector (see Letter A).
4. Push the free edge of the SSD towards the riser assembly (see Letter B) and secure the SSD to the M.2
mounting standoff with the previously removed screw (see Letter C).