Intel® Server D50DNP Family Integration and Service Guide
182
9. Lift the rear edge of the board to disengage it from standoffs and slide the server board slightly
towards the back of the module tray. Then, carefully lift the server board from the module tray (see
Letter B) and place it in an anti-static bag.
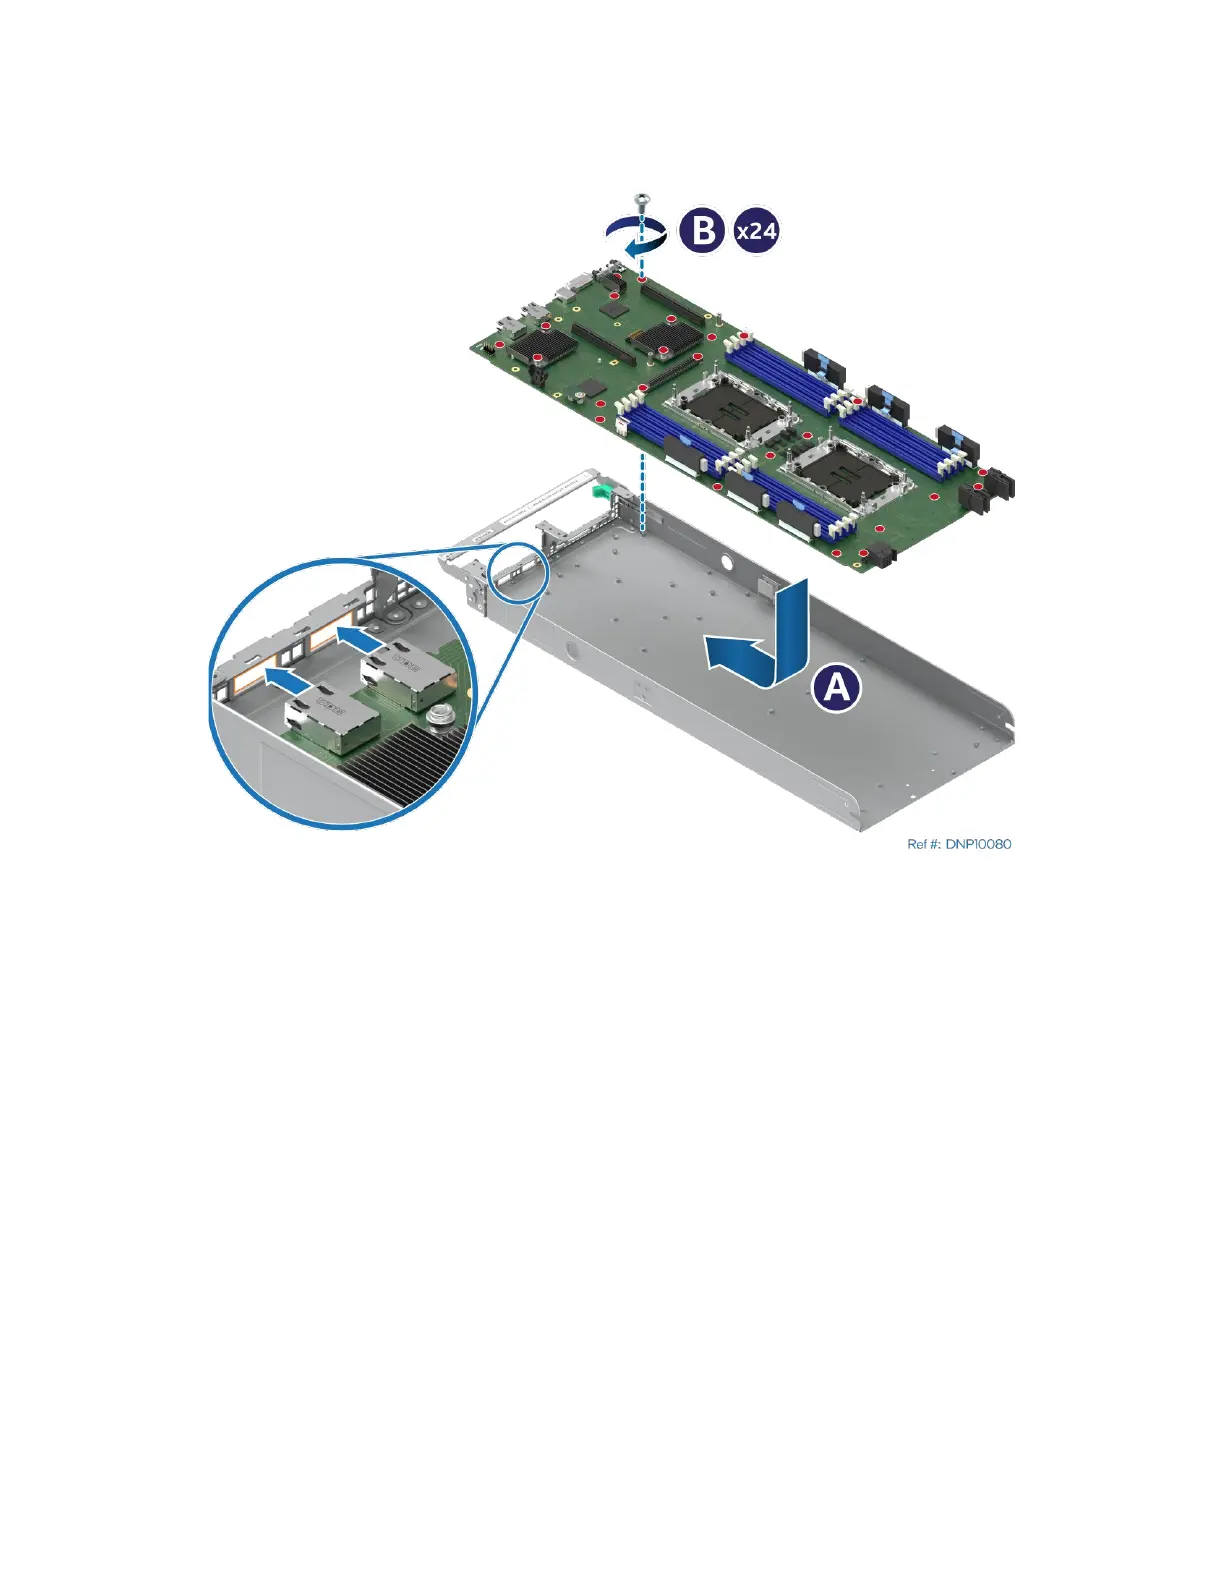
Figure 248. Server Board Installation
10. Remove the new server board from its anti-static bag.
11. Carefully lower the server board into the module tray.
12. Slide the server board slightly toward the front of the module tray until the connectors go through
the cut-out on the front panel and the holes at the rear edge of the board align with standoffs in the
module tray (see Letter A).
13. Fasten the server board to the module tray using all the screws (see Letter B). Tighten to 5 in-lb.
14. Reinstall processors (see Section 7.3).
15. For the liquid-cooled module, reinstall the liquid-cooling loop (see Section 7.7).
16. Reinstall memory modules (see Section 7.4).
17. Reinstall riser card assemblies (see Section 7.5).
18. Reinstall all options previously removed from the server board.
19. For air-cooled modules, reinstall the air duct (see Section 7.2).
20. Reinstall the module in the chassis (see Section 7.1).