DOB 1300-1556 | X3-45 Commuter PA-1648 Maintenance Manual First release Oct 2020
CAUTION
Only the recommended jacking points must be
used as outlined in Section 18, "BODY".
For more clearance between the tag axle and
transmission, the tag axle may be unloaded and
jacked up.
3. Remove engine splash guards and protective
panels surrounding transmission.
4. Remove cross member from under
transmission.
5. Remove the transmission drain plug and allow
fluid to drain. Inspect the drain plug washer
and replace it if necessary. Reinstall the drain
plug (see "3.5 Fluid and Filter Change" in this
section.
TORQUE: 18-24 lb-ft (24-33 Nm)
WARNING
It is better to drain fluid when it is still warm.
Avoid contact with fluid since it can be very hot
and cause personal injury.
6. Remove transmission dipstick and filler tube.
7. Disconnect propeller shaft from transmission
and remove its safety guard. Refer to Section
09, "PROPELLER SHAFT".
8. Disconnect the two fluid cooler hoses from
transmission. Cover hose ends and fittings to
prevent fluid contamination.
WARNING
A significant amount of fluid may drain from
fluid lines when they are disconnected.
9. Disconnect all sensors on L.H. side of the
transmission.
10. Disconnect main wiring harness.
11. Disconnect the air supply line (steel-braided
hose) from retarder control valve.
12. Remove any locking tie, clamp and bracket
that may interfere with the removal of
transmission.
13. Support transmission using a suitable
transmission jack.
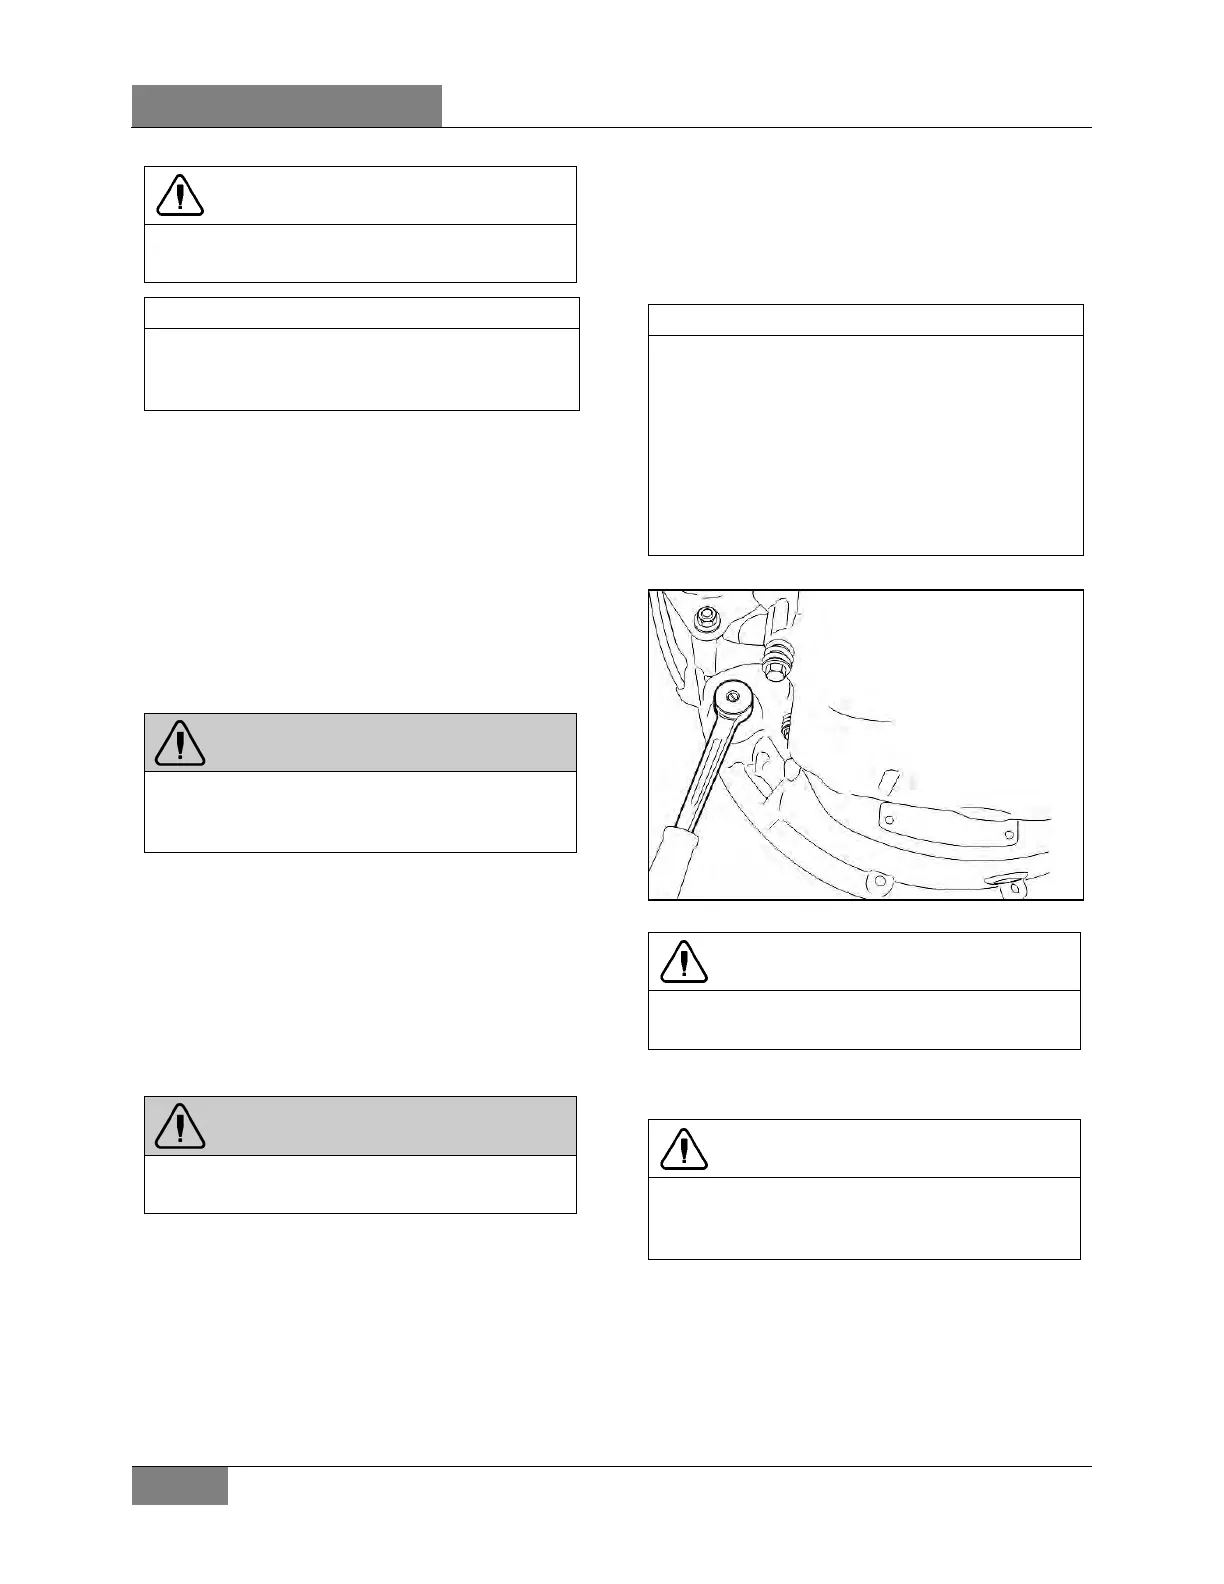
Remove starter motor located on engine L.H.
side. Removing the starter motor will allow
access to unfasten the 12 converter-to-flexible
plate att
aching screws. Remove the plug
located below starter motor and install cranking
tool (88800014). Cranking the engine to gain
access to the attaching screws may be done by
turning the cranking tool using a suitable
adapter (Figure 8).
FIGURE 8: VOLVO ENGINE CRANKING POSITION
CAUTION
Do not rotate alternator shaft clockwise to avoid
removing tension on belt.
14. Remove the 12 screws retaining the torque
converter housing to the flywheel housing.
CAUTION
Make sure transmission-to-engine alignment is
maintained when removing screws to avoid
damaging torque converter housing.
15. Slowly pull transmission straight out to clear
the engine.
16. Remove the transmission.
 Loading...


