4A-4 FRONT DRIVE SHAFT
Installation
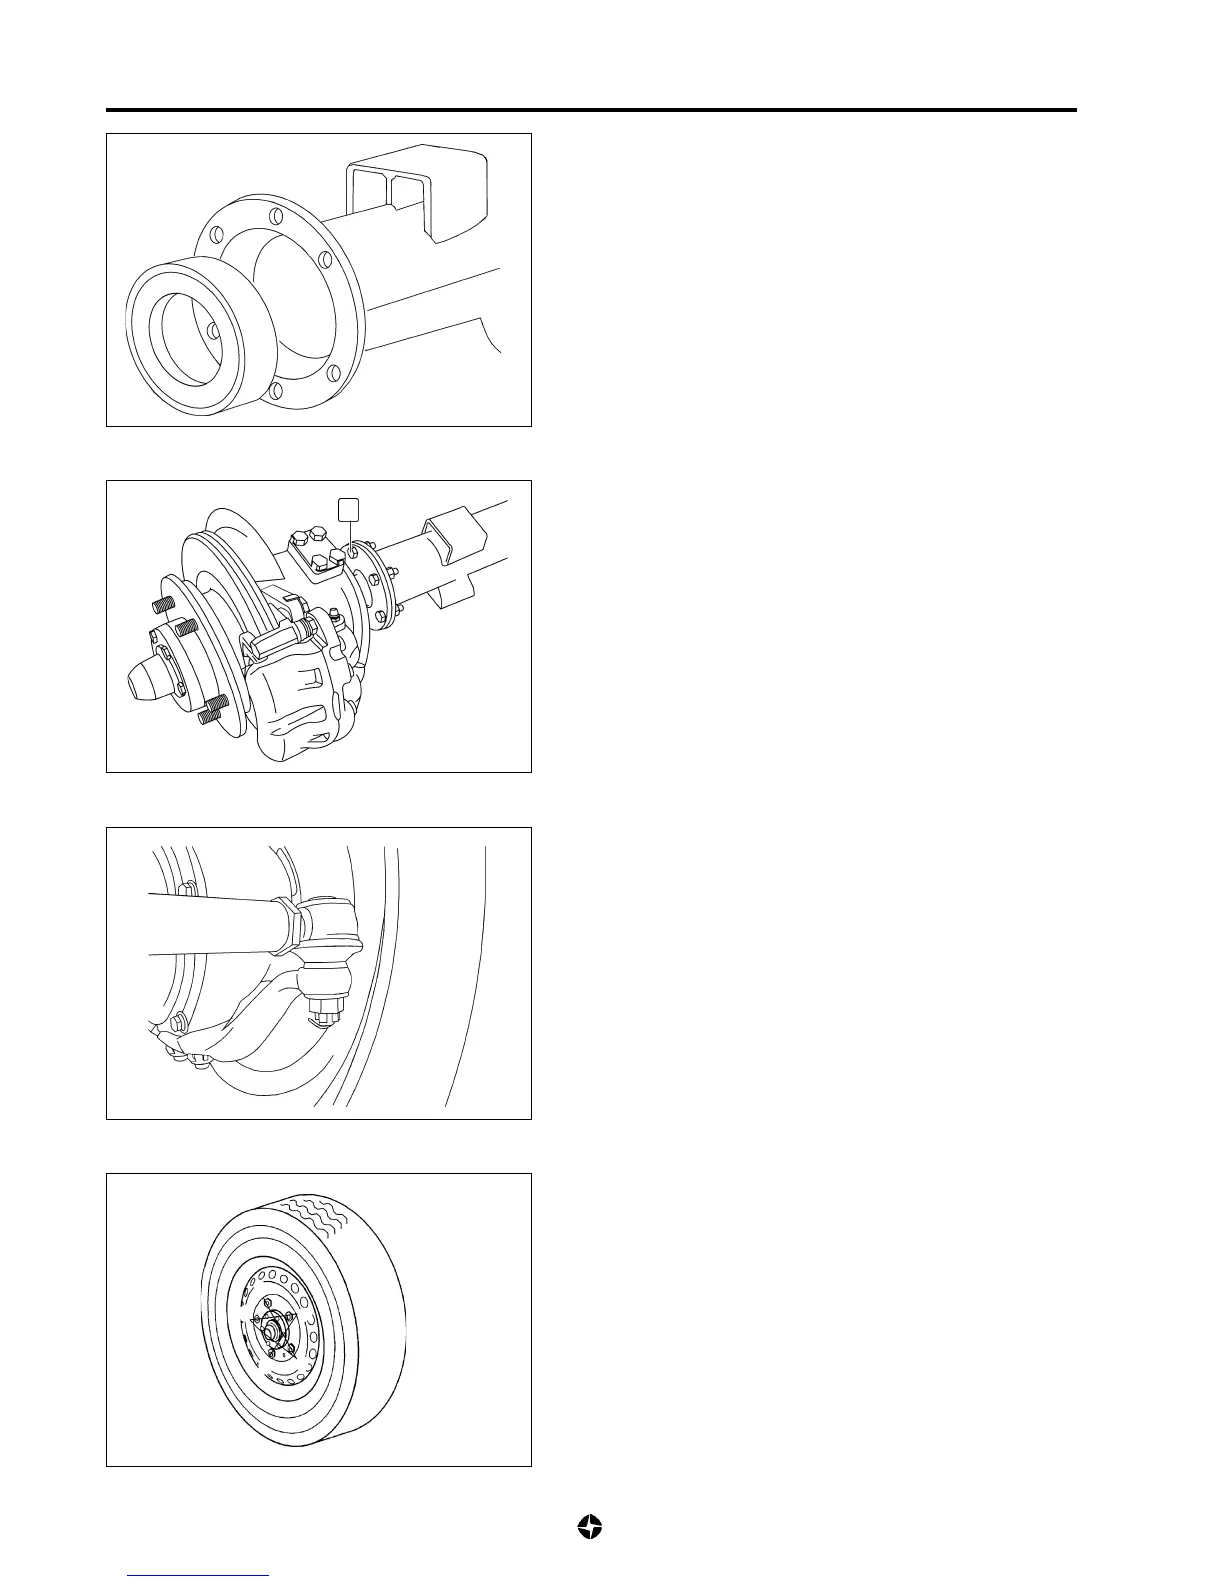
1) To carry out install of assemblies, reverse removal
procedures, noting remarks and tightening torques:
• Inspect the worthiness of the oil-seal and substitute it if
damage, wear or deformations are observed.
• Ensure that faces of the couplings between the housing
flange and hemisphere flange are clean.
• Apply grease to lip of oil-seal enclosure.
5
• Apply recommended sealant to the faces of the coupling
between the housing flange and the hemisphere flange.
Fixing elements (5) connecting bridles tightening
torque:
3,5 ÷ 4,25 Kg-m (35 ÷ 42,5 Nm)
NOTE:
Install new self braking nuts in the flange unions.
• Tighten to the specified tightening torque nut fixing tie rod
end joint and block it with pins.
Nuts fixing ball and socket joints tightening torque:
4 Kg-m (40 Nm)
• Apply recommended sealant to nuts fixing brake caliper
and tighten them to the specified tightening torque.
Tightening torque for screws fixing brake clamps to
support:
3,1 ÷ 3,5 Kg-m (31 ÷ 35 Nm)
• Tighten wheel nuts to the specified tightening torque following
the steps sequence shown in the figure.
Tightening torque for wheel screws:
11 ÷ 17Kg m (110 ÷ 117Nm)
1
4
2
5
3

 Loading...