7C-14 CLUTCH
AUXILIARY CLUTCH CYLINDER
Removal
1) Remove auxiliary clutch cylinder (see 7C-7).
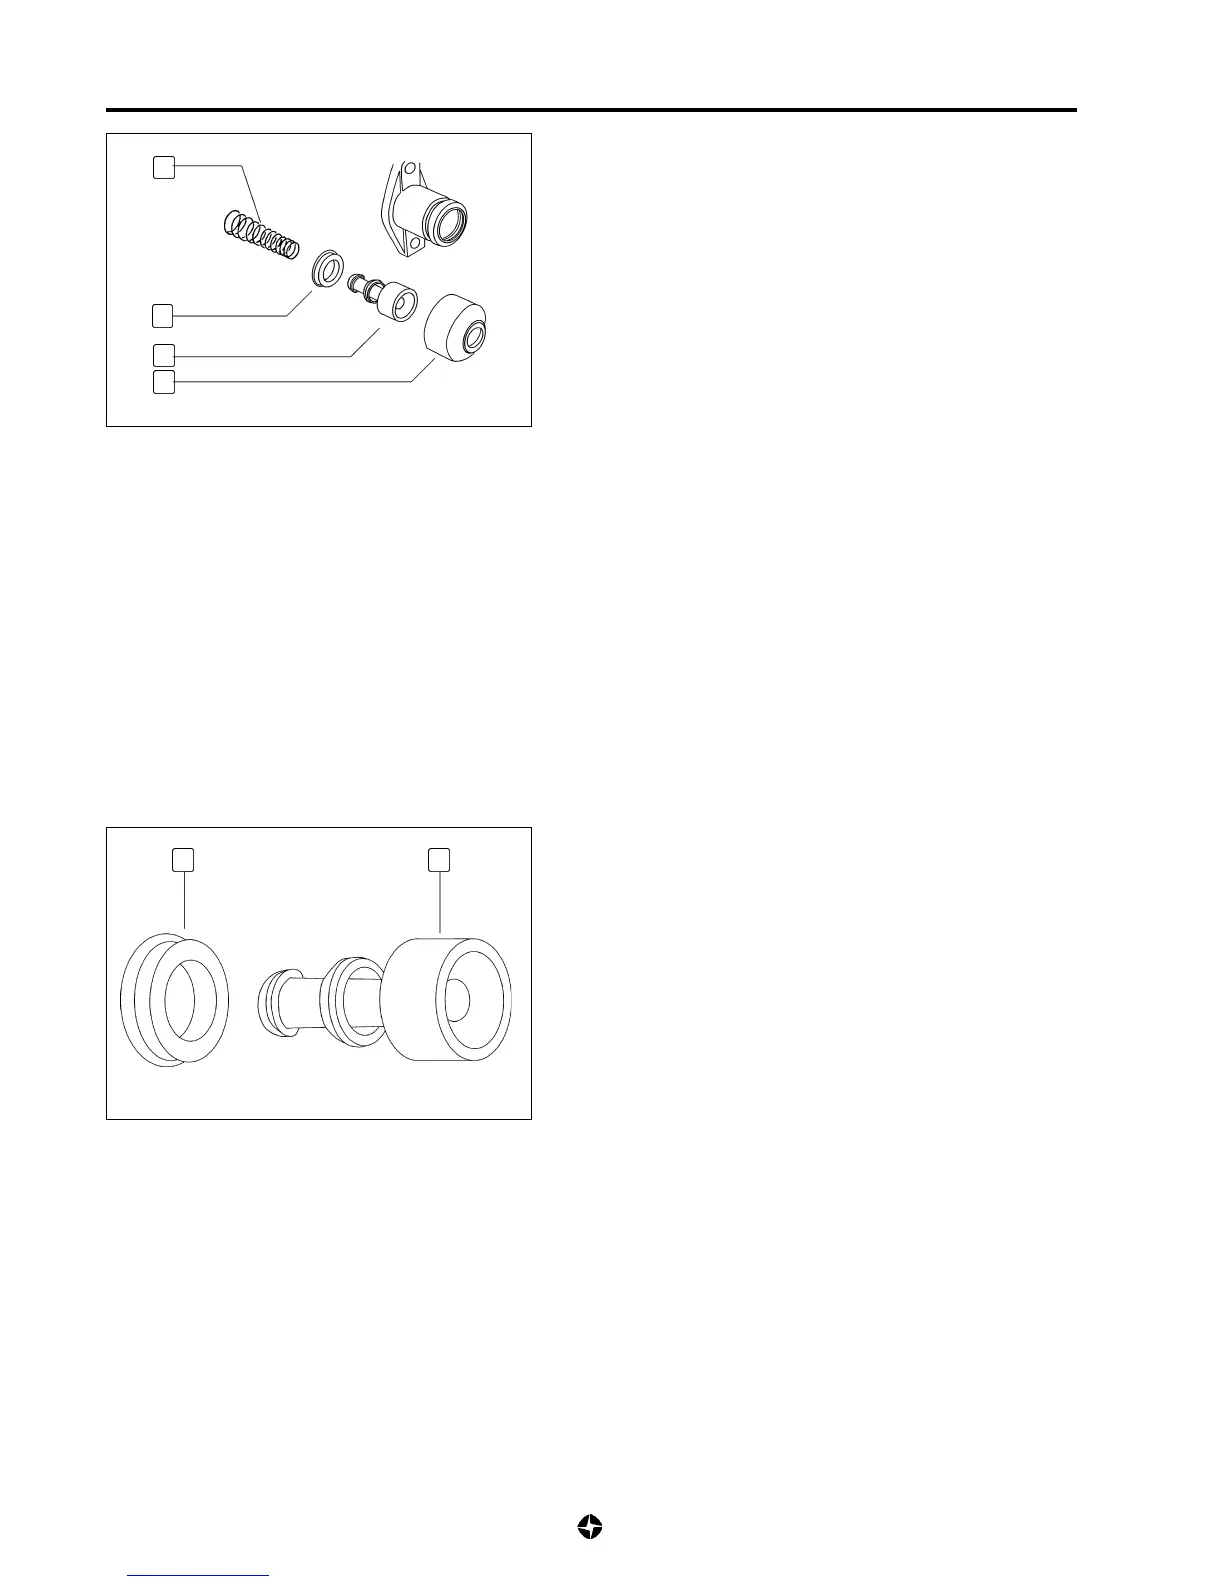
Removal cylinder
2) Remove dust guards (1) and take out:
• Rotor (2)
• Casing (3)
• Spring (4)
NOTE:
Do not remain in front of the rotor if removing using
compressed air.
Check
1) Clean all the parts with fluid specified for use in the circuit.
Leave to dry without using compressed air.
2) Check all the interior and exterior rotor housing surfaces for
scratches, corrosion or warping.
3) Replace old parts for new ones when necessary.
4) Replace the casing for a new one.
Instalation
Instalation cylinder
1) Install housing (3) on rotor (2) with the rim of greater diameter
facing the interior of the cylinder.
2) Clean cylinder and the rest of the elements with a dry cloth.
3) Apply a film of fluid, specified for use in the circuit, to the
casing and the cylinder.
4) Install the rest of the components reversing the order to the
dismantling, bearing in mind the specified torque.
NOTE:
Use fluff-free cloths for cleaning and drying the parts.
1
4
2
3
21

 Loading...