ENGINE REPAIR 6A-39
REMOVAL AND INSTALLATION OF FLYWHEEL
(Mechanical injection engine)(Mechanical injection engine)
(Mechanical injection engine)(Mechanical injection engine)
(Mechanical injection engine)
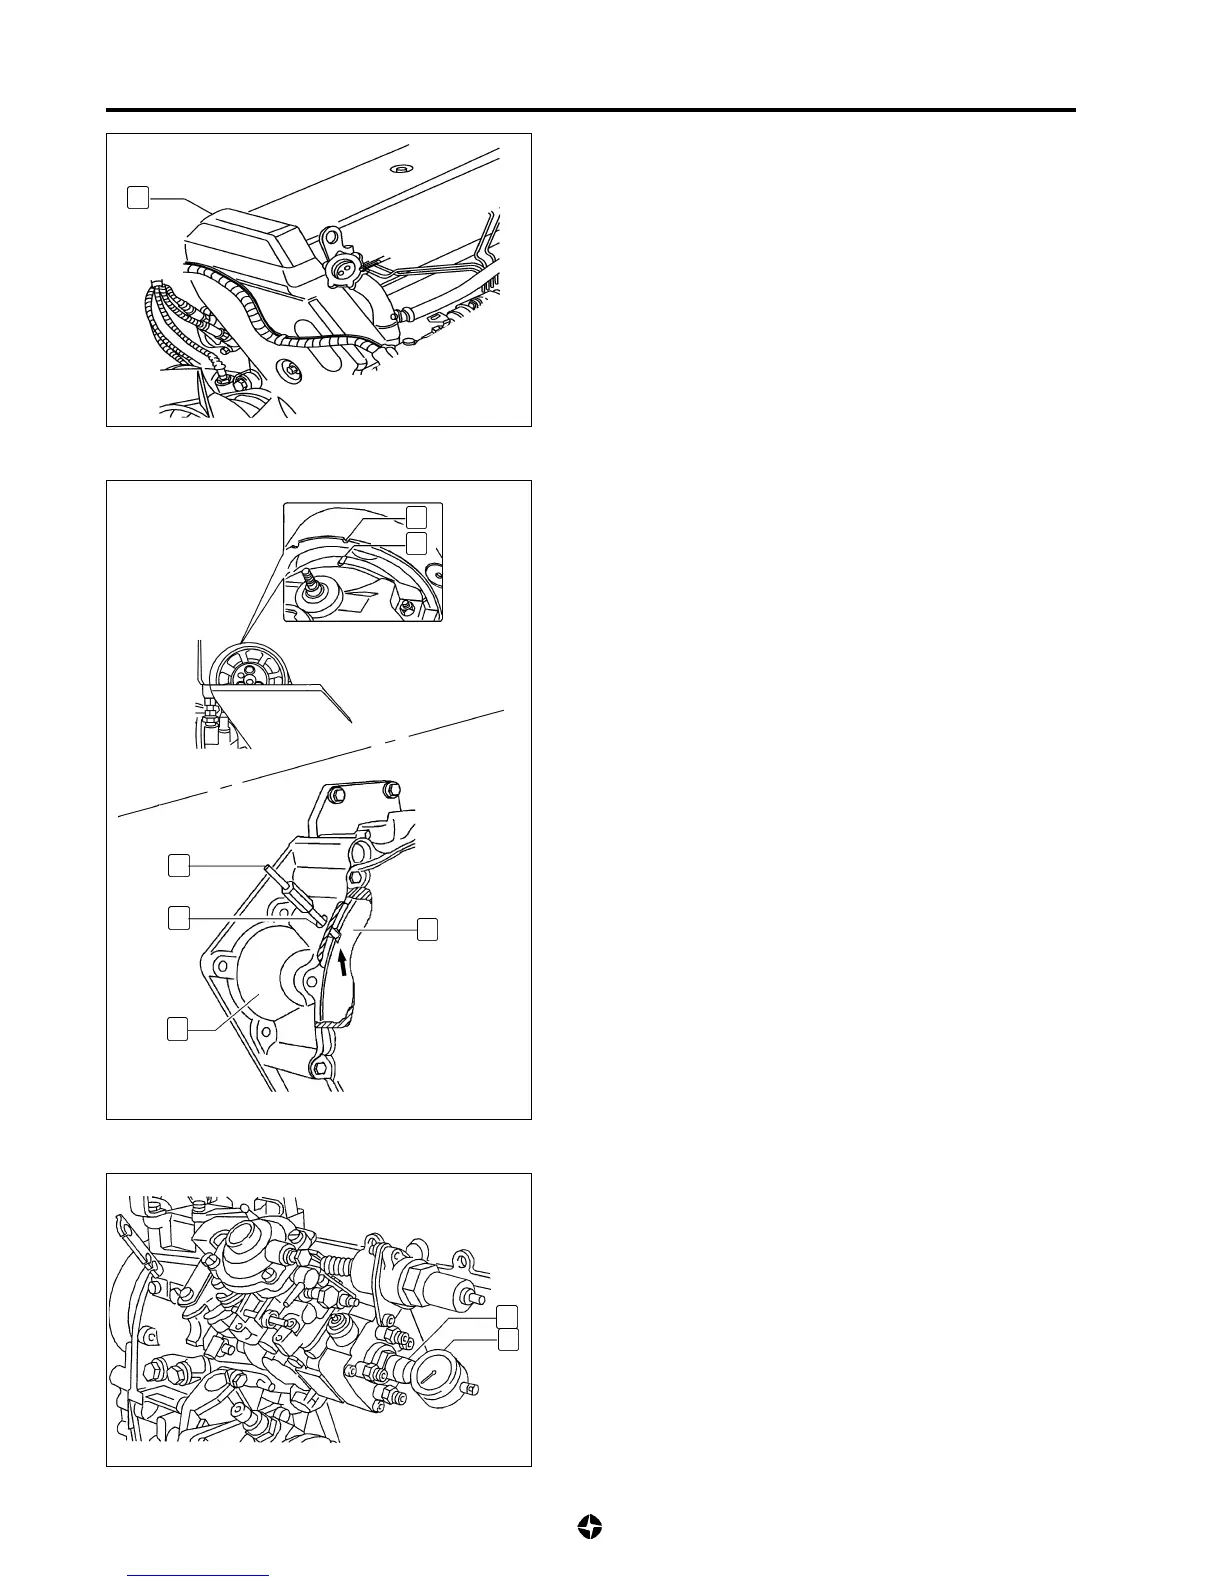
Removal
1) Disconnect battery.
2) Remove soundproofing upper cover (1).
3) Turn crankshaft till putting front to front the mark (A) at
camshaft gear with mark (B) of plungers cover. Fit
synchronisation tool (C) ref. 790965 in hole (3) of flywheel
housing (4). Turn slowly crankshaft in the rotation direction
at the same time you press tool (C). Stop rotating the
crankshaft when you notice that the tool fit in the milling
( ) of flywheel (2).
When this is done, check that marks (A) and (B) are perfectly
aligned; otherwise, there is some belt stretching, a bad fit-
ting of belt or an out phasing in the flywheel fitting.
4) Unlock cap at the injection pump register, fill adapter tool
(D) ref. 790966 and the dial gauge (E).
NOTE:
Be sure that the measuring tip of tool (D) is in contact
with the back part of the injecting pump distributor
piston.
Also, the needle of the gauge should advance some
~ 3mm.
5) Put to zero the dial gauge ensuring that crankshaft and
camshaft continue synchronised (task 3
rd
).
1
D
E
A
B
2
3
C
4
¨

 Loading...